Firestorm Gazala – Turn 2 – Dispatches
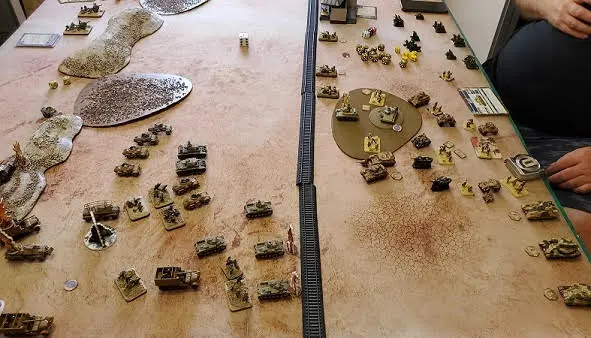
As the fighting continues across North Africa for turn 2 of our online campaign we bring you a few reports from the front. Thanks to everyone who sent them in.
As it stands, please stop fighting battle 3 and 4. We have enough results and 1 side is so far ahead it won’t change. Please concentrate on battle 1 and 5, with 2 if you have time.
Battle 2 – C2 into C6
Report from Christian Sorensen
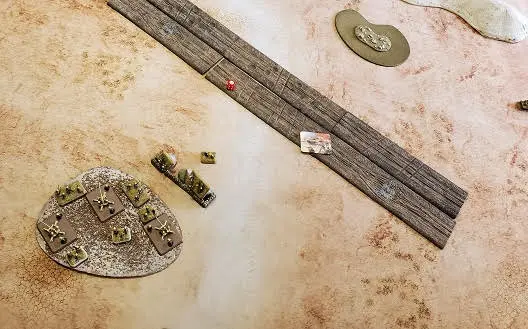
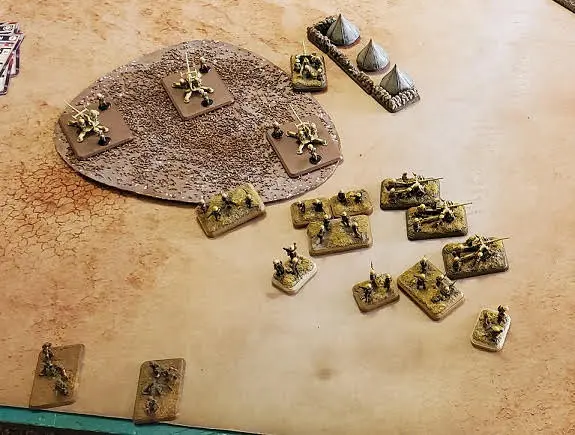
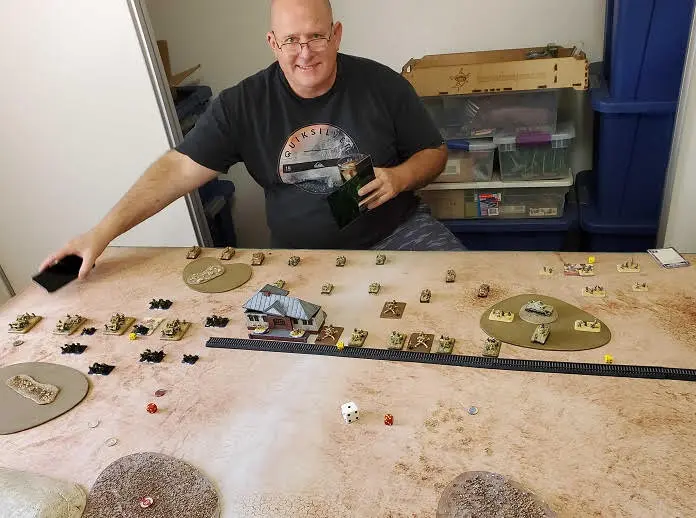
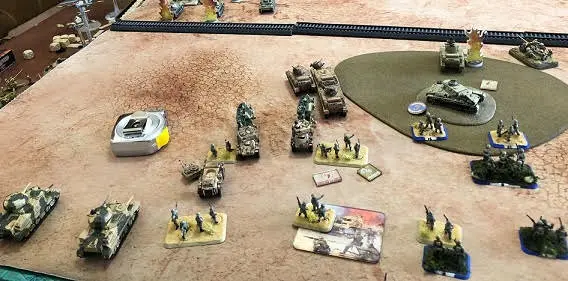
On Sunday I invited Steven Lawless to my Apple Valley residence to fight another battle for Campaign Turn 2, the Italian spoiling attack from C2 into the out-of-supply airfield sector C6.
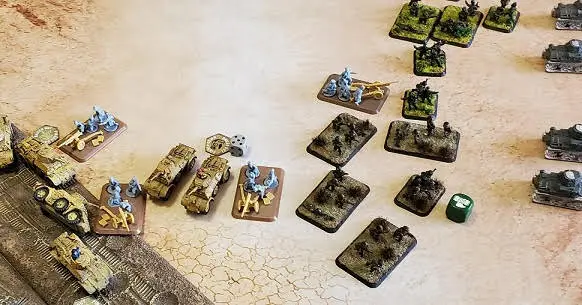
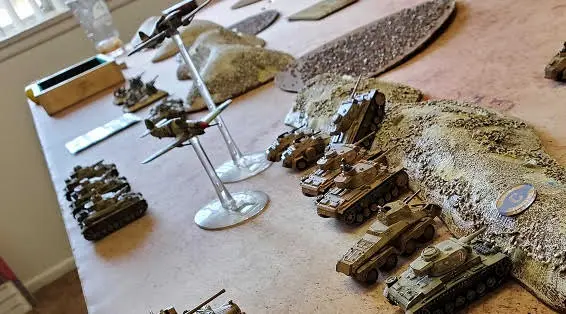
Since this was a “minor sector” we elected to use just 50 points for this battle, along with the CR42 Falco Firestorm unit for Steven. His force represented a reconnaissance “gruppo” based on “Nizza Cavalleria”, consisting of a Motorcycle Company and an AB41 Armoured Car Company. To defend the sector Christian chose a Motor Company representing the retreated remnants of the 7th Support Group.
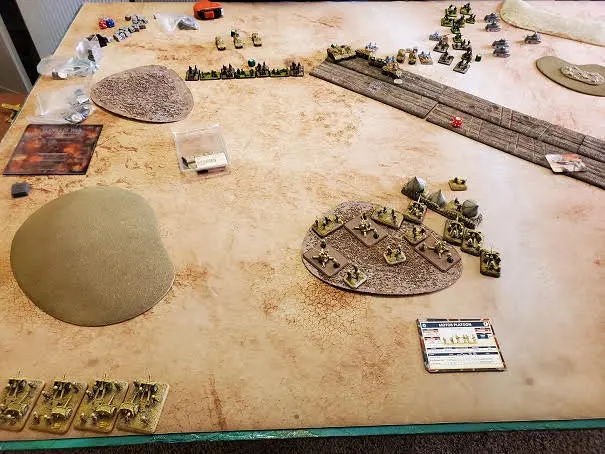
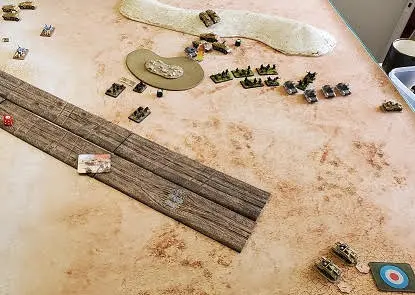
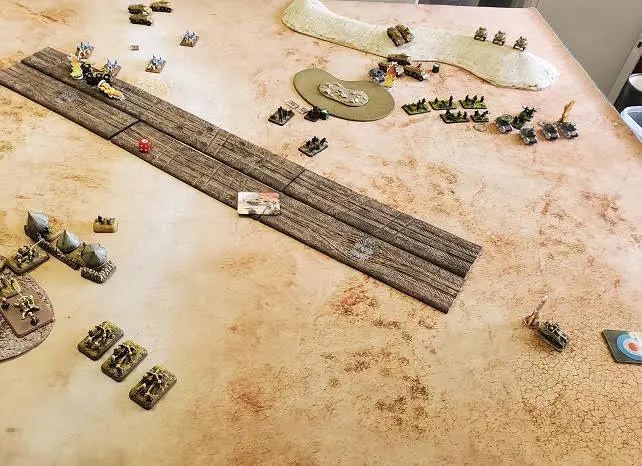
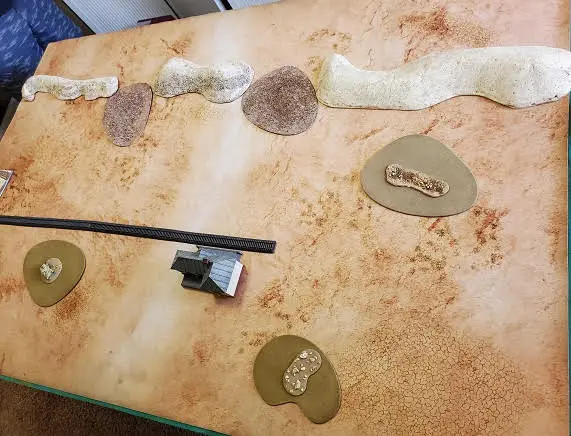
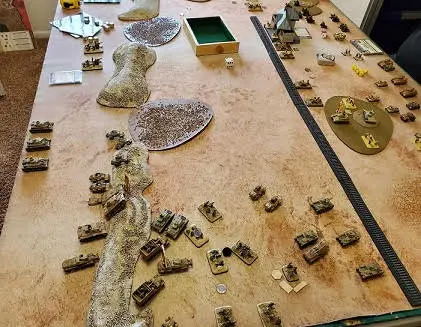
Our map represents a minimalist interpretation of the relatively featureless terrain around what seemed to have been a tertiary landing ground with minimal facilities. First, we rolled on the supply table and got a “2”, meaning that my motorized teams were low on fuel, and might be immobilized on a “1” each time they moved.
Christian chose to defend, hoping to get some minefields to help with the defence, and Steven chose “Maneuver”, hoping to avoid the same. We ended up with ” Breakthrough”, and the British player chose the diagonals which actually included terrain to set up his meager forces inside.
Fearing assaults from Steven’s L6-40 platoon, Christian deployed his 30 points of on-board forces mostly in a patch of rough ground besides the sangars normally housing the air base’s staff. The carrier patrol was set up at the far end of the board in a position to move and cover the far objective, should their fuel hold out. In ambush was a platoon of 6 pounders, and in reserve were the 25 pounders, a Humber troop, and a 3″ mortar section.
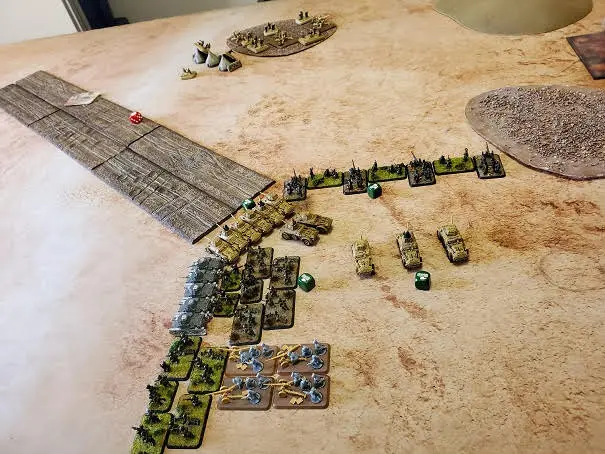
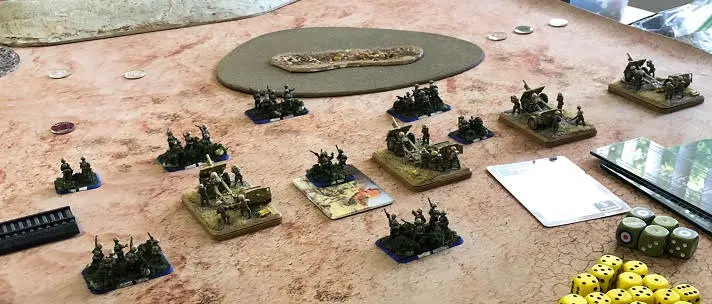
The British were in for a rude awakening when dawn broke and they saw the Italian deployment: guns set to rain fire on the British positions and armour lined up ready to rush around the flanks!
In flanking reserve Steven placed a Motociclisti platoon and another AB41 armoured car unit.
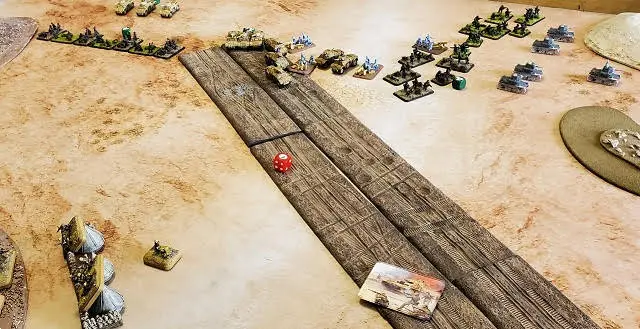
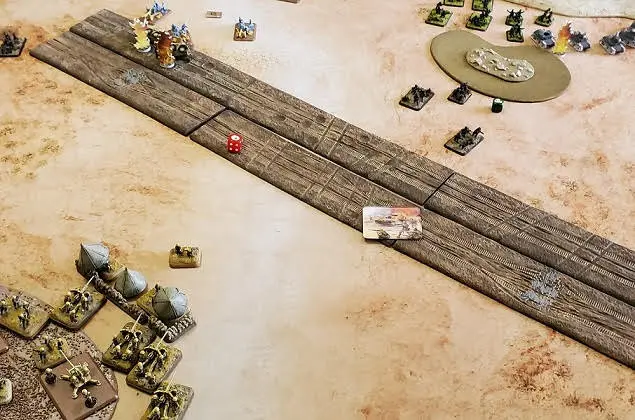
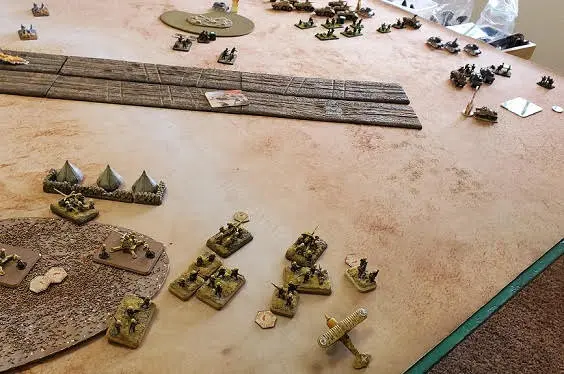
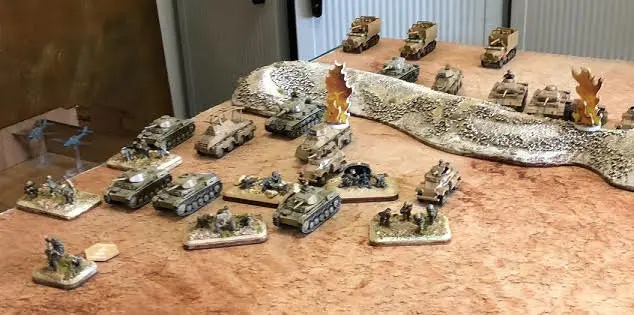
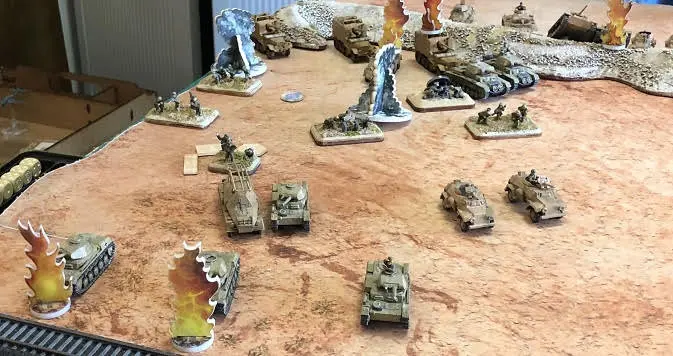
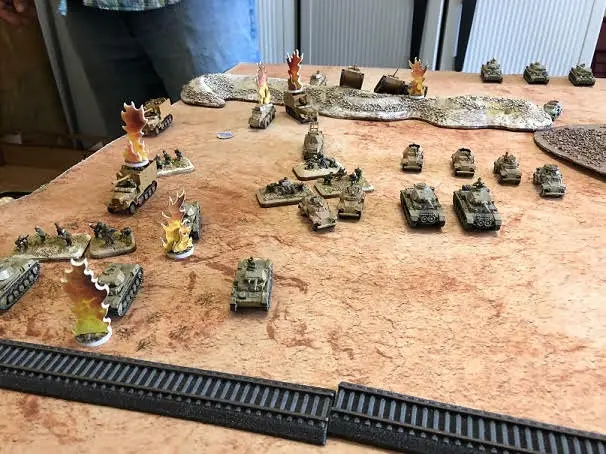
Right off the bat, Steven rushed his dismounted motorcycle infantry and the L6/40 platoon towards the right-hand hill, apparently the site of some British bully-beef stores! The Regio Aeronautica appeared in order to wake up the Carrier platoon (off at the far right of the board) and managed to scare the beejesuz out of one crew, who hid under their carriers until the Italians appeared to take them prisoner. Meanwhile, Steven’s stationary Italians unleashed a furious, but futile, barrage of 47mm, 20mm and machine-gun fire at the Bofors.
Once awakened, the British ran to their anti-tank guns and opened fire on the L6/40s in the distance, but unfortunately only managed to temporarily bail one. Christian chose to site these guns to help cover the Motor Platoon and Bofors guns, fearing that they would be quickly overwhelmed if placed in the hill in front of the oncoming Italians. In hindsight, their sacrifice might have been worth it to gain some time Along those lines, Christian also chose to bring on his fortunately-obtained reserve as the 25 pounders, close to his main body, instead of a more mobile unit near the hills.
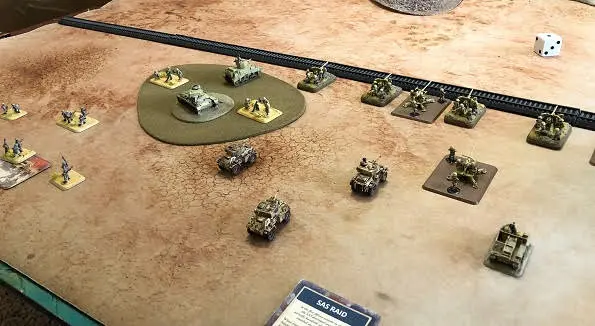
The Bofors were much more successful in their shooting, hitting the two HQ Armoured cars and all three cars of a platoon. Although only one car was destroyed outright, the AB41 platoon left the field in Steven’s turn. At the other end of the airport the Carrier crews who weren’t hiding out underneath their mounts zoomed down to cover the far objective, believing they still had plenty of petrol…
For Turn 2, Steve dashed his mobile infantry, tanks, and armoured cars alongside the runway towards the sleepy-eyed carrier patrol. His 47mm gun units and HMG teams unleashed a barrage of fire against the Bofors guns but again came up short, despite achieving some hits and failed saves.
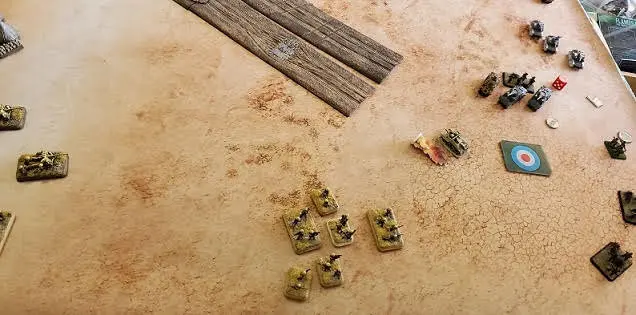
The Regio Aeronautica showed up again on Turn 2 to strafe the 25 pounder crews dragging their guns into position, but failed to score any hits!
On Turn 2 Christian didn’t get any additional reinforcements, and elected to dig in the 25 pounders in case those pesky Italian biplanes showed up again. Seeing the Italian infantry moving alongside the runway prompted the Tommies in their dugouts to shoot, and were joined by the Carriers who moved up slightly, accounting for two teams and halting that unit in its tracks. The 6 pounders were also able to shoot at the L6/40 platoon at extreme range, bagging the one that had strayed too close. Meanwhile the Bofors who hadn’t shot at airplanes on T1 returned fire against the 47mm guns harassing them, killing one. In many respects, this was the high point of British fortune during the battle, their successes killing a few Italian teams lulling them into a false sense of security.
On Turn 3 Steve dug in the surviving Motociclisti near the runway while he waited for his flanking reinforcements to show up. The remaining four L6/40 moved up to shoot at the Carriers at extreme range, and was rewarded with hits and bails against the two guarding the right-hand objective. Unfortunately the crews were convinced they were being fired upon by German Panzers and promptly fled the scene!
On the bottom of Turn 3 Christian got another reserve, and decided to throw the Humber troop into the fray against the advancing Italians in the hopes of delaying them for a few turns. One more L6/40 was flamed by the 15mm rapid-fire guns, but unfortunately the 25 pounder bombardment didn’t add to the tally. Perhaps too late, Christian also had the 6 pounder crews drag their guns down towards the far objective, now defended only by the wreck of a single carrier.
Steven’s advance guard indeed had to spend Turn 4 digesting the Humber troop meal, but he barely had to burp in the process. The motociclisti from his flanking reserve showed up and cautiously contested the objective with maximum dispersion.
Finally at the bottom of Turn 4 it dawns on Christian’s Brits that they have another objective to defend now that the Italians are possessing it! The last reinforcing unit, the mortar section, shows up to help but the laggard Tommy’s only half-heartedly head get up out of their dug in positions to move against the Eyeties. An equally half-hearted bombardment from the 25 pounders against the enemy on the far objective only succeeds in getting a ranged-in marker on them.
On Turn 5 the Regio Aeronautica show up again to harass the British attempting to move to the objective, and although one biplane is shot down by Bofors, the survivor’s bombs get one 6 pounder and an infantry stand. The rest of Steven’s forces wheel towards the objective, and the last flank reserve arrives to cement Italian control.
Surprisingly, the Tommies unpin and rush towards the objective, but the only hope is to shoot the Italians off with 6 pounder fire and bombardments. All these efforts fail abjectly, and Christian is forced to concede.
In an effort to get revenge for the constant harassing fire from Steven’s HMG and 47mm AT weapons, the lone 6 pounder left behind manages to kill a 47mm AT team, despite being “No HE”. If Steven then fails the Last Stand roll for this infantry unit at least another point would be gleaned, but alas it was not to be. Italian victory 8 – 1!
Battle 3 – C6 into C8
Attack on the airfield near Bir el Gubi (Battle 3 C6-C8)
Players: Brent and Ethan at “Flames of War Lethbridge”, Alberta.
We set up the defending corner of the table as the British controlled airfield with a runway, a “hanger” building and some Hurricanes along the runway as short terrain.
Axis (attack): Italian Tank formation and Italian Paracadutisti formation
with support of L640 spearhead, 88s and Firestorm troop of Falcos.
Allies (maneuver): British Motor Company and a Honey Formation with Churchills and Bofors in support.
Mission: Counterattack
The Italians attacked at first light with a two-pronged approach. A scout troop of L60s spearheaded towards the British fuel dump followed by Semoventes, the M14 HQ and an 88. The other prong moved in amongst bombed buildings and into the olive groves near the airfield, while
the mortars began pounding the British positions from a nearby field.
The British countered by spearheading towards the fuel dump with Honeys and Carriers and attempted to call for a nearby Churchill unit to support the defence, but communications were down. Meanwhile, British Crusaders, AT guns and Bofors began to inflict losses on the M14s.
Italian Semoventes and L640s began to inflict losses on the British spearhead while Italian mortars and 47mm AT guns began to whittle down the British HMGs defending the runway.
Italian Falcos finally arrived but failed to drop their bombs with any accuracy under a hail of British AA fire.
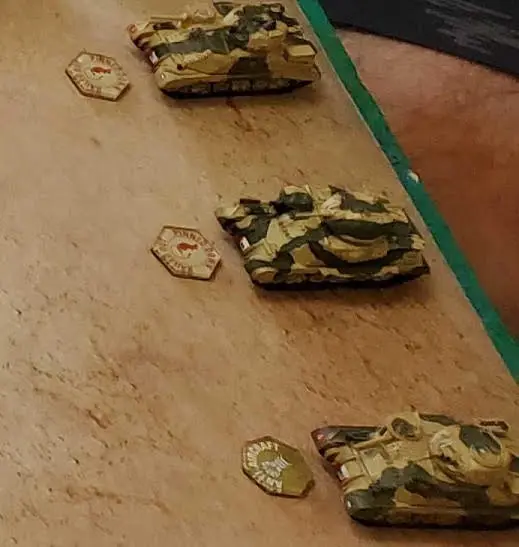
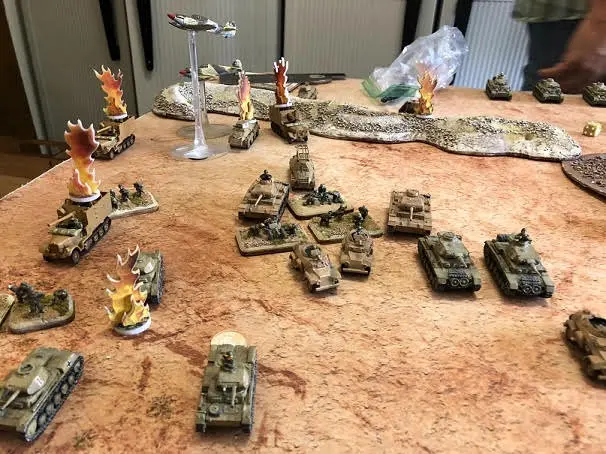
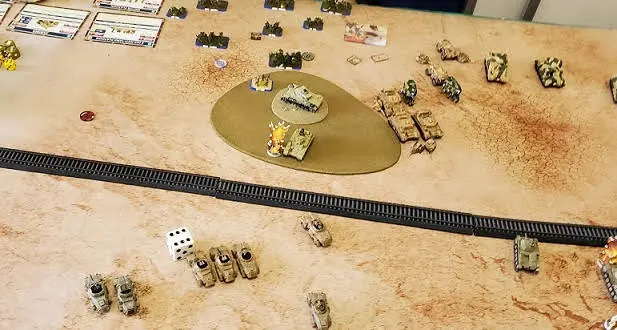
British Churchills arrived on the Italian flank and expertly positioned themselves to be vulnerable to only one 88, which failed to do any damage. Back at the airfield, fierce British resistance killed the Italian tank HQ and very nearly broke the Italian tank formation, but fate intervened (see photo), and the Italians were able to retreat into cover.
As time began to run out (turn 4), the Italian infantry decided to make its move. Under cover from a smoke bombardment, they crossed into the ruined buildings near the airstrip and assaulted the British HMGs but were forced back. The Semoventes and L640s, meanwhile maneuvered into position and destroyed the Honeys and carriers that had taken up a
position near the hanger. The Falcos arrived again and having destroyed a single Crusader, were never seen again.
The Churchills took up a safe position in the olive grove near the fuel dump and awaited the destruction of the Italian armour formation, which they were assured was imminent. But again, the British were unable to break the tank company. The Italians pounded the British airstrip defenses until there were only a few tenacious defenders and moved into the
unoccupied foxholes. In response, the British brought up a motor platoon made a courageous, final attempt to assault and drive the Italian paras off the runway, but they were killed to a man. The Italians had secured the airfield.
Score: 8-1 Italians.
Brian and Noah Reid report:
The mission was Counterattack, and we played 70 point lists, plus the Firestorm units.
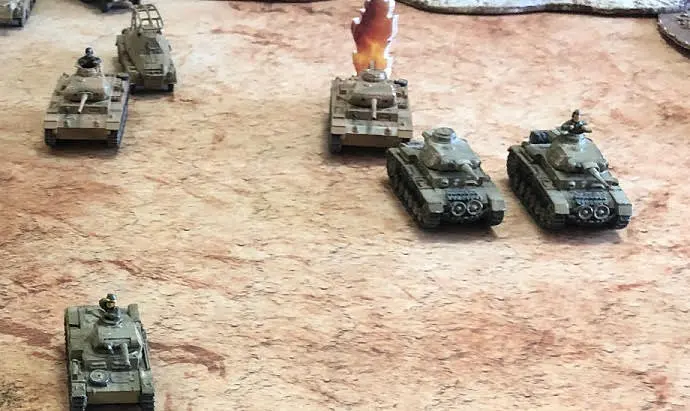
German List: a Panzer III HQ, a platoon of short-gun Panzer IIIs, a platoon of long-gun Panzer IIIs, a platoon of PZIVs with short-barrel 75mm guns, and a couple patrols of 8-Rads to substitute for the Falcos.
British List: a full Honey Squadron, a battery of 4 six-pounders, a full battery of 6 Bofors guns, a platoon of Infantry, and a flight of Hurricanes.
We fought over the British airfield (Kittyhawks on the flight line), and the Honey Squadron started in reserve.
The Germans used their spearhead move to advance into the open desert, intending to sweep by the end of the airfield out of range of the Bofors on the far objective.
The German Panzer IV platoon failed to pin the 6-pounder ambush with their bombardment, and the British ATGs showed the Panzers the folly of the master plan. A platoon of the Panzers was wiped out over two turns of shooting, and the Hurricanes plastered the 8-rads.
As the German master plan fell apart, the Panzers charged headlong into the British guns hoping to dislodge them in an assault before the British tanks arrived in the rear.
The German assault was nearly successful, meaning it failed. One Panzer blew up and another bailed out in defensive fire, turning back the last assault. The Panzer IVs left the woods to hurry forward to contest the objective, but were completely surrounded by Honeys and Hurricanes on the last turn of the game.
The German attack on the airfield was wiped out to the man, and the British earned a 8-1 victory here. The six-pounders were once again the MVP of the battlefield, and the Germans would need some serious fire support in the next game.
Battle 4 – C7 into B7
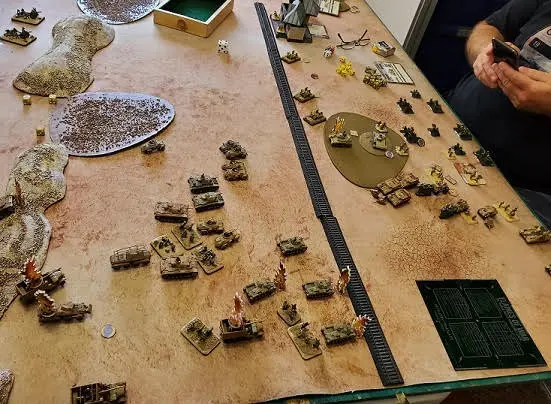
Report from Christian Sorensen – Tom Richards came up to my Apple Valley residence to play a game of Firestorm: Gazala on Saturday: he wanted to play British defending the Belhamed sector (C7 to B7). Apparently lacking the scruples to stick to the British side himself, without argument Christian switched teams to play Rommel’s forces attacking into this critical sector!
Tom chose to field a Guards British Motor Company with two short platoons, a full six pounder platoon, a section of mortars and two carrier platoons, supported by units of 25 pounders, 3 x Bofors, Humbers, Grants, Honey Stuarts and a flight of Hurricane Tank-Busters. His Indian Infantry Firestorm Platoon is also shown in the list, as well as his SAS Raid, Artillery Expert, Diversionary Tactics, Sticky Bombs and Fortify the Building cards.
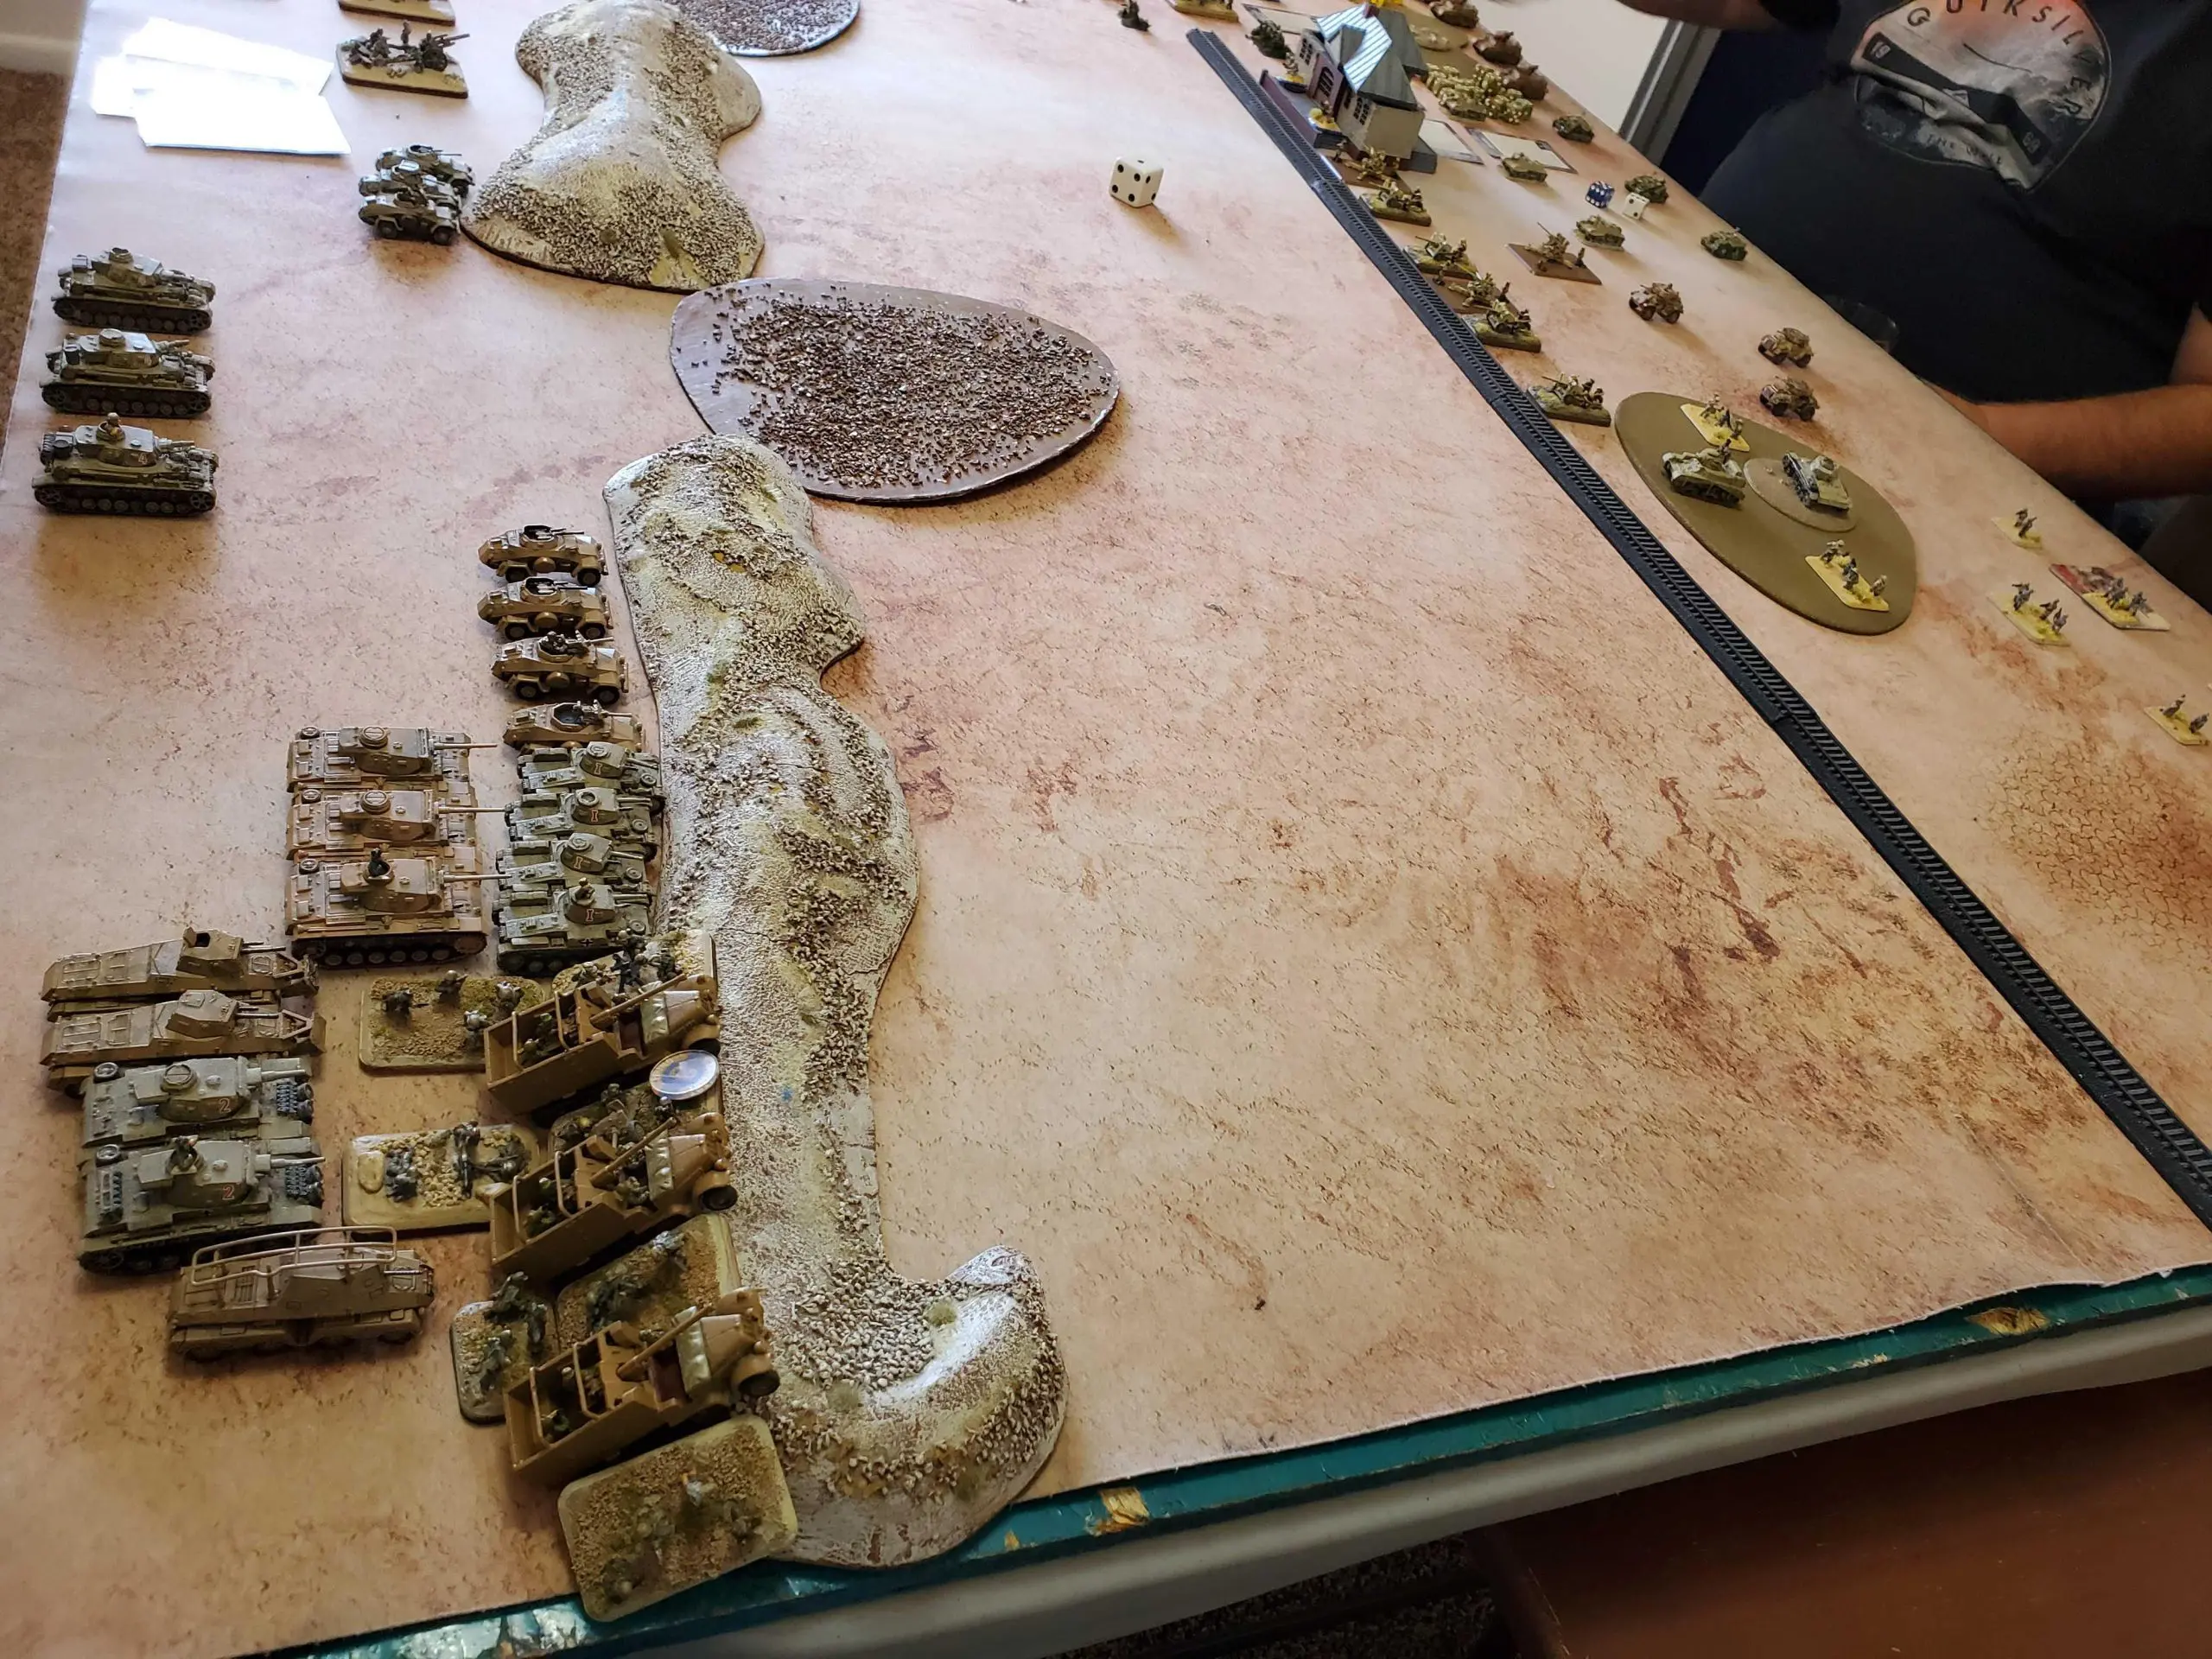
Rommel’s force consisted of two formations, a kampfgruppe from P.R. 5 with 2 x Pz III HQ, 3 x Pz III Up-armoured, 3x Pz IV (short 75mm), 4 x Pz II; a kampfgruppe from A.A.3 with HQ (represented by an 8-rad Radio car), 4-strong light panzerspah, 2-strong light panzerspah, 8-rads, and a full Africa Rifle Platoon. In support were 3 x Dianas, a short 10.5cm Artillery battery and the Firestorm Stuka Flight. For Command cards I had the Firestorm “Erwin Rommel” card, “Roll Over Them” for the Up-armoured Panzer III, and “Pure Luck”, in case I ran out of it.
My general plan was to use the multiple spearheads to get in close where I could, overwatch with the Dianas and use the Panzer Is to attempt to suppress / eliminate AT guns and tanks, then assault with the infantry under cover of a smokescreen or the Panzer IIIs with their HQ.
We both set up the table as a representation of the Belhamed railhead (having just been completed by Indian and NZ engineers) with the escarpments from Sidi Rezegh along one edge represented as hills. The far right-hand one was normal going but the centre and left-hand ones as well as the rough patches between were treated as difficult going. In addition we scattered a patch of sandy ground and two more patches of rough ground, all treated as flat terrain, as was the railway itself.
Thinking I’d prefer a set-piece battle against Tom’s British I chose “Attack”, versus his “Defend” we ended up with “Rearguard”, and I would have to attack directly down the escarpments.
Tom kept his Grants in ambush and set up the 6 pounders and Bofors smack in the middle. Given the barren, flat and practically featureless nature of the terrain he kept his Honey Stuarts near his back edge, ready to race to where they’d be needed.
His Indian Infantry defended the leftmost objective behind all 4 minefield counters, backed up by the 25 pounders.
One short Motor platoon hid out in the Railway Station to use the “Fortify the Building” card, and the other deployed around the right-hand objective in the rear. He set out his mortar section in the sandy ground in front of them along with the Stuart OP as if they were goats tethered to a post for sacrifice.
Seeing this, Rommel elected to concentrate his forces against the British left flank, even though all the vehicles would have to pass cross checks to get down the escarpment. Unfortunately, the British RHA “experts” moved their ranged-in marker right on top of the Dianas and infantry, so the element of surprise was lost!
On T1, Christian used “Cross Here” movement orders to back the Dianas off the edge of the escarpment and to push the Panzer II platoon down onto the plain with the infantry. The Panzer III (Uparmoured) tried to get to the edge, but only one succeeded, and a Panzer III from the HQ was also left behind, as were a few armoured cars. The 10.5cm battery ranged in on the RHA and Indians guarding the leftmost objective, but succeeded only in pinning down the Indians. The Panzer IV company, safely out of reach of the 6 pounder gun line, ranged in over 3 AT guns and 2 Bofors and succeeded in destroying a 6 pounder right off the bat. Despite lack of air support (due to some cheeky SAS raiders, no doubt) Christian was satisfied with the progress so far.
Soon however, dark shapes in the form of british Hurricanes appeared to strafe Christian’s tanks on top of the escarpment! Despite getting two AA hits with the 2cm guns from the armoured cars, and Tom failing both saves, both Hurricanes survived and completed their gun run, destroying one of the precious up-armoured Panzer IIIs.
Worse, the cursed RHA found the range against the advancing spearhead, pinning the infantry and destroying an 8-rad.
Tom elected to keep his ambush off the table, and even though the Indian infantry hadn’t unpinned, they up and left their foxholes to dash diagonally towards the threatened sector.
Unfortunately, the Africa Platoon didn’t unpin on T2 despite the presence of their AA3 command A/C so they dug foxholes instead. The Panzer II unit pushed forwards and took shots at the Humbers, followed up by as many armoured vehicles as possible who could cross the escarpment. This included all 3 Dianas but left behind many armoured cars and one of the up-armoured Panzer III. Somebody took a shot at Tom’s advanced OP and destroyed it, hopefully putting an end to harassment from the RHA. The Panzer IV repeat bombardment killed two Bofors guns (who would then fail their Last Stand), so progress was being made, even if in fits and starts.
Tom’s answer on T2 was to shatter my complacency about German “progress”. The Grants came out of ambush just over 16″ from the Panzer II platoon and destroyed two of them. His mortar section screened the Dianas whilst the Hurricane Tank-Busters concentrated on the Dianas, again getting through the AA fire and destroying one of their targets. The RHA unpinned against my poor 10.5cm bombardment and then proceeded to plaster my infantry with repeat fire (being able to see clear across the table all by themselves), killing my HMG team. His Honey Stuarts moved up and took more shots and his three remaining 6 pounders fired at my Panzers even though they were pinned, scoring one hit, for which Christian had to use his “Pure Luck” card to reroll the armour save. However, now the German offensive had some serious problems to deal with!
On T3 the Stukas finally showed up and flew a mission against Tom’s two leftmost Grants, a pair of infantry stands and a Humber. The infantry were pinned, the Humber destroyed, but only one Grant was bailed despite being penetrated! One Diana was able to blitz out of the smokescreen and the other moved up, three shots against the Grants produced two hits and two penetrations, but no kills. My infantry blitzed forwards, unwilling to subject themselves to machine-gun fire whilst Tom still had carriers, armoured cars and Honeys threatening them. My armoured cars and Panzers were finally able to move up to take care of these, 5cm, 2.8cm and 2cm fire destroyed one Honey, bailed another and also got two carriers. Panzer IV and 10.5cm artillery repeat bombardments only succeeded in re-pinning their targets this time around.
Christian was gnashing his teeth at only getting bailed results against these, especially since Tom unapologetically remounted all three straightway!
I had been hoping to see off Tom’s Honey Stuarts as well, but they survived a Last Stand check due to being dispersed and consolidated forwards. His remaining Carrier platoon (the first had been withdrawn) ran away, though, and Tom withdrew his section mortars now that they’d fired their smoke bombardment. The Indian Infantry platoon arrived to help cover the left-hand objective and my infantry got a respite when the RHA failed to unpin.
Although the RAF also failed to show, and his 6 pounder fire again whiffed against my up-armoured Panzer III, and my Panzer III HQ bounced shots from his Grants, Tom’s T3 firing was not totally ineffective. He bagged the forwards Diana and another Panzer II, reducing both units to one runner. Christian made good use of the “Erwin Rommel” card’s 8 inch command range for the Formation Commanders to keep the remaining Diana and Panzer II in the game at the top of T4.
Without Stuka support, for T4 I hoped to get some results against Tom’s Grants whilst destroying the Honey Stuarts and as many Humbers as possible, leaving the 6 pounders for the Panzer IV bombardment. Since the 10.5cm guns had managed to destroy a 25 pounder already last turn, I switched their fire against his Indian infantry and HQ teams near the objective. The lone Diana scored a hit against a Grant and again penetrated, but again failed to destroy its target. Shots by the up-armoured Panzer IIIs against the Grants were bounced at long range, but at least the weight of fire destroyed both Honey Stuarts. The Humbers were harder to hit as they were hiding behind the wrecks of carriers, but both survivors were bailed.
Both of Tom’s Humbers remounted, but since the RHA again failed to unpin he sent them home, and rolled up the RAF instead to finish off the last Diana. The Grants and 6 pounders spent another fruitless turn bouncing shots off of the up-armoured Panzer III, and all the rest of his fire only bailed out the last Panzer II. What was going to break the stalemate?
At the top of T5 Christian decided to try to force the issue against the Grants, sending the infantry forwards in assault range and concentrating the fire of the short and long 5cm guns against them. The Armoured cars also moved up to help finish off the Humbers and finally start shooting at the 6 pounders. The planned assault against the Grants totally failed, as not only did the infantry fail to “Follow Me” to get in range, but the combined tank fire completely whiffed! A ray of sunshine was that the dogged sole surviving Panzer II accounted for another Humber, and lucky fire from the light Armoured cars nailed a second 6 pounder. 10.5cm repeat fire against his infantry did at least manage to kill his 1iC, leaving the mis-positioned 2iC to attempt to keep his formation together.
Although Tom’s surviving Humber made its Last Stand, he removed it anyways as none of the other candidates for withdrawal were palatable. Smelling blood in the water, Tom moved both of his Motor Infantry platoons to attempt to capitalize on my misfortune against his Grants and shore up the centre. The MG teams on his left moved up behind the Grants to pour fire on my advancing shutzen, joined by one of the tanks while the rest shot at my Panzer III. His Indian infantry meanwhile were dug in on the objective, sipping tea and playing “toss the sticky bomb” games. Tom’s fire against my Africa Rifles killed 3 stands, leaving them holding on to “good spirits” with their fingernails.
Grant shooting against Christian’s Panzers finally bagged another up-armoured Panzer III, leaving him again thankful that his Formation Commander now had an 8″ range with which to provide Last Stand rerolls.
Up to this point, Christian had been convinced the dice gods had it in for him, solely on the basis of his ineffective shooting against Tom’s Grants. But on T6 the heavens parted and the Stukas decided to show up again, so he took another run at Lucy’s football and sent the Stukas against the Grants and kept his Panzers stationary to fire again. This time, however, realizing that Tom’s other Motor Platoon had left the safety of the Train station, he moved both surviving armoured car units leftwards to pour fire on the infantry and threaten the left-hand objective. Although once again, all shots against the Grants whiffed, but the Stukas and Schutzen managed to destroy two of the MG teams on the right flank, leaving the unit leader isolated. Fire against the left hand unit proved very effective, leaving them with just two stands. And the Panzer IV repeat bombardment finally killed another 6 pounder, leaving them with just a single gun.
Suddenly, at the bottom of T6, Tom found himself making Last Stand checks on 3 of his 4 remaining Motor Rifle units, and he failed ALL THREE of them. Game Over.
This turn of fortune would normally have resulted in a 6-3 victory for the Germans, but the steady and approving presence of “Erwin Rommel” himself has turned it into a 7-2!
Battle 4 C7 into B7
Evan Simms reports
Free for all
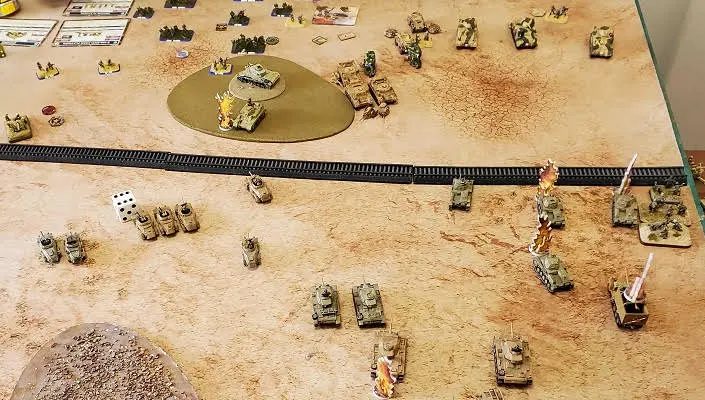
Deployment – Germans set up infantry and captured 6pdrs around the left side objective with armored cars forward and to the flank in blocking positions. On the other flank, German forces supported by Dianas are deployed forward of the objective to put early pressure on the British while Italian Semoventes position in the center to cover both flanks and provide further anti tank support. British deployment mirrors the Germans with infantry dug in on the right flank with Crusader 6pdrs and HQ in support while the bulk of the two armored squadrons deploy on the left
to put pressure on the Germans.
Turn 1 – British Armor advances slowly through the city attempting to stay away from German gun sights while still putting pressure on the German objective. The HQ Honeys move up to the small center buildings and manage to catch a group of German armored cars and destroy a Sdf Kz 222 (2.8cm). The Germans retaliate hard and fast when their Stukas arrive. The bombers range in over a group of clustered British armor, knocking out 4 tanks and bailing a third. The surviving British tanks broke and ran as their troop mates vehicles burned, 2cm fire from the armored cars impacting on their hulls and turrets. On the other flank, German Artillery fire ranges in on the Indian Rifle Platoon and pins the unit when a shell impacts in a foxhole killing the occupants. Armored cars advance on the pinned
platoon and begin spraying them with MG and 2cm fire.
Turn 2 – British know they need to end this fight quickly. With Germans in control of the air and their tanks getting picked off, they had to push now while they had the advantage in numbers. The British Commander sees the
German left objective is unguarded and send in a group of Crusaders. Using their speed, they race past the armored cars and Dianas in the tree line getting behind their guns. Honeys crest the rise to put fire onto the approaching Semoventes and the heavier Grants roll towards the infantry intending to keep them pinned and draw fire from the Crusaders. The German quickly see the threat the flanking group of Crusaders present and try to get as many guns on them as possible before they escape behind the palm grove. Only one of the Dianas passes its cross check and two units of cars pull back to chase down the Crusaders. Their combined fire picked off two of the three tanks, and the third breaks off, retreating to friendly lines. The Italians manage to knock out two stuarts with a pair of Sd Kfz 231s also moving in to support.
Turn 3 – British Crusaders and Honeys seeing they could no longer push, held position to take as many shots as able. They scored hits on some of the flanking 221/222s and the Honeys even managed to knock out two Semoventes. But these gains were short lived. As the ammo cooked off in the burning Italian vehicles, the all too familiar dive siren was heard as the Stukas made a run on the British Grants. Bombs and captured 6pdr fire ripped into the tanks knocking out two of them as the planes zoomed away to refuel and rearm. The remining 6pdrs opened up on a group of Honeys, killing one and bailing two more. The Germans took full advantage of the stationary tanks and the Semoventes destroyed the reminder of a Honey Troop that had just fired on them. Artillery fire continued to pound the Indian Rifle Troop as the armored cars that chased the flanking Crusaders returned to keep suppressing with MGs and 2cm fire.
Turn 4 – British Crusaders repositioned to reinforce the Honey Troops. The remaining Honeys, pulled back to support their infantry platoons from the approaching cars or just tried to hide among the city buildings until they
could remount or flank the encroaching Germans. There retreating cover fire bailed a Sd Kfz 222 and killed a Sd Kfz 221. Now that the British were falling back, the Germans now tried to Flank the British. Armored cars moved in on the left flank as artillery kept the infantry pinned. The Italians moved up and with help from a second ground of 221/222s bailed out the Honey HQ troop.
Turn 5 – British Honeys and Crusaders rallied behind the badly mauled Indian Rifle platoon and pushed the German armored cars back from the flank. If they could keep the push going they could catch remaining cars and the Dianas in a cross fire that would eliminate then and clear their way back to the German held objective. A 231 platoon tried to assault eh Indian Rifles but lost one vehicle to defensive fire and only managing to kill one unit before they were driven off. Seeing this, the Germans knew they had to knock out these last tanks troop and secure the win. The Dianas opened up on the command group of Crusaders. All three tanks were hit by German shells and shudder to a halt as smoke and flames started to erupt from their crew compartments and engine decks. The Stuart HQ was surrounded by Sd KFz 231s, 221/222s and Semoventes. Combined fire destroyed the last two tanks before they crews could remount.
Turn 6 – The last few Crusaders and Honeys tried flank the Germans and set up a cross fire. However the British crews were exhausted from fighting and their shots failed to connect. The Diana and remaining cars split their fire and destroyed the last tanks on that flank, breaking the British formations and securing the win. 8-1 to the Axis due to Rommel.

