Flames of War – Winning for Democracy – French GT debrief

Hello there, boys and girls,
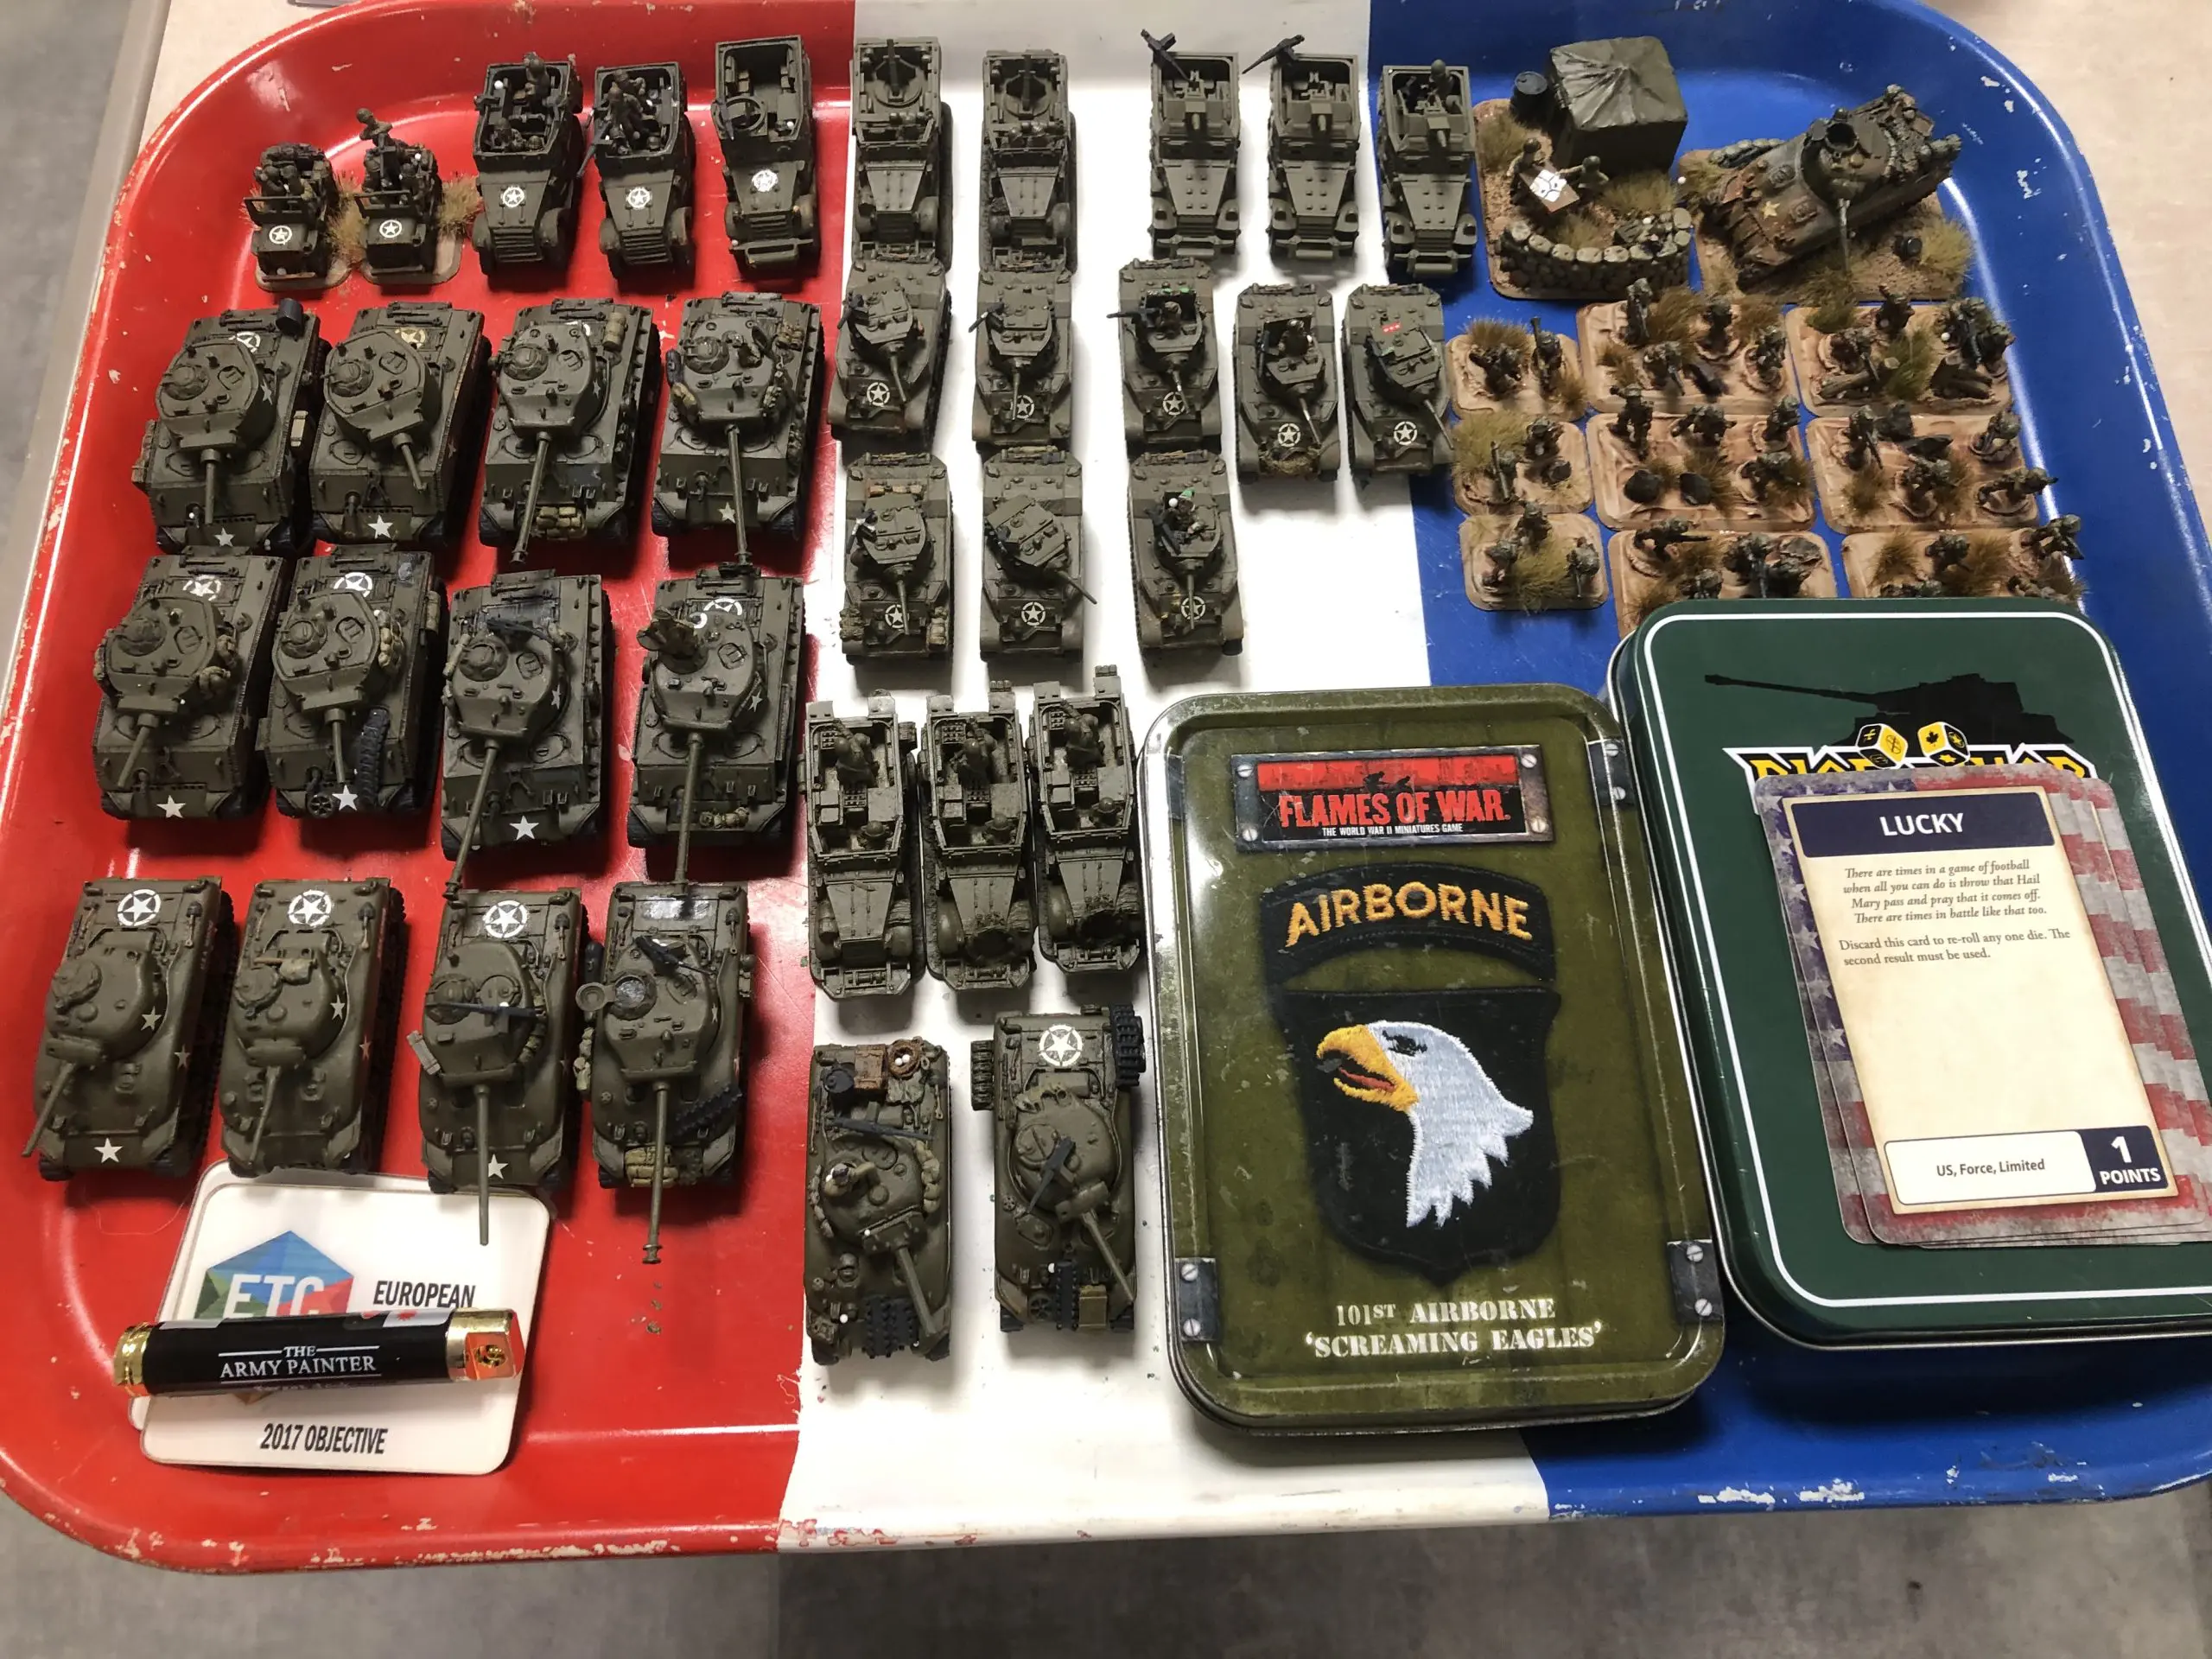
Fred here, back from French GT (or “Nationals” as the young say now…), concluding my 1st quarter of the 2023-2024 FoW Season. I took my US Army to the heat of a major event, where the old guard and new generation of Team France ETC clashed (albeit I’m neither of both as I took a step back of the Team France ETC squad for now).
A challenging event in perspective, let’s see how the Patton’s boys did in real combat against France’s toughest players of the moment…
Swimming into disturbed waters
I expressed in my previous article on the topic (https://breakthroughassault.co.uk/flames-of-war-a-quarter-fighting-for-freedom-season-2023-2024/) what was my mood entering the event. Real Life is extremely demanding at the moment, I do need to properly finish ongoing works and deal with my kid while 2nd son is arriving next month. I do manage to play with toy soldiers, but surely I can’t as much as I would like to, and certainly less than the most assiduous crew of Team France, each running 1 to 2 battles per week.
I did trust my US Build to be balanced, but I knew it wasn’t the kind of list I’m comfortable with. It didn’t “talk to me” enough, was relying on some key plays I missed to properly conduct in the past quarter, and I hadn’t have enough “modjo” with it. Long story short : while I would play seriously to avoid being beat up badly, I did expect to fall below Team France hottest players of the moment (Jean Michel, Patrick, Loic S.) who are clearly more into it than I do (and respect to them!).
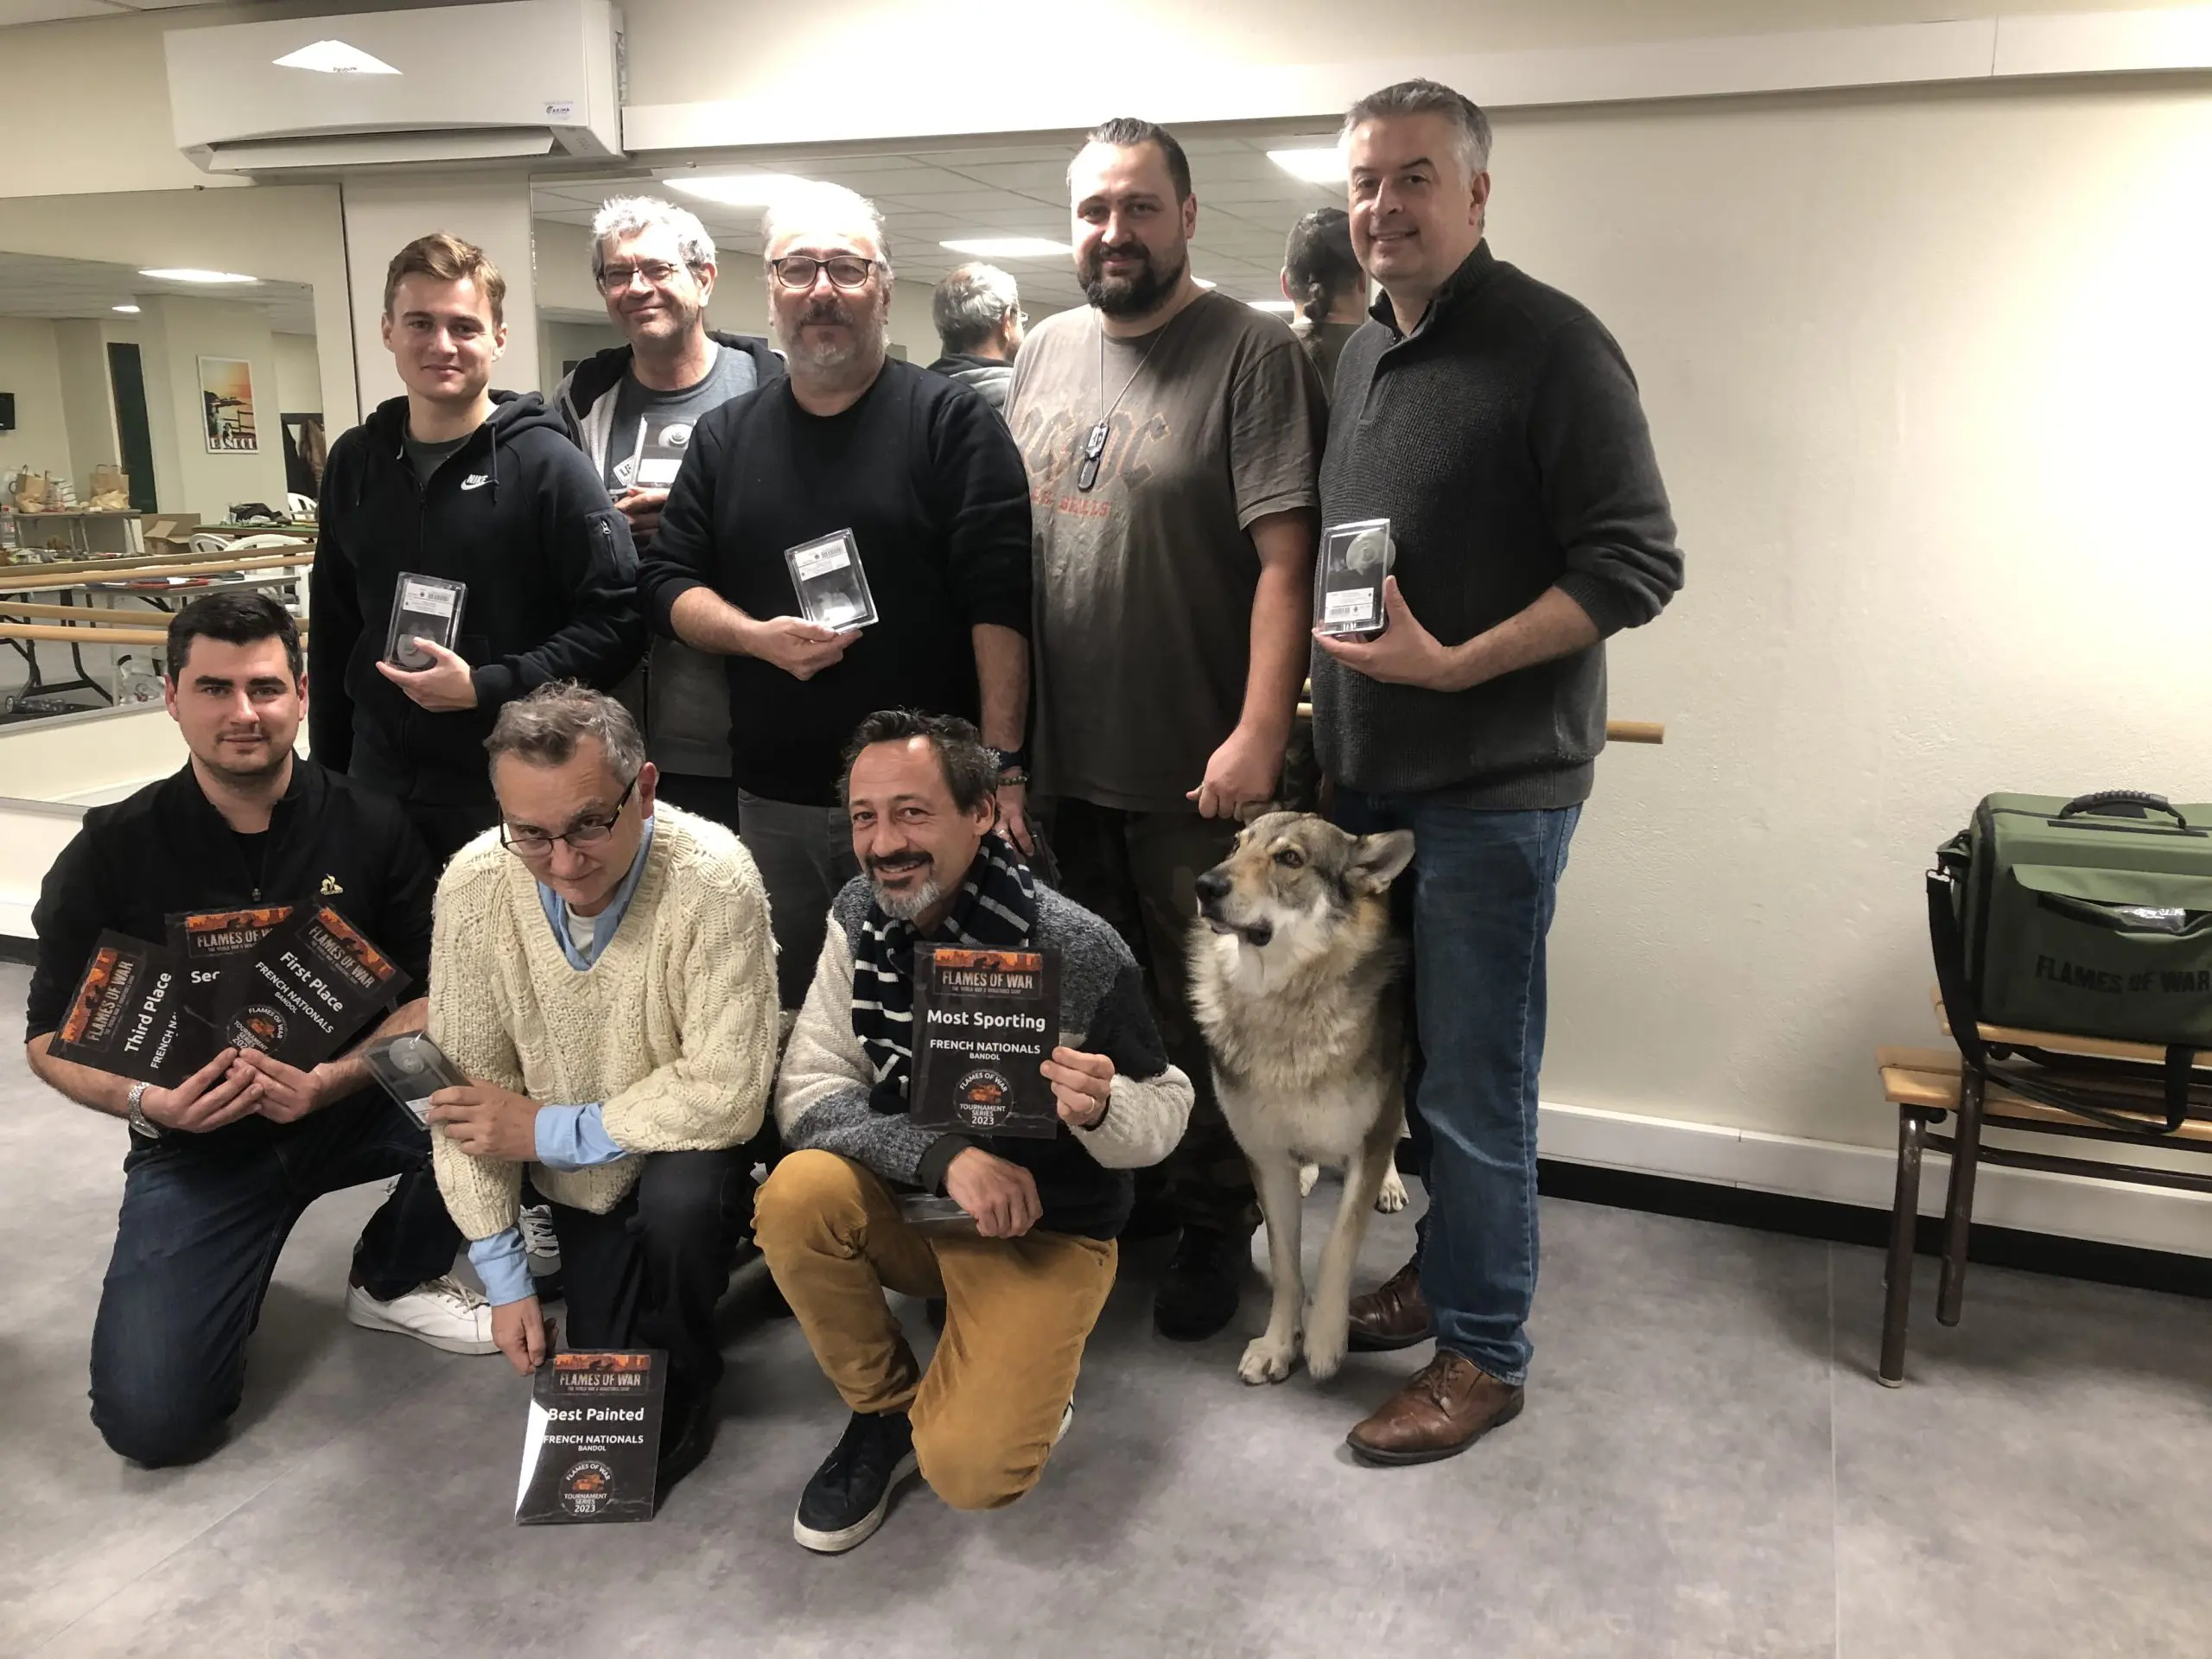
While organizing French GT, we knew it would mainly (if not solely) address FoW France Community : the event was designed for it, and while they were another major event on the same week-end (Madrid), we didn’t expect foreigners players to be able to join. A couple of weeks before the event, we were expecting 16 players from all across France to join. Due to late drop outs for various reasons (sickness, accidents, family, others…), we end up being 8 players. Which is a little bit disappointing, but manageable. In the end, we did pull a good tournament on one day, where, thanks to the results and match ups, we could determine clearly a fair ranking, reflecting what is the purpose of a Nationals from a competitive standpoint: what’s the hierarchy of the Community in term of performance at a given time.
BF had been most generous with the prizes (thank you again Matt Sulley!), so we end up having a stock to both the players attending (good to have no one walking away empty hands!) and a stock to support FoW France events from early 2024. Long live Flames of War!
The 8 players selection of Builds were quite interesting. We have 7 Blue and only 1 Red, quite a rare sight (especially as Madrid was really loaded with GER!). 3 players came with US, 3 with UK, 1 with USSR, and 1 with ROM (allied with GER). Sherman are the new black, Light Tanks were here but more in a Utilities roles (not in Primary), Recce/Light AFV were there but did perform as expected (they are not the kings anymore unless you’ve missed the memo…), and we also have Infantry as Primary! It’s good to have the meta being balanced without the Editor having to rely on complex and debatable “Dynamic Points”. Please BF and TOs, no rushed move there, observe what’s going on everywhere in the world, and rely on experienced players first.
While a 16 players tournament would surely have brought more diversities (notably more GER), we end up having 8 players coming to actually compete and play to win, not pollute the game by only Drawing.
Round 1 – Training Camp in Lorraine
For the 1st round, I was paired up with Abel, who is a solid Community leader in the Lyon area (the 3rd largest city of France), the best ranked player there, and also a Team France 2023 (and continuing) member. Awkwardly enough, we have never plaid each other, so I was pleased the draw put us together. Having a car trouble, Abel arrived at the tournament with 2 hours delay, but we decided to still play the game nonetheless, eating the clock of the lunch break. I knew having to finish a FoW competitive game in 2 hours could be tough, especially has we rolled for Breakthrough (where none of the parties can win before Turn 6, unless one side concedes), but we carried on! So 1st match, in a timely constraint 2 hours hard, against a rising player? Could have been better for me!
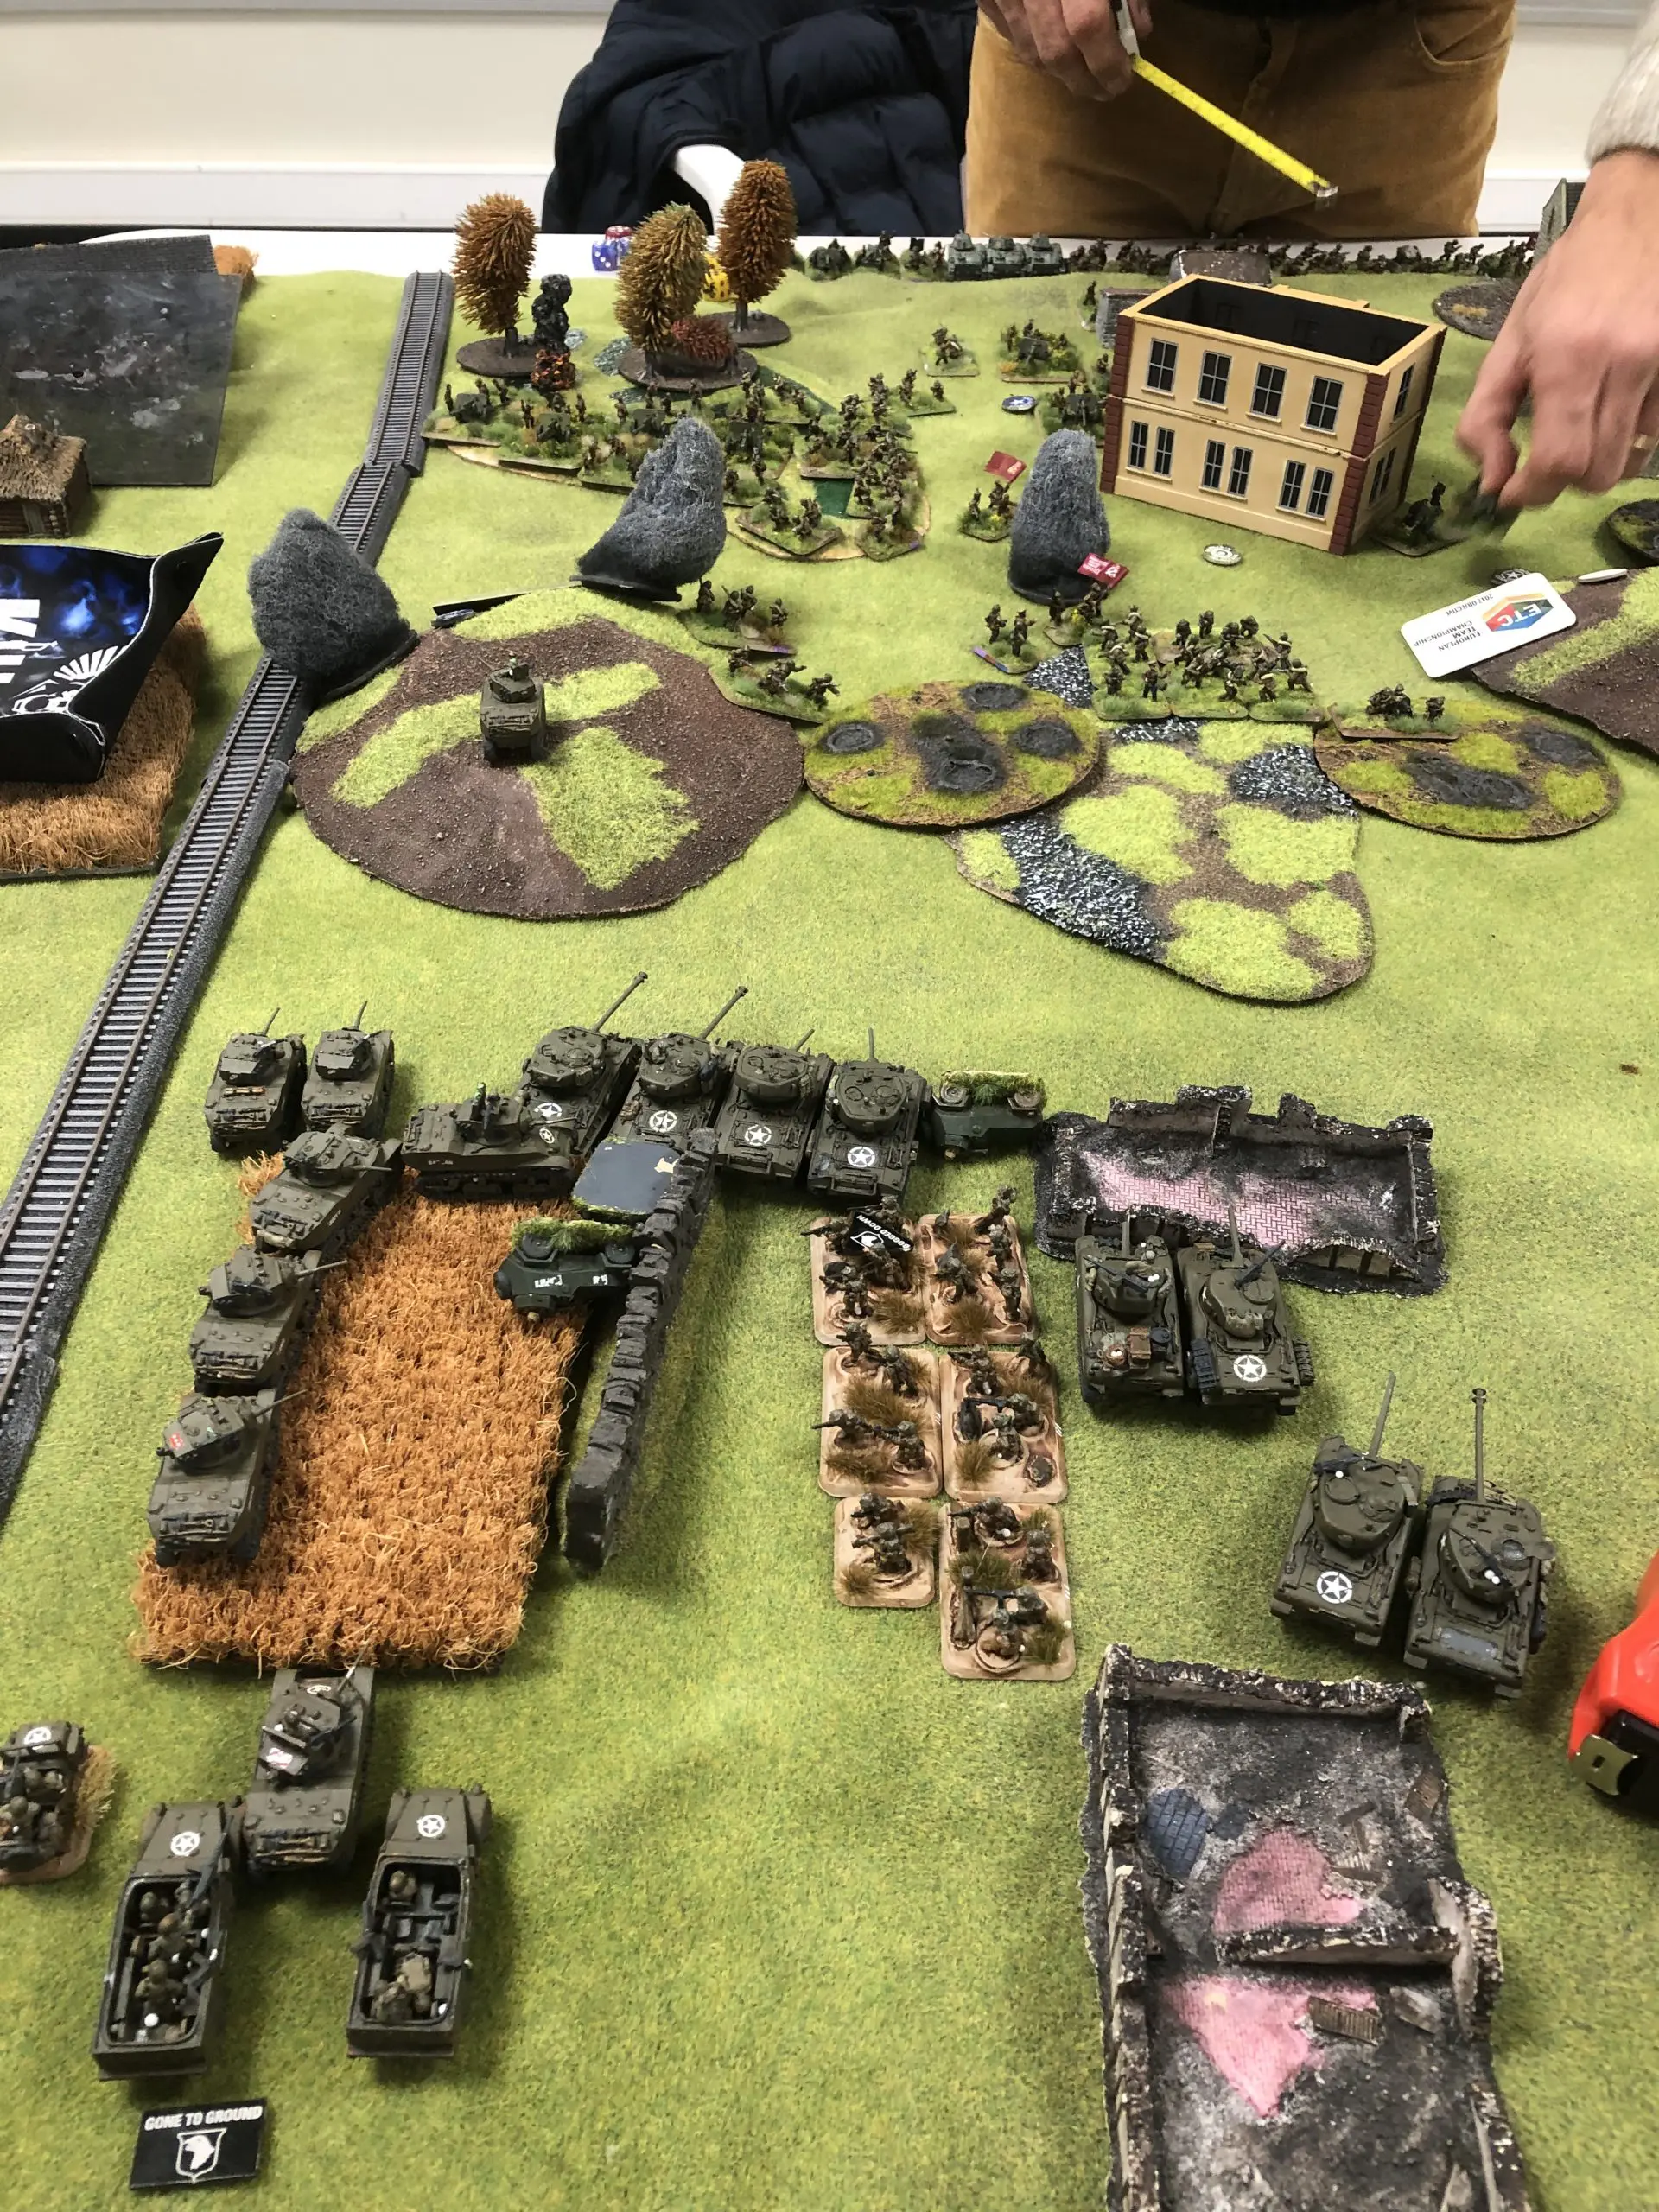
Anyway, Abel plaid Bulge UK, with an upgraded Kangaroo Rifle with 6pdr (a very popular choice), with a 2nd Formation of Armored Cars (including the superb Matador), backed up by Sexton, Archer, and a group of 4 Challengers/Cromwell. A well-rounded list. He chose Maneuver and me Attack, so I had to take its objectives and lock them hard in a handful of turns to secure the win.
Abel deployed one Infantry holding the advanced objective with HQ, one Infantry ready to jump in Transports to rush toward the far objective, 6pdr in Ambush, and both Artilleries positioned to support both objectives and rain fire on my troops. Recce was dispatched amongst the lines to slow me down.
I attacked with all but 2 units of Sherman and 1 unit of Stuart (42 points Reserves). Here, it may be the short night or else, but I could have left in Reserve only 1 unit of Sherman and 1 unit of Stuart, I simply forgot Breakthrough has limited Reserves (min. 1 Unit, but no need for 40%).
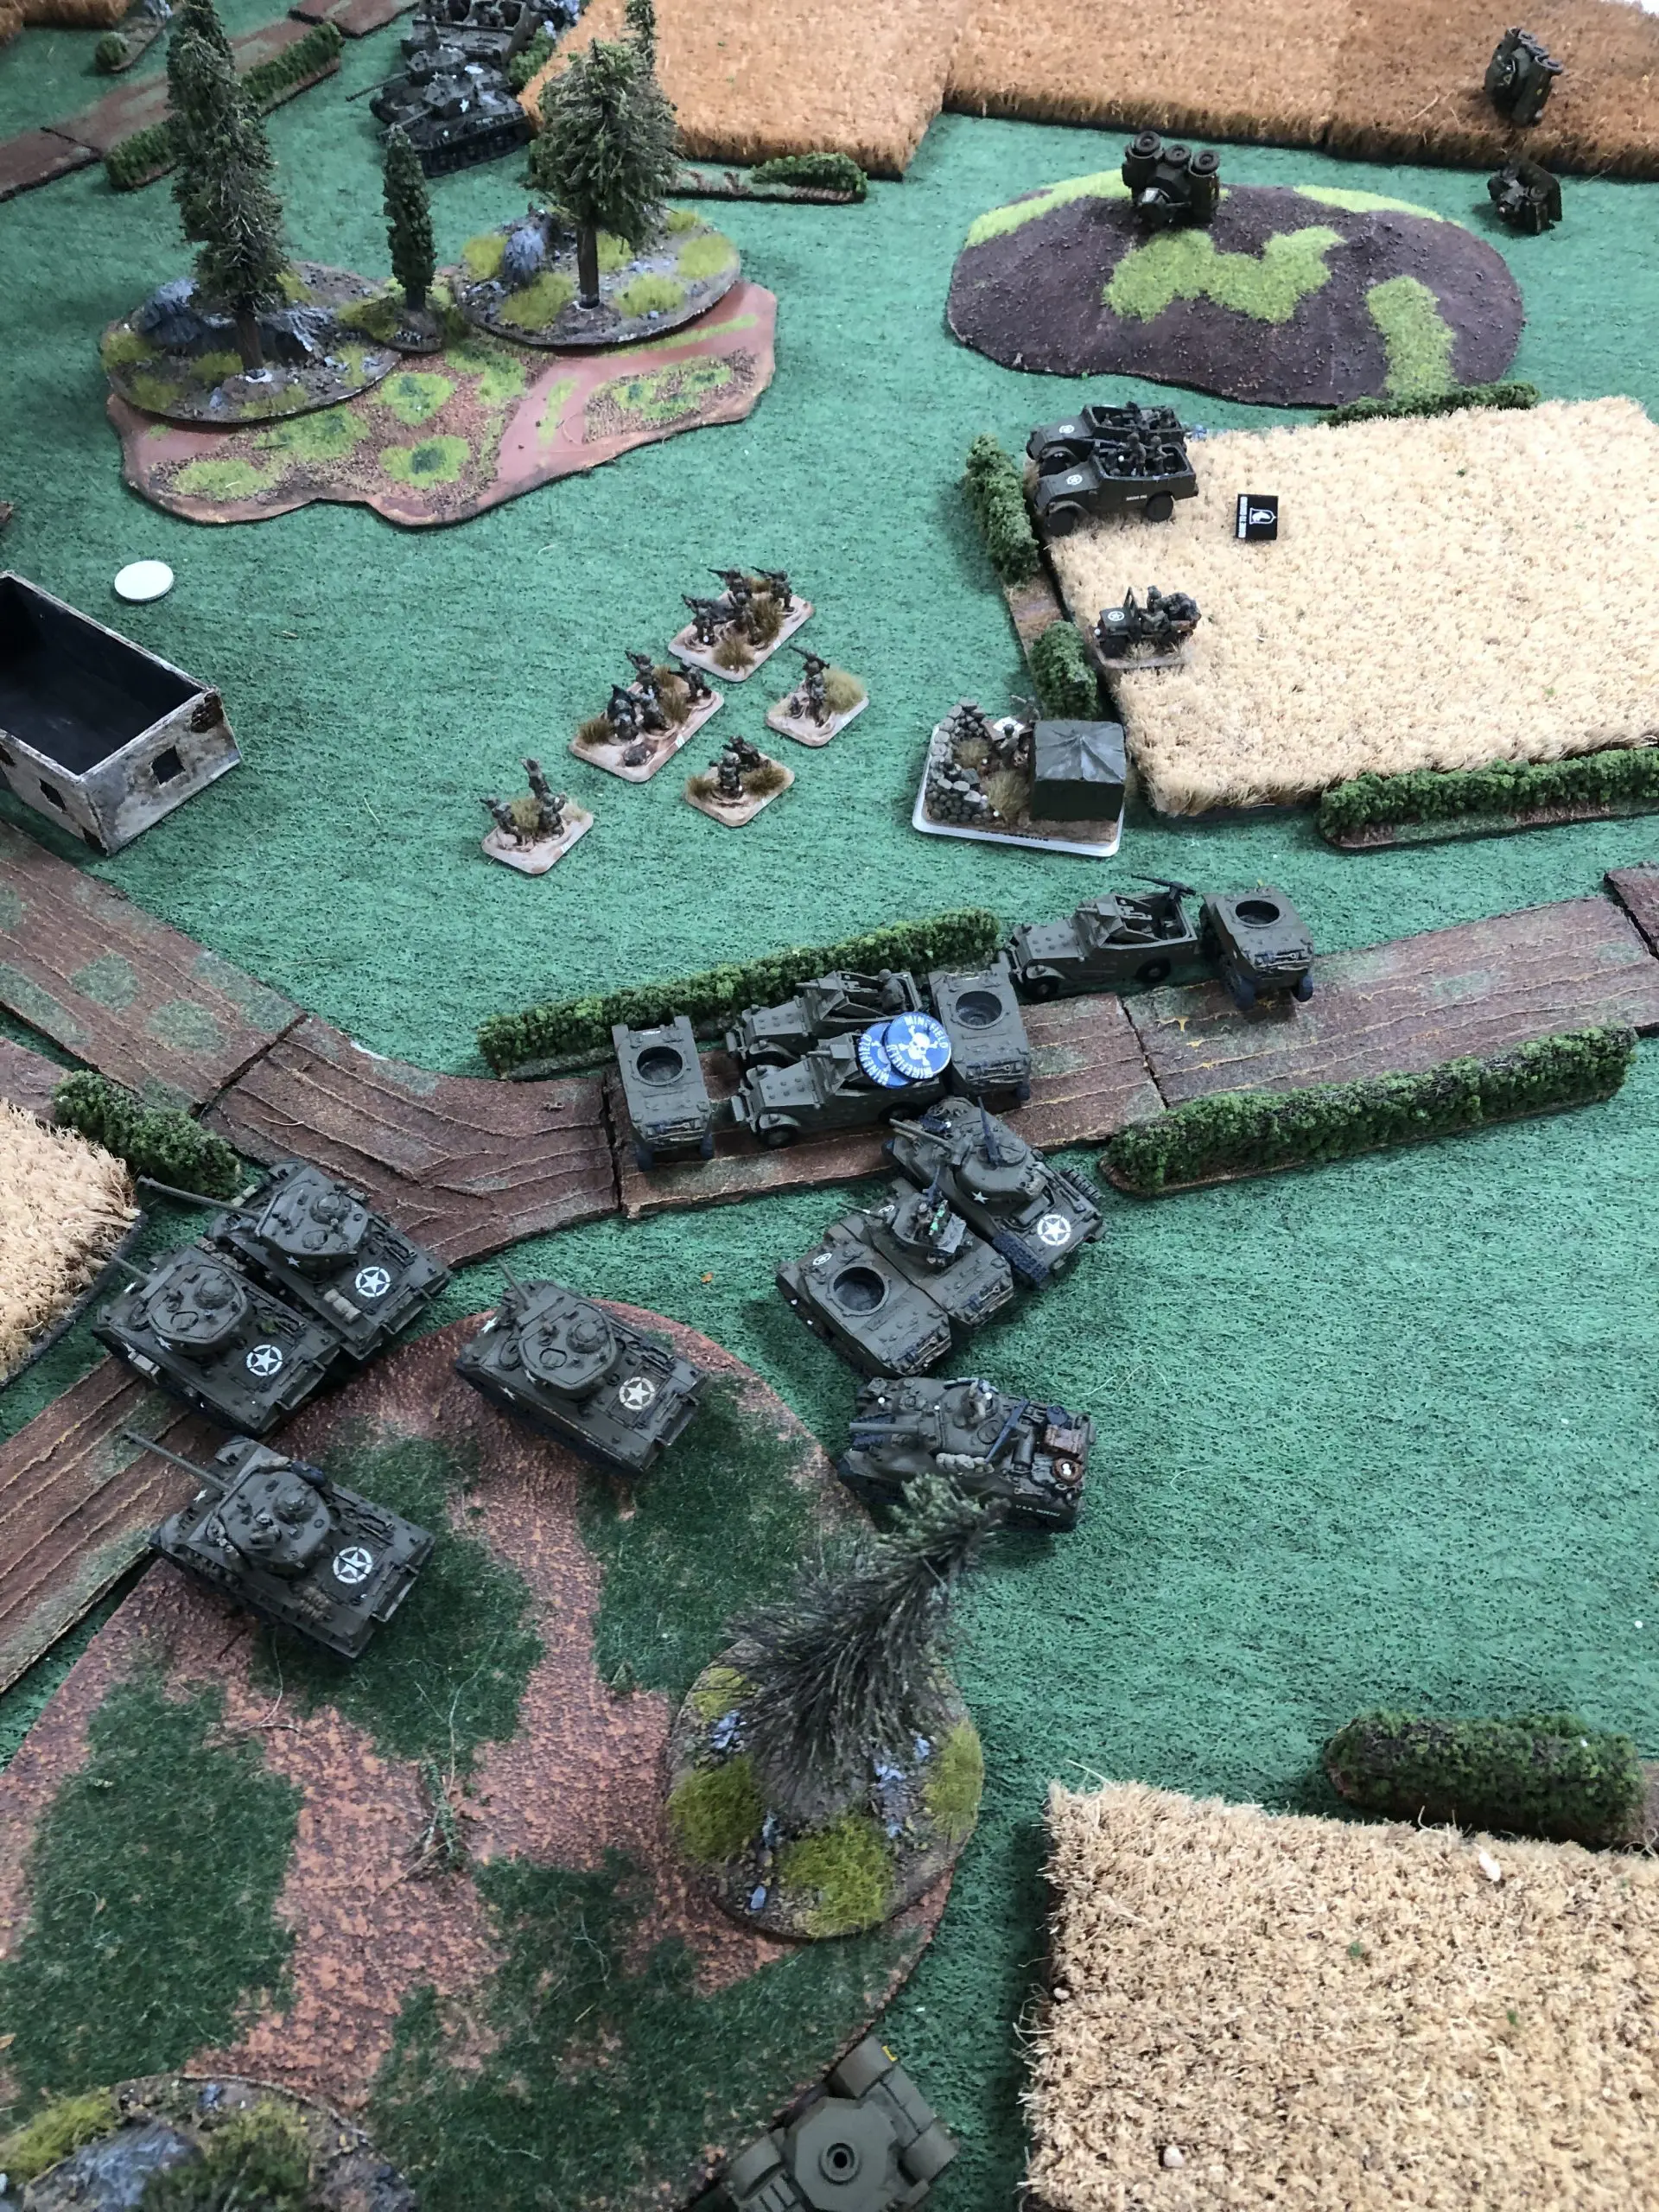
I decided to play my Build as slow grinding advance, claiming Turn 1 a Unit of Daimler used to slow me down in the process, and pressuring with my Artillery. In the meantime, my fast Units control the potential Ambush positions so I can avoid a short-range/no concealment shot on my pricy Sherman.
By Turn 2, the Americans relentlessly pushed toward the advanced objective, while the British Paratroopers failed to move forward as pinned by Abel’s artilleries. Situation was opening thou, as the center of the UK force starts collapsing to the pushing (yet careful) US troops. Abel decided to reveal its Ambush to keep the center under close surveillance, and 6pdr Ambush rightfully claimed a HQ Stuart Unit.
On Turn 3, now I know where the 6pdr are, I can push in the right direction. I direct my firepower with little effects on the 6pdr, but my Reserve Sherman Unit used a cunning maneuver to totally avoid the UK Infantry on the far objective and the Sexton to focus on snipping a Recce protecting the 6pdr. My own Recce then managed to assault the flank of the 6pdr without defensive fire, making them flee and claiming them all in the process (3 down and 1 fled to Last Stand). Abel’s Cromwell eventually arrived and decided to rush toward the Sherman in its backyard, helped with Sexton. Careful/Concealed (and some even long range) Americans tanks only lose 1 Tank in the process, still being a threat.
On Turn 4, the main push of the US bagged the Recce Formation by removing their HQ, leaving solely the Matador, which had no choice but to run, and controlled the field by pushing everyone away from the advanced objective, leaving the Infantry Formation to 1 intact Unit holding the back objective and a Rifle platoon with 2 stands and 1 Commander facing the Americans advance. The 2nd unit of Sherman shown up and decided to target the Cromwell/Challenger, helped by the 1st unit. As always, shooting 14 AT10/AT13 short range non concealed (5+ to Hit – 4+ hits expected) to the Tanks didn’t go as expected as I only scored 1 hit and kill a Challenger. In return, Sexton and Cromwell/Challenger failed to reduce any Sherman Unit to a Last Stand test (I guess we used the same blind gunners…). As Archers can’t move and shoot, it left Abel with 3 Tanks able to actually contest the advanced objective while facing a dozen of Sherman, an angry mob of British paratroopers solidly anchored in, and a legion of supporting vehicles gathered to prevent any further incursion. Abel called it.
Victory 8-1 to the US
During this game, I primarily used the methodical advance for my Build. This is what I believe the safest way to play it. This technic relies on Careful troops precisely selecting their targets and dodging the threats while moving forward, deciding to stand still or open fire depending on where they stand on the battlefield (notably +/- 16’/40cm of threat/target), backed up by Artillery pounding the enemy to force it to duck in cover or move to avoid heavy repeating damages. The concept is all about deciding when to fight or not, and use your lighter troops to prevent dangers (such as Ambush, bold move of tanks or infantry…). Smoke Bombardment is useful to protect areas where your light troops can’t go. It can also unlock some opportunities to be seized to deal more damages to the enemy. Eventually, I used the other aspect where the Build is (in theory) good at, which is rushing with Sherman to shot RoF2 on armored targets in the open. It worked OK on Daimler, not great on Cromwell … but hey, that’s my lot for 3 months playing this tactic!
Overall, I was quite pleased by this game: it was good to play with Abel, nice to manage to squeeze a competitive game with an actual result in 2 hours, I’m a little bit rusty but can still manage to play decently to secure a clean victory. And it’s a good start. On the other games, the old guard beat the new generation on the exact same score, so we were entering round 2 with ETC veterans duels…
Round 2 – To the heart of the Reich and beyond
While Loic S. was battling against Patrick, I ended up playing against the old faithful Jean Michel. The man got tons of experience, is an overly assiduous FoW player, and entered this season (and this tournament!) with a will to take the crown of best player of France (and more…). Jean Michel was fielding a twin Romanian Formations, mixing T-4 and R-2 (Panzer IV and Panzer 35T), paired up with a German StuH Formation, backed up by Recce, HS129, a Unit of GER HJ and Lucky. An original yet solid build he had used a lot lately, including a 4th place in Belgium, only falling to the mighty Etienne.
After long hesitation, Jean Michel picked Maneuver. I went for Attack and we draw Bypass.
The board was giving an advantage to Jean Michel, but the mission favors me. In short: it will be hard for me to win it, but it will equally be hard for Jean Michel. We are definitely looking at a Draw, which is not great in a 3-rounds tournament, so both of us will try our best to push for the offensive and the win.
I hesitated to modify my classic Reserves system and put Infantry off board as I believed it will have limited impact on the game and having a 2nd Unit of Stuart to rush the far-flung objectives could help. However, I kept my plan and decided to go for another tactic. Jean Michel positioned its troops to be able to rush the objectives in the back while the rest of its Force will use the board to have my guys kept into a corridor of fire. Its reserves can reinforce both fronts, despite Scattered being a random factor. Aircraft was looming in the air, ready to wreak havocs on my Artilleries (something the HS129 is really good at).
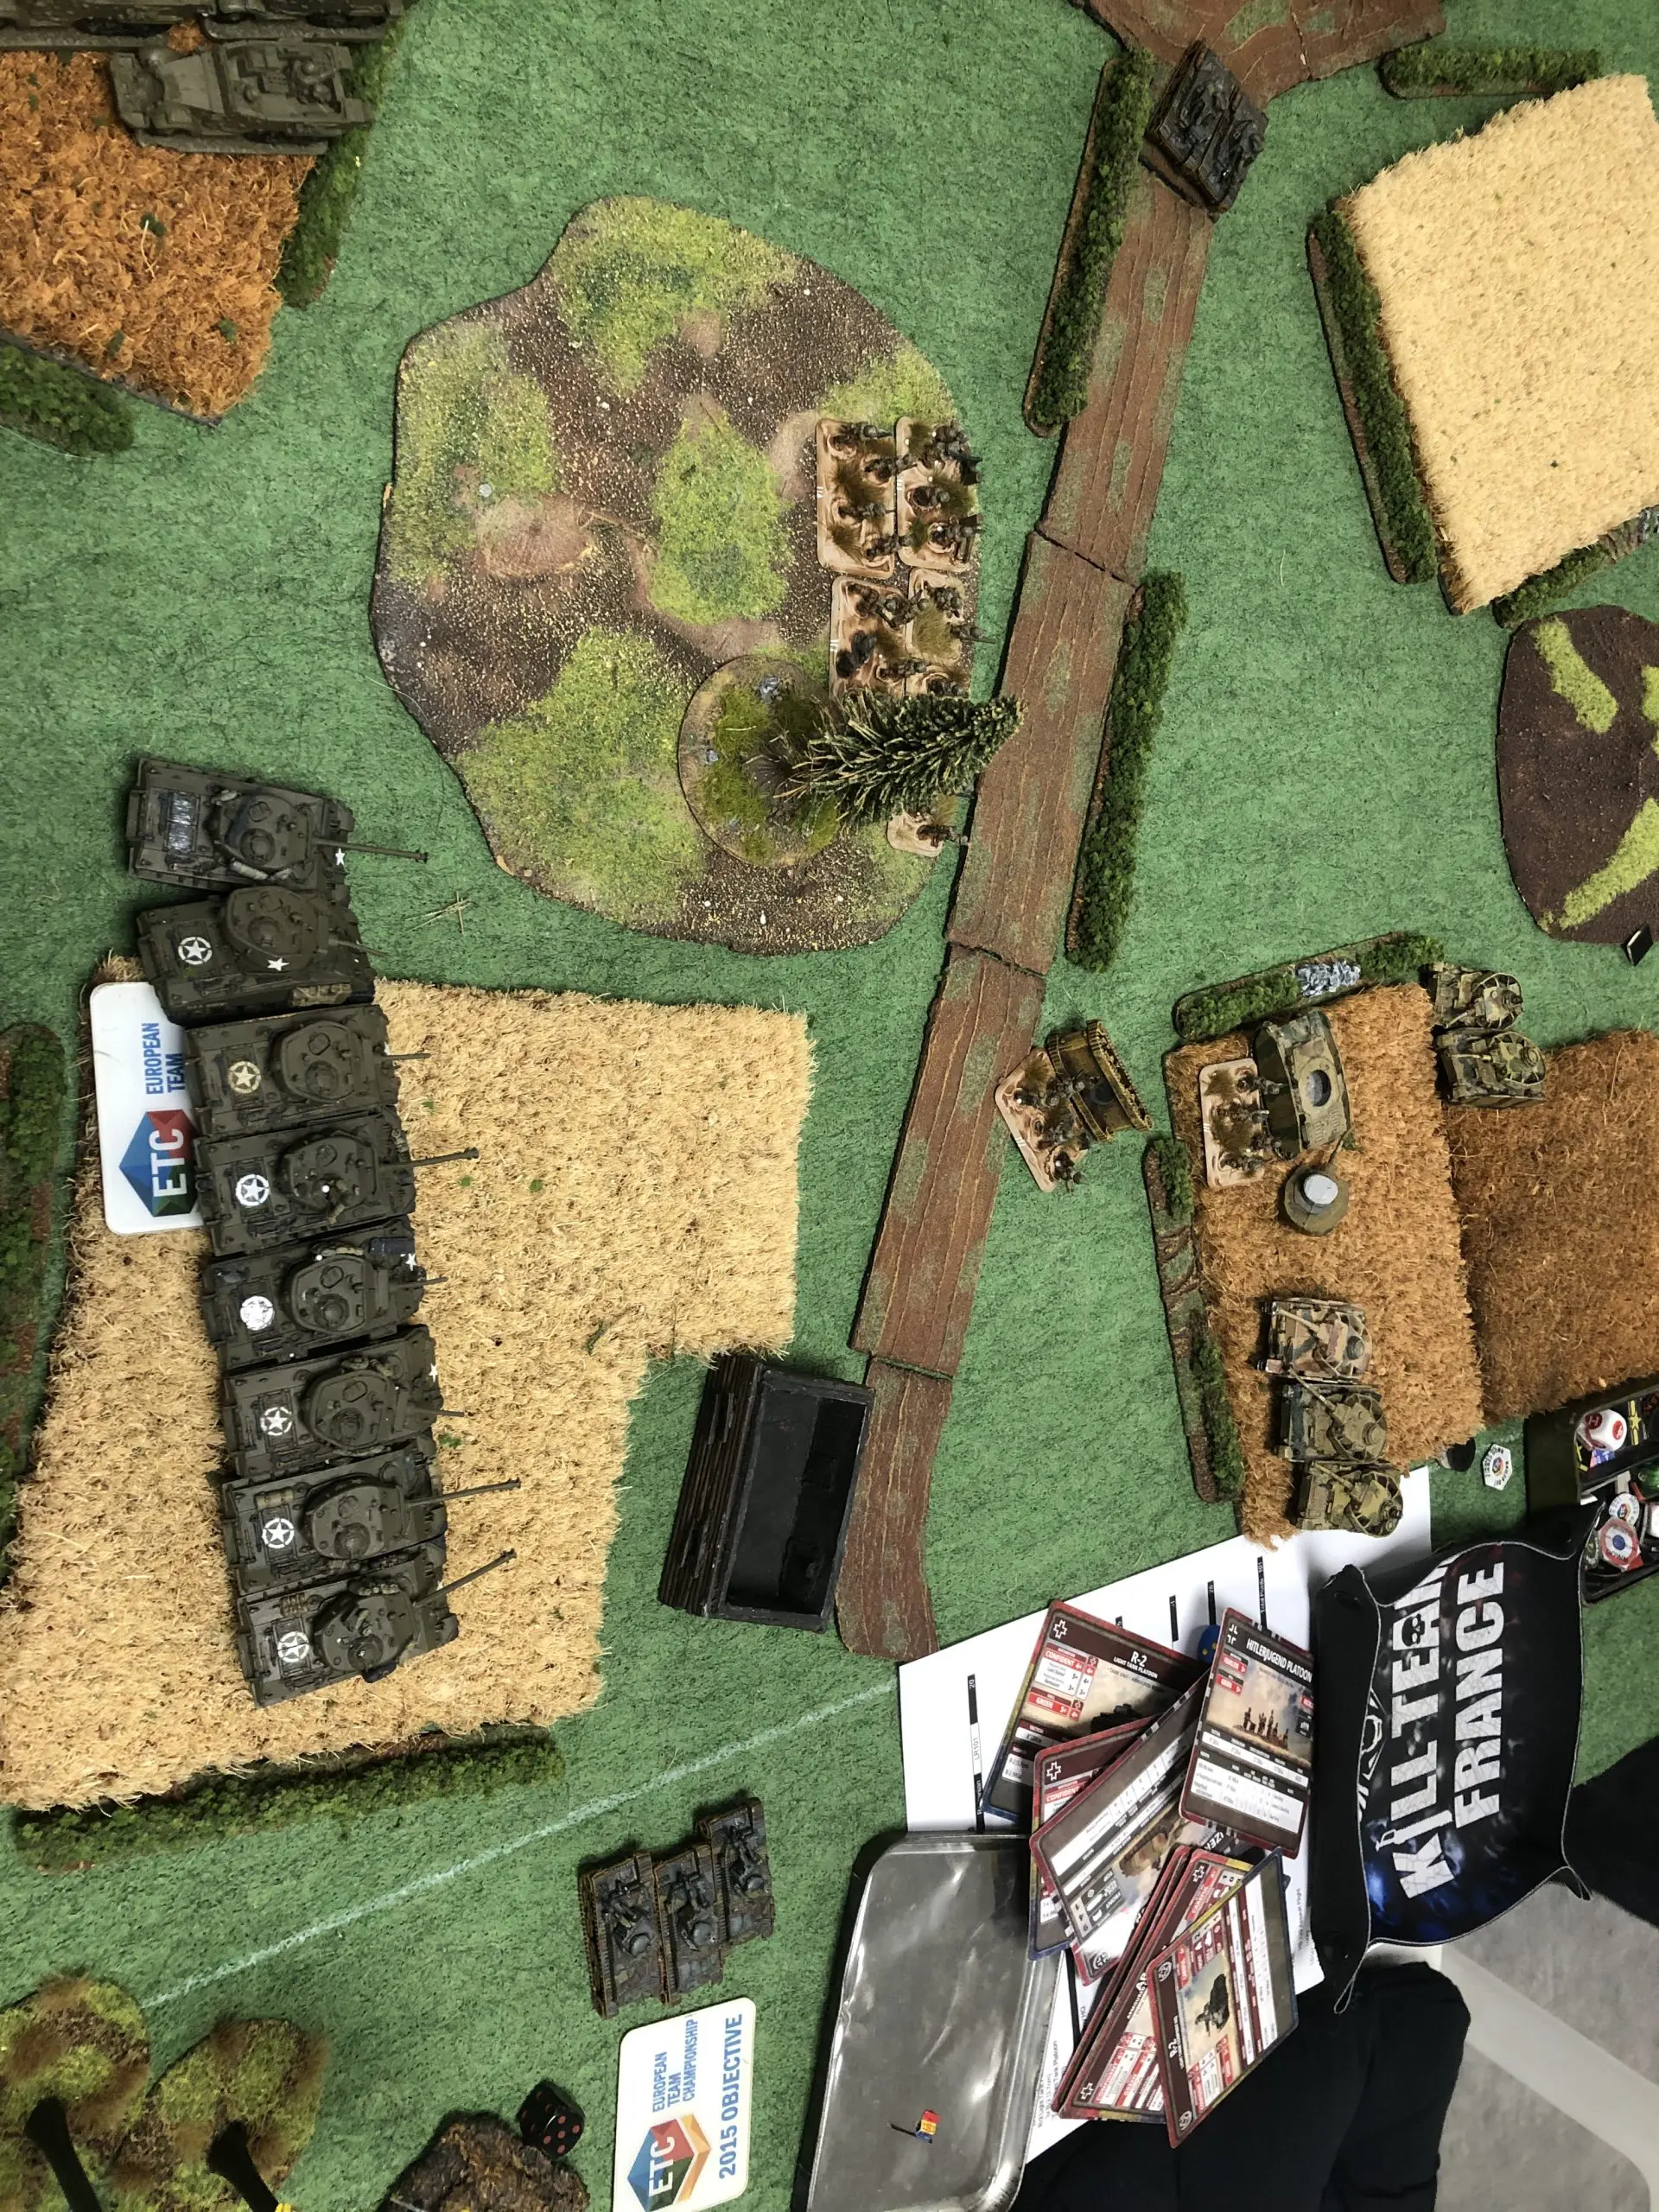
Turn 1 I couldn’t count on my Artillery due to Meeting Engagement, so I advanced cautiously to avoid the wreak of fire from the ROM tanks and their big cats (Panzer IV/70) friends, sacrificing mobility to safety. Jean Michel ambushed its 3 T-4 on my Sherman, but they were positioned in a way going for the kill would put the T-4 too far from the objectives I was aimed to take (yep, that’s called bait). A R-2 Unit cunningly moved to deny me ground, same with a HJ Unit both rushing the Objective and preventing me Dash.
Turn 2 saw 1 unit of Sherman coming from Reserves, and I still decided to play careful, bagging the R-2 Unit and covering my positions with Smoke B, threatening its HJ with the Stuart, and forcing Jean Michel to either divert its resources to handle my push or go toward my Objective defended by Paratroopers. He chose to do the later, pressuring by backyard. At this stage, he made a critical mistake which was to keep moving with its HJ to secure the backfield Objective. With the HJ gone, I can Dash and thus gain 1 turn.
Turn 3, I exploited the gap from the HJ and massively rushed forward my Stuart, using Dash speed and Follow Me to end up with 2 leaders at 4’/10cm of the Objective. Should they survive, I would have a go for the win on Turn 4. I make my primary Sherman follow them, covering their advance, using tactical smoke B. to negate opportunities of shooting on my guys. At the same time, my Reserves Sherman and Paratroopers kept the T-4 and R-2 pinned on my right flank, mobilizing resources of Jean Michel and denying him a shot at my own objective. With so many targets, Jean Michel can’t handle them all, and the attempts to remove the 2 Stuart fell short as its T-4 in Reserves arrived (despite Lucky) on the wrong spot, and the handful of shots managing to avoid LoS blockers were not enough. Same, the HJ who gallantly pushed to secure the objective couldn’t go for assault due to the mass of US MG looking badly at them.
Turn 4 started with my troops sitting on the objective, and only having to remove 3 HJ in the open to secure the victory. Which they did.
Victory 8-1 to the US
During this game, I primarily used the careful approach for my Build. This is not the best way to use it, but a solid one should you want to find a gap and exploit it fully. I’ve known Jean Michel for over 15 years now, he is a brilliant general, and almost all our battles are decided by a single event (either decision, mistake, dice roll…); it takes a certain level of focus to spot that right moment. That’s exactly what happened here, where this tactic was fruitful. By avoiding rushing when it is not 100% necessary, use Smoke B. to negate portion of the battlefield, and use your “armor” (Terrains + Careful + actual armor) to dodge hits, you end on having a solid pack of troops available by mid-game to actually dive into the gap and make a splash. Here, the nimble Stuart follow the heavies Sherman without taking risks, and when the opportunity presented itself, they fully go for it. The rest of the pack simply insured security around the Stuart, anchoring the line and accepting a duel they may not win but have limited chances to lose. This game was really satisfactory to me: Jean Michel is tremendously hot in the game right now, so being able to beat it fair and square using better leg games is great. The match could have been different should luck would have favored him more, and we may have ended into a gruesome duel until Turn 6-7 where I would have had to chase its troops on the board to go for breaking its Force. Quite another story.
On the other games, the new generation decided winning was for losers, so they all draw, while the other veterans duel ended with Patrick beating Loic S. 7/2. It seems the final rounds will be again veterans duels…
Round 3 – What happens when Germany falls
I entered Round 3 in a position where I only need a Draw to win the tournament. More accurately: I needed not to lose, plus I need to either destroyed 3 Units or avoid having my Units killed. The problem lies with the fact I was playing Patrick and its Soviets. A couple of things there: the last game we made with Patrick didn’t end well. Plus he is a very competitive player. Playing the final. With a well-thought army. So I did expect to be hard time for me.
Patrick plaid an out-of-the-scope army, a Build that’s not on the radars because it feels counter intuitive. He has very little to no-Tanks in its Force, was using ATG as less mobile but more resilient and less costly Tanks, backing up a large force of passive-aggressive Infantry. And while he is surely the most « offensive » player of FoW France, he tags its army Defense. Which is massively clever. I believe the USSR can’t compete right now on the same terms with UK/US/GER. Everything they do is worse than the 3 Major Nations with the same conditions. But they do have some key competitive advantages they can exploit, and that’s exactly what Patrick did. The concept is to drag you into an attrition battle where you have little chances to win, suffer 6 rounds, distract you in the process, grab your backyard toys while you focus on damaging its battleline, and go for a final push to repel everything from its Objectives. Not only the idea is brilliant, it takes a serious level of gaming to play it, and Patrick masters it well.
Forecasting Patrick will be Defense, I chose Maneuver. I could have went for Defense but that’s a bet I wasn’t ready to take if Patrick would have been cunning and go Attack. I also reckon Maneuver vs Maneuver would have given me the edge in both Victory and Draw, while Attack would potentially have meant ending in Covering Force where one side win in the end. Maneuver ensures me I had more odds of being in a battle where I could play not bad and kept my models within 8’/20cm of the objectives to, at best, have a shot to grab the game, at worst, tie it.
We rolled for Cornered. It is quite an interesting scenario where, compared to other Attack vs Defend scenarios, it’s the Defender who strategically dictates the terms of the battle. There is, I think, two primarily ways to play Cornered as the Defender. You can mob up into your objectives and lock a solid defensive line with your Mines, expecting the Reserves to show up to keep the Attacker at bay. Or you can Spearhead into the No Man’s Land to build an extended line of Defense, in effect making the game a somehow No Retreat with Reserves coming from the side, but exposing your own troops who used Spearhead to be closed in more rapidly by the Attacker. Both have their pros and cons, and Patrick chose to go for the former, with only a single BA Unit denying me some grounds on the open flank.
Here, I had two options :
– rushing forward on the close side and focus on one objective (the more advanced one): that’s the most straight forward approach, keeping a handful of light troops to go the long way around while the bulk of the force would go head on with the enemy and throw shells at it, preparing for a glorious charge in end game
– circling around its front and threaten both objectives (notably the one in the back): that’s the most difficult approach as it involves wise maneuvering in T0 and T1, and a great deal of focus on the targets.
I choose to circle around, shifting the way the battle will be plaid : now, not on the Soviets terms, but on the Americans ones.
On a side note, I allowed Patrick to change its Ambush: he kept the 100mm guns in Ambush instead of the 57mm, but forgot they had to be deploy more than 16’/40cm away from all enemy as they are Large Guns. I’m pretty sure this gesture of fairplay help to make the game run smoother.
Turn 0 saw a Spearhead from my Recce, and I grouped my whole army within 8’/20cm of all my reconnaissance troop, still being 16’/40cm away from the Soviets deployment area and more than 8’/20cm away (but concealed) from the BA.
Turn 1 I dropped strategic smoke B. onto the Soviets line to make sure my flank maneuver would not face any shots (notably HMG and Ambushing 57mm), and pressure the BA with both Tanks and Infantry. Despite the huge firepower and the Assault of the Paratroopers, 1 survived, and was able to delay me for 1 turn, claiming two brave Brits in the process. Meanwhile, the Partisans started to do what they are great at, moving out of command to threaten my assets, helped by supporting T70.
Turn 2, I kept on encircling the Soviets: I’m threatening both Objectives, but I had no need to rush in as the Attacker can’t win until Turn 6. I used a Stuart who went on top of the hill to prevent the Ambush on the crest from the 57mm. I’m pretty positive it denies the opportunity, but as I sensed it could have been an argument with Patrick, I smoked the area just to prevent any conflict. Then, without taking any risk, I started blowing holes in the massive Soviets lines. I had two Units of Sherman and HQ backed up by the Stuart and HQ who snipe shots infantry men and ATG, while 1 Unit of Sherman and 1 Unit of Stuart made quick deal of any wondering Partisan trying to get a grip on my backyard troops. In the meantime, Artillery starts to wreak havoc on the Soviets, even if I knew it would be a long process. The cunning T-70 managed an improbable sniping of 2 mortars half-tracks, but it didn’t hinder the relentless march of the American machine, and the 57mm preventively popped up from Ambush to prevent my go on the far Objective – they may not shoot now, but any attempt to charge with my Tanks would have to go through their deadly Defensive Fire.
Turn 3 saw the backliners Sherman keep on pounding the Partisans and punishing the T-70 for their audacity, while my line form up in a full attrition block, reducing ATG, Infantry, and putting HMG in Last Stand (they will succeed, without Commander nearby, 3 times – keep note for after). The sole Mortar HT is eventually killed by an aggressive 45mm, which will face swift retaliation by my Tanks the next turn. The Americans have the upper edge, but more Soviets are coming to reinforce the line.
Turn 4 I fully cornered the Soviets Force, leaving no opportunity to leave their deploy area. Not that they don’t want to, just that they can’t no more. I give very little opportunity to Patrick to actually kill stuff, and the attrition pressure starts to pay off. Patrick attempted a counter punch with a handful of Red Banner riflemen, killing 1 Sherman with Faust, but there is little where its Force can move. My Airborne troopers are at striking distance but are pinned down (and will remain pinned for the rest of the battle).
Turn 5 saw my army moving into assault position in anticipation of the next Turn. I placed units within 4’/10cm of the Objectives, and I could decide to go for it should I want to. Soviets’ reinforcements came to close the gap, but American direct and indirect fire extracted a heavy toll on the whole Force: Partisans and original Red Banner Rifle platoon are almost at breaking point, 1iC still lives but 2iC is no more, Mortars are gone, HMG are down to 2, 100mm are a mere memory of what they were, 57mm are still there and still constitutes a threat. The Reserves 45mm and T-70 try to reduce the American pressure on the far objective, but their shots are limited due to US steel and combination of Concealed and/or GtG. The last 45mm and the remains of the 2nd Red Banner Rifle rushed in to Defend the close Objective but only managed to cripple the Stuart Unit and not the 2 Units of Sherman having a go at it.
Turn 6, after having checked there is positively no way my troops can be removed from 8’/20cm of both Objectives, I tried to go for the win on the close objective : backed up by artillery and tactical suppression of teams with 75mm/0.5cal/MG shooting, I removed every team that are 4’/10cm from it but for 2 45mm and 1 HMG. Assaulting, I went with 2 Sherman on the 45mm, one Tank got bailed out by Defensive Fire, the other scored a hit and removed 1 45mm. Patrick succeed its counterattack, hit the Tank, who failed but then succeed its save (thanks to the precious Lucky Card is was saving for THAT moment) and against all odds counterattacked, killing the gun. Now Assault is won, the sole HMG holding the Objective had to run away … and managed to do it while not triggering the Mines – still holding! Having nothing to repel the Attack, Patrick called it Turn 6 and we ended up into a fair draw.
Draw 3-1 to the US
During this game, I was happy to use the attrition approach for my Build. I was pretty much convinced it couldn’t do it properly, but experience tells, in the right conditions, it can do it. Using covers and smoke and shifting from full mobility (Dash) to slow moving (none or solely using Blitz or Shoot and Scoot), it managed to keep the pressure high on the enemy line, on both Objectives, without taking any risk for the whole game but for the last Turn (when I previously insure even if it fails, I would have still have prevent the opponent from winning). Artillery is a great tool for it, and I often kept my templated zeroed in, no shifting targets, even if it meant very little damages: while the artillery is ranged in, it prevents the enemy from moving safely below it. The Sherman and Stuart did little damage to dug in Infantry and ATG, but that’s not what attrition is about: you have to chip damages on the opponent, slowly but purposefully, so it can’t counter you. They also plaid a critical part in the attrition game while punishing every Soviets attempt to come out from the deployment area. I could even have used my Infantry better in this process, but I used it so they can make a final and decisive assault in Turn 6 (and their Fearless motivation betrays me twice). Attrition demands a very high level of focus: you don’t want to make big turns with high risks, you are always forecasting 2 to 3 turns ahead, limiting the exposure while crippling opponent Force.
This 3rd game was the best of the tournament (no offense to the other two!). It’s always great to play a final: it’s the paramount match of the tournament, stakes are high, each player is good, tries to avoid making mistakes, tension is high, and the outcome will determine the fate of the podium. Patrick and I had a grudge to settle properly, which we did as gentlemen. It was a clean and friendly game, another proof that you can play competitive, you can play for the win, but it certainly doesn’t deprives you from playing fair and square.
Looking at the endgame picture, you could say « oh, but for this sole HMG that succeed 3 times its 4+ without reroll last stand and moved safely within the Mines, you could have won » aka « not winning because of luck ». Well, that HMG had 15 chances out of 16 to run away (yes, that’s 93,75%), but it didn’t. Also, odds my Sherman actually scores 2 hits on the 45mm and succeed in counterattack are pretty much the same story: I firmly believe luck is fully part of a game where you drop dice and they dictate you the outcome of your actions. It’s not luck that defines this match or another: I entered this game to grab 3 small points and prevent my opponent from scoring more than me, and that’s exactly how I plaid it. I managed to get full control of the path of the battle, deciding what me and my opponent could or couldn’t do. And that means accepting to elect priorities, accepting the duels where odds are in your favor, that every action you make can end up with a failure and thus securing it by doubling your capacity to achieve it… This whole FoW game is only made of what you and your gaming partner will bring it. Defines what you want for your match, what’s your goal, and play for it. It works for competition but is certainly not limited to it !
Tournament wrap up
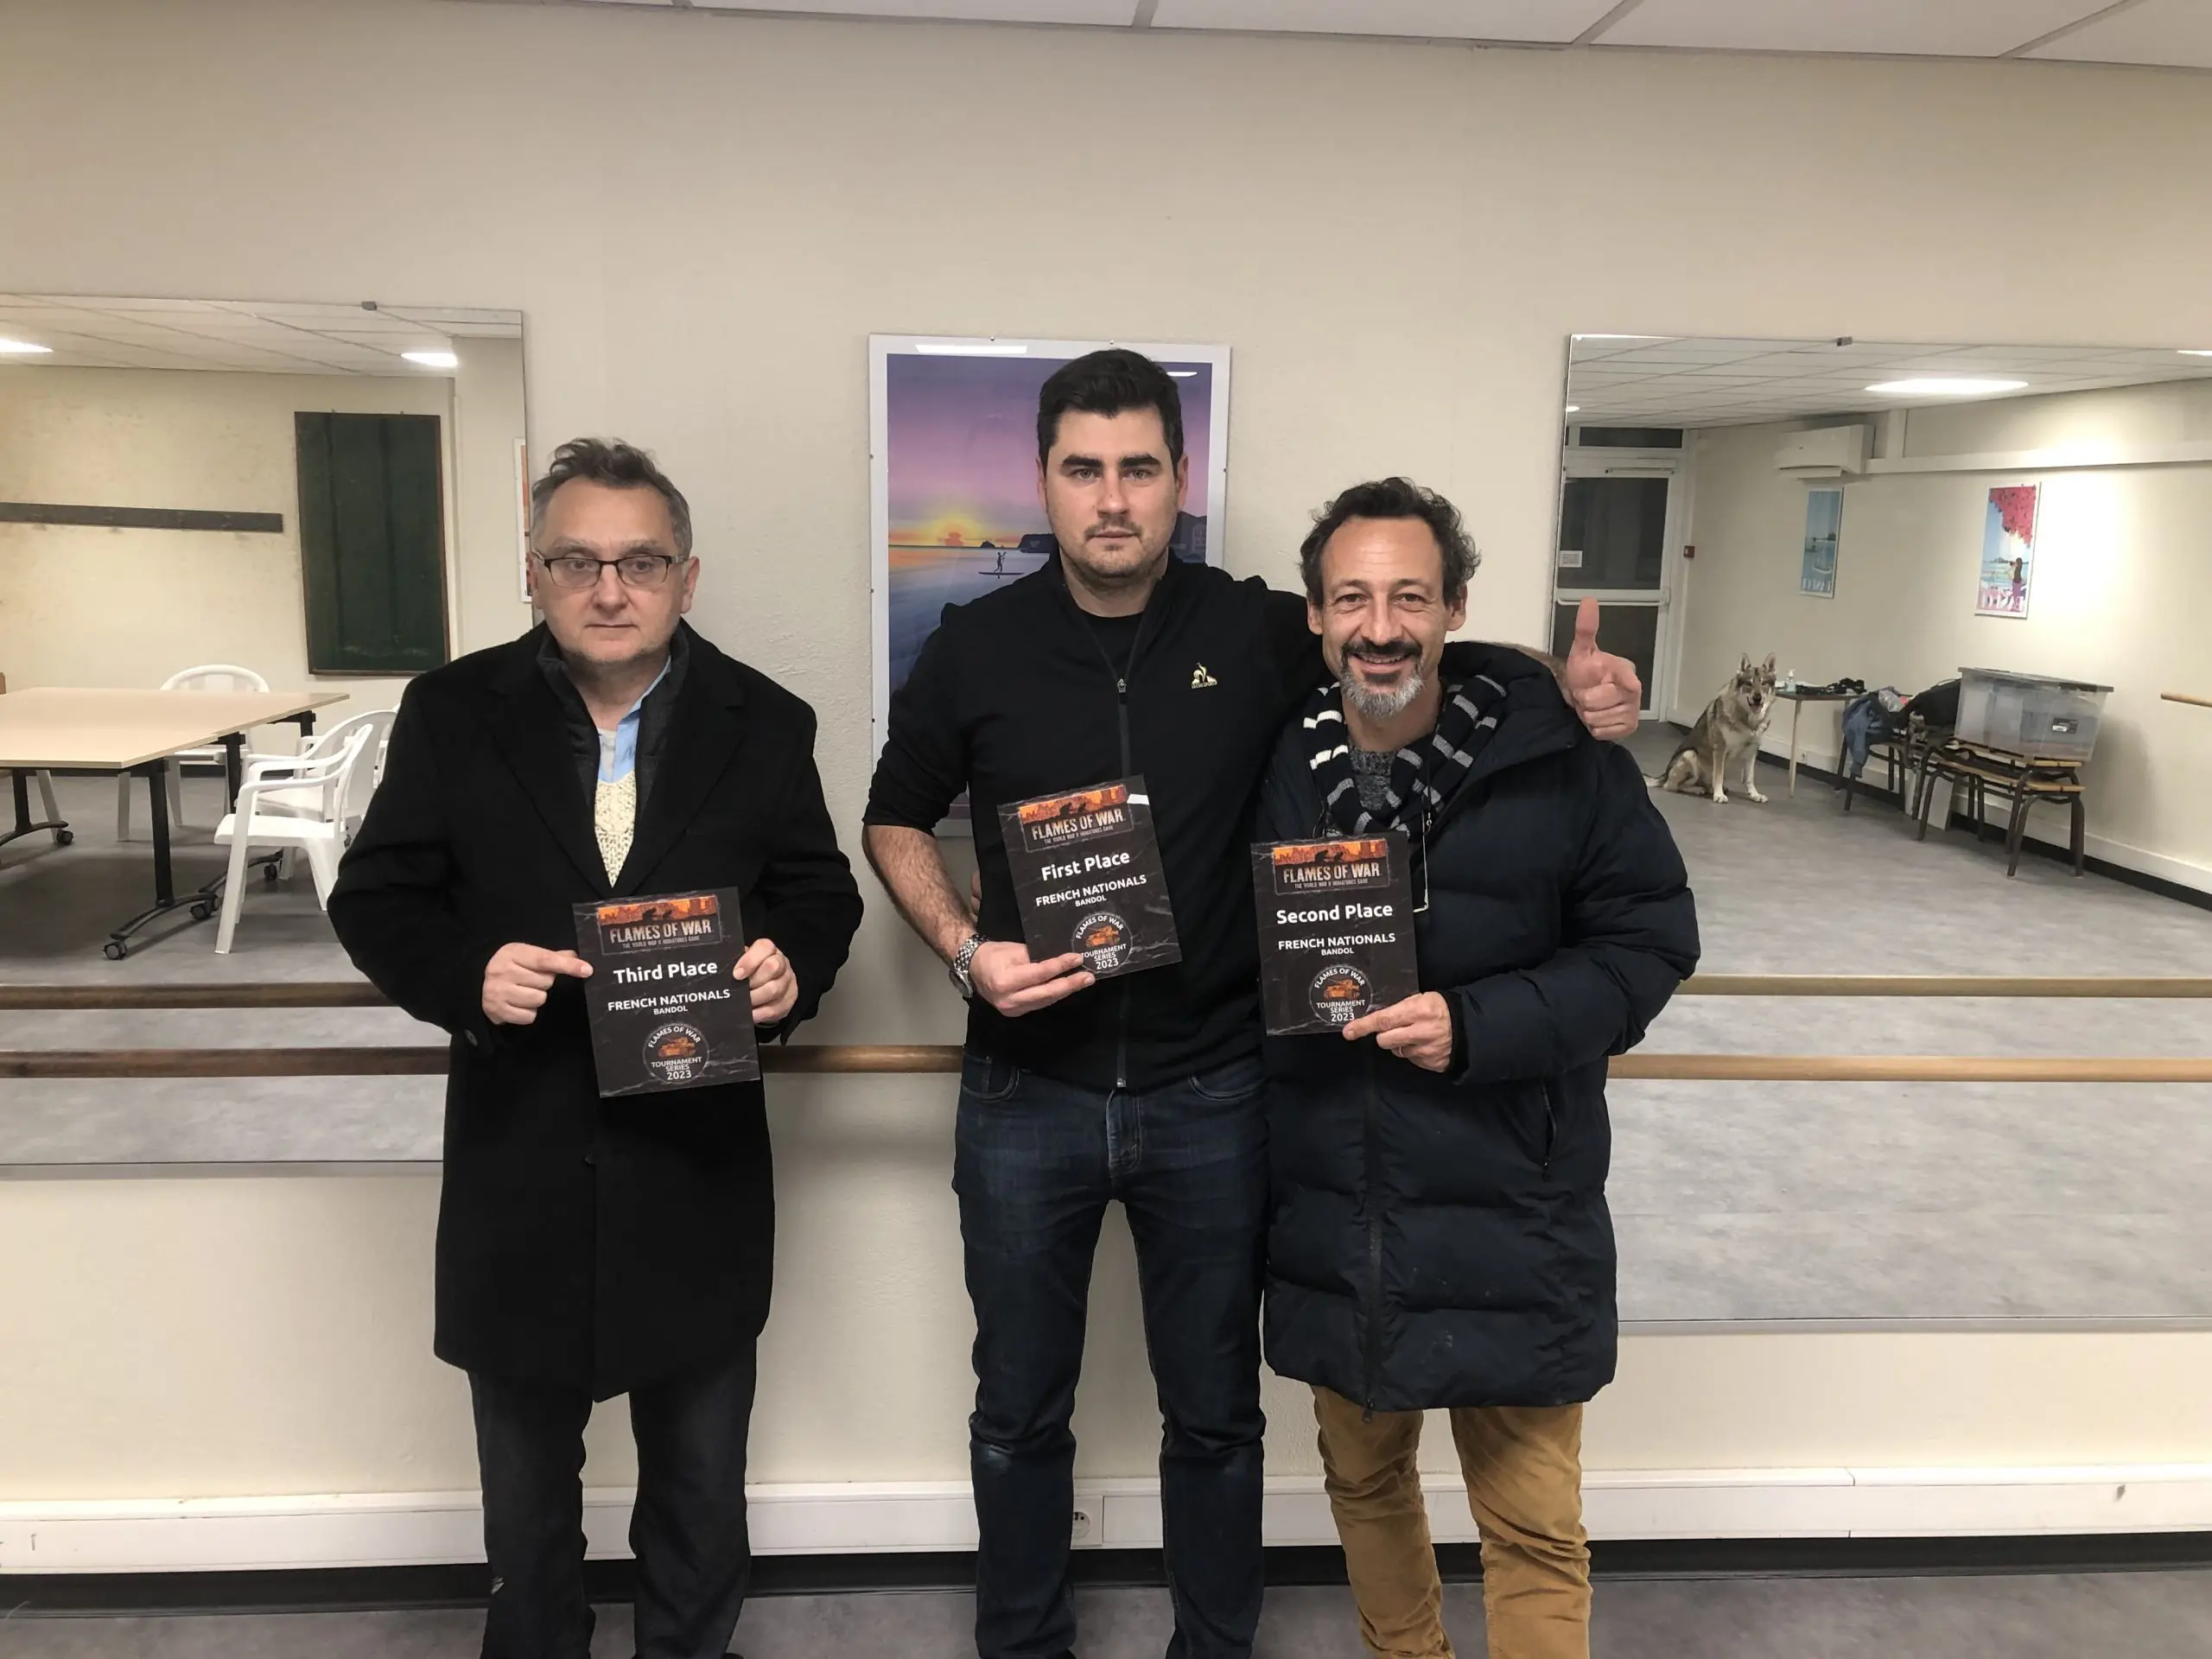
I’m pretty happy by how this whole operation turned out: I came with little hope to actually perform, with an army I’m not liking that much, without the needed practice, faced though opponents, and managed to win the trophy nonetheless! Quite proud of the performance, to be honest, with Real Life hitting hard, I didn’t expect the win, let aside be at the proper level. Happy to make it a 2nd French GT 1st place back-to-back.
From gaming perspective, I’m quite pleased to have plaid my 3 games with 3 different approaches, including one I wasn’t able to master during practice (attrition), all of them being in control of the match, against opponents who have way more practice nowadays than I can afford. I still believe US is not a Nation for me, but good to finally get the substantive marrow out of it (and yes, it’s a good Nation for gaming).
The succession of Rounds actually gave quite an historical outcome: I beat the Brits in our “friendly” exercise (involving live rounds), I rushed into Germany (and their allies) held territory, and we determine what would be the status of Europe for almost 5 decades after WW2 (here comes the Iron Curtain…). Funny how you could turn a FoW open competition into History, right?
The experiment we pulled was absolutely well received: Delayed Reserves being “no dice roll, automatic arrival of 1 Reserve from Turn 3 and onward” is way more fair and limit the bad luck factor crippling a good game. Inspiration BattleFront?
Players were happy about their tournament: mood was very good, they were little to no argument around the tables, all issues (including Rules) were settled in no time, all players came back home with prizes, and, despite its size, the GT was able to determine a clear ranking of players based on their performance.
The full results are here:
https://www.tabletoptournaments.net/fr/t3_tournament_results.php?tid=33143
And the season is not over yet…
With 1st quarter gone, I’m looking forward to 3rd quarter. Reasonably, 2nd quarter will be fully focused on new baby, his big brother, their resting mother, and obviously Real Life work. So little time to properly FoW. Hopefully by March, I do hope I will have more time to game, including go to tournaments in Europe.
I believe I will focus back on the Big Bad Wolf, I have plenty of stuff to test with the Germans…
Unless some ETC team asked me to play otherwise…
Knowledge is power: share it widely!
Fred
