New Year / New Army Month 1 Update
Hi, Martin back this week with a brief update on my New Year / New Army project. I started this year with the intention of building a British Crusader Squadron for the Mid War Western Desert Campaign based around 3 and 4 County of London Yeomanry, 3/4 CLY Tank Regiments.
I set myself the target of completing 1 platoon a week for 9 weeks so, after 5 weeks, how have I been getting on? I’m glad to say it has started well, I actually got 5 platoons finished and ready for the Table Top as well as my Command Card Soft Skin Transports in January. So far I have painted:
- Crusader HQ with 2x Crusader II and 2x Crusader CS tanks
- Crusader II Troop
- Crusader II Troop
- Crusader II & III Troop with 2x Crusader II and 1 Crusader III (6pdr)
- Grant Troop
- Command Card Soft Skin Transports

Making them easy to identify
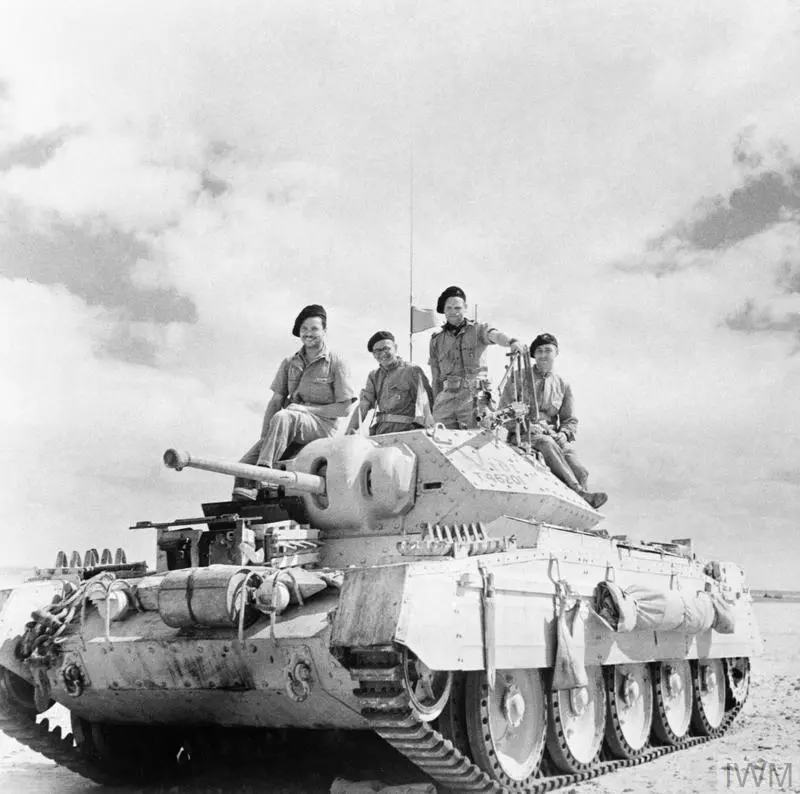
Unlike the Germans, the British Tank Troops typically all bore the same markings, so identifying which tank belongs to which troop is a lot harder from a casual look across the gaming table.
So, what I want to share is how, in my modelling of what essentially is a lot of identical models, I can differentiate between them. This helps with game play and makes life easier for both myself and my opponent across the table top by using a few extra bits and pieces and a little creativity. So, to start with, let’s look a bit more carefully at what Battlefront give us on the sprues that we can use.
The Crusader sprue comes with a quite a few optional parts and this is where I started.
Firstly, we have all the parts marked in purple on the sprue guide; we have a road wheel we can place somewhere on the model, as well as a small set of fuel/water cans, a tarp and a telephone cable spool. There are also two extra parts we can use to help here as well. The additional fuel drum, whilst looking cool on the model, was typically removed before the tanks went into planned actions and, secondly, we have the MG turret. Whilst this was mainly a feature of the Crusader I, it was present on the early mark II tanks and only removed once they arrived in the field depots in Egypt. I therefore had 6 ready made parts I could mix to create a different look for each platoon.

The Grant sprues have a few more parts I could also use, including a long tarp. This was a common feature of British armour in the desert and were extended out to create a shelter for the crew or to cover the tank during dust storms. I also had all the stowage parts I had kept from previous kits to fall back on and I raided my parts boxes for some crates, small stowage rolls and more of the long tarpaulins; luckily I have a lot of assorted M3 medium tanks in my collection!
Keeping bits left over from previous kits is a key habit to develop for any hobbyist. I typically use models with tank commanders to mark my leaders so that’s another option I could use, but that wont help overly much with the platoon identification challenge.

The next step is to work out what to put where and so it was time to do a bit of internet and book research, looking for pictures that show where the different types of stowage were typically carried.
This showed that the large canvas awning was typically attached to the right hand side sand skirt whilst smaller ones were hung across the front or more commonly rear of the hull, replacing or being placed under the fuel drum. Some tanks had small tarps hung on the turret side. The spare road wheel could be placed on the top of the rear deck, or on the front, covering the hatch over where the MG turret once was. I also found a picture with one on the turret but, after a bit of testing, I found this interfeared with the turret rotation so decided not to use this idea. Racks of fuel cans or water supplies tended to be placed in the stowage tray on the front right fender, again on the hull front or in larger racks mounted across the back of the tank, again using the mounting points for the additional fuel drum. Small tarps, tents, personal packs and crates and boxes and other small stowage items were to be found strapped down on any flat hull surface but rarely on the turret.
Armed with this insight I had some key easily visible parts to use in my aim of making my Troops easier to spot on the tabletop. The key components were going to be, fuel drums, road wheels, large fuel can racks and oddly the small tarpaulin.So I set about sorting my stowage parts out into sets, keeping all the main elements for each platoon the same. I’ve summarised this below to make it easier to understand.

One challenge is to tell the difference between the 2pdr armed Crusader and the CS tanks which is why my HQ platoon has 2 different stowage layouts so I can easily identify which is a CS tank and which is not. This is where I used the more unusual presence of turret stowage.

A final option I had for identifying some of the tanks was to put the early war Armoured Division marking of the white/red/white marking on some of the platoons, I have done this sparingly, just on older tanks with MG turrets.

A little extra detail
You will by now have realised I have also added some aerials and old fashioned cavalry pennants on my tanks. These were historically used to identify cavalry units in battle and were retained by many of the old Regiments when they switched to tanks from horses. These varied greatly in colour and form and are a simple but effective addition. I made mine using some florists wire (which is nice and thin) and plain photocopier paper. I started by painting the paper in my chosen colour, red, importanly on both sides. This makes it easier to fix the pennant to the pole. I then cut this in to 2mm thick strips about 2cm long. I carefully folded each strip in half, wrapping and gluing them around the wire with super glue (I used a brush on one). Once dried, I cut the wires down to roughly 15mm lengths leaving a little bit 1-2mm above the pennant. Then I painted the wire, I used Panzer Grey rather than Black.

I then carefully cut the pennant to a length that looked right, about 4mm and cut in a fork tail – though not all pennants where this shape, most were a single streamer narrowing to a point and others were simply rectangular, so you have plenty of options here. I tried originally doing this with them fixed in position but found it easier to cut them before fixing in place and I bent them a lot less. The final step was to glue this into the mounting on the tank turret with a drop more superglue – I used a gel one this time this adds a bit of volume and fills the void up making the joint a bit stronger.
For the radio aerial I used the same material and colour just making it about 6mm long, you could scale it but I did this visually looking at photos and trimming them down once attached to the tank, this made it easier to get right and to handle. Yopu can see both these on the Troop 4 Leader above.
Well that’s it for January, time for me to get back to painting! Martin