Printable Battle Box

Michał Maciejewski graciously provided us with preview files for his Flames of War Battle Box! (This an updated version one to the previous review here) I fired up my Longer LK1 filament printer and got to work.
I’m Lexi, I’ve been 3D printing since 2020. My first printer was a used Ender 3 pro, and I’ve worked my way up to an Elegoo Saturn 2. The majority of my printing has been for tabletop wargaming be it either models or terrain. We surely live in an amazing time.
To start with I’ll detail my settings and filament I use. My slicer I use is Ultimaker Cura, and I run 3d solutech filament through the following settings.
Layer Height: 0.2mm
Infill density: 20%
Infil Pattern: Lightning
Printing Temp: 210c
Build Plate Temp: 60c
Print Speed: 50mm/s
Retraction Distance: 4mm
Retraction Speed: 50mm/s
Support: Touching Buildplate
Overhang Angle: 40
Support Pattern: Lines
Support Density: 20%
Adhesion: Skirt
For plate adhesion I use a light dusting of hairspray. I don’t care about the color of filament I use, I just get what’s on sale from 3d solutech. Majority of my prints end up painted anyway so the base color of the plastic doesn’t matter.
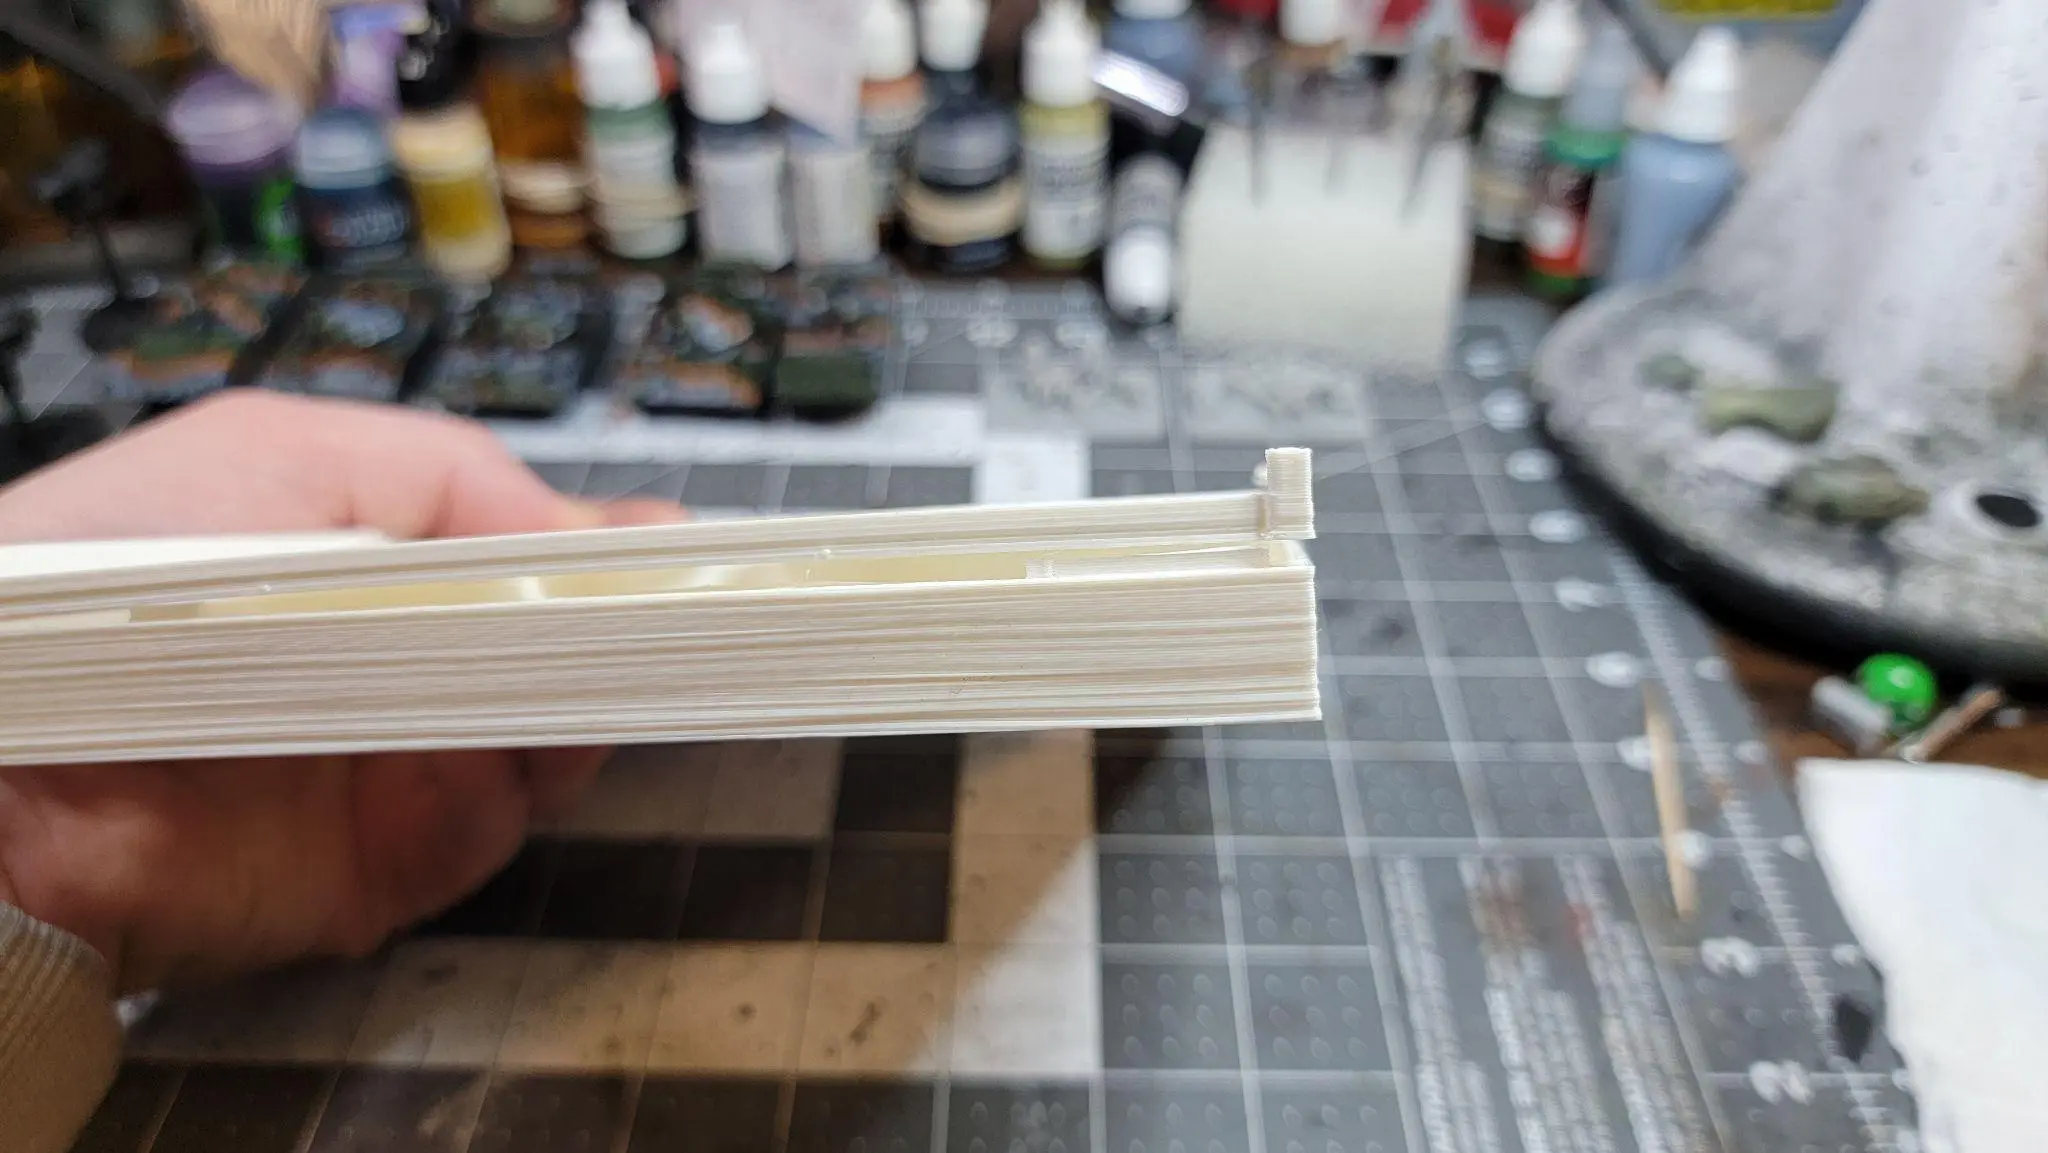
I dropped the files straight into Cura and fired up the LK1. After leveling the plate twice*, and offering a sacrifice to Heimdal** 2 plates gave me the following.
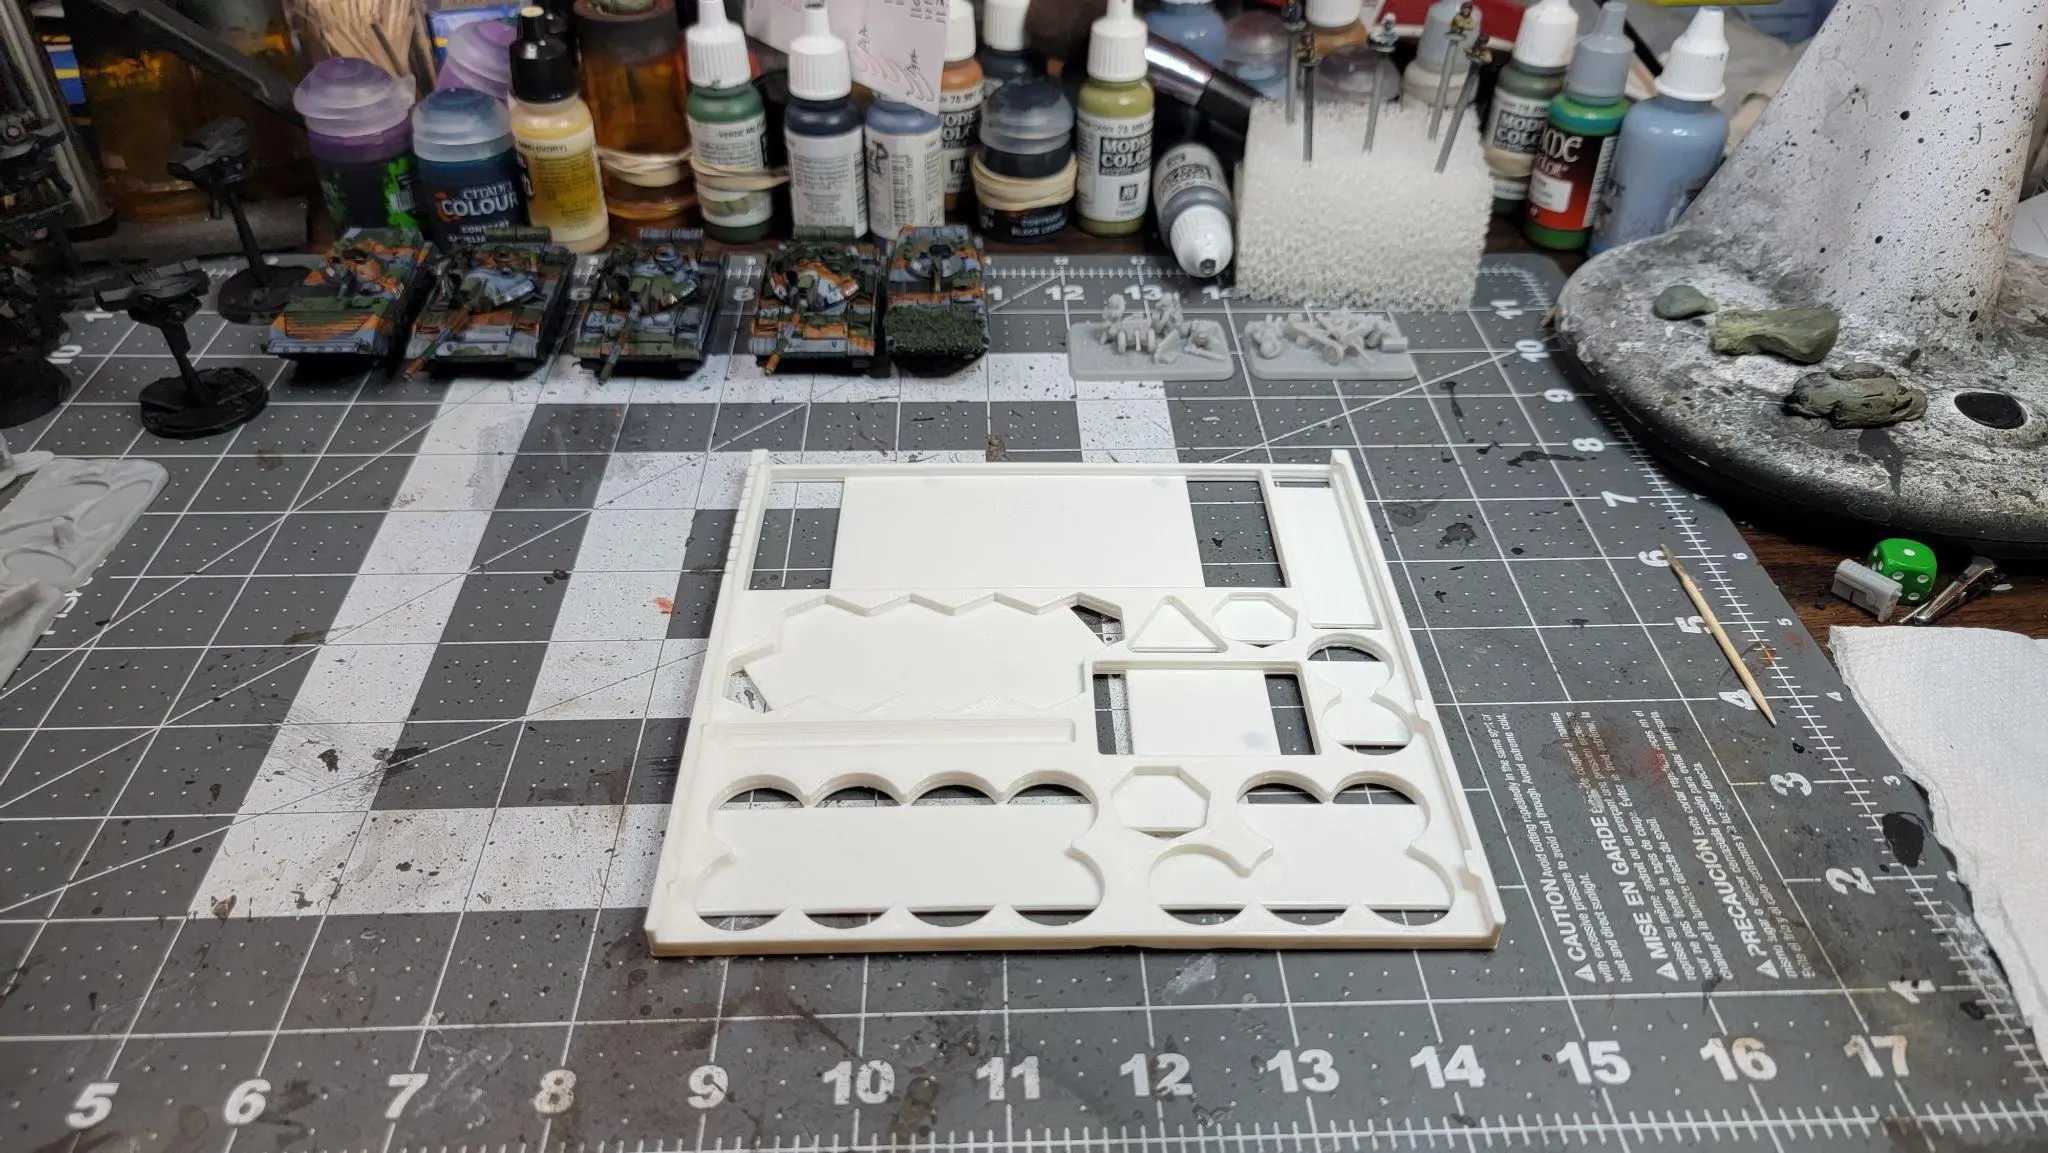
A bottom portion, an insert tray, a flame template, a direct fire smoke template and a smoke bombardment template. Let’s start with the bottom portion.
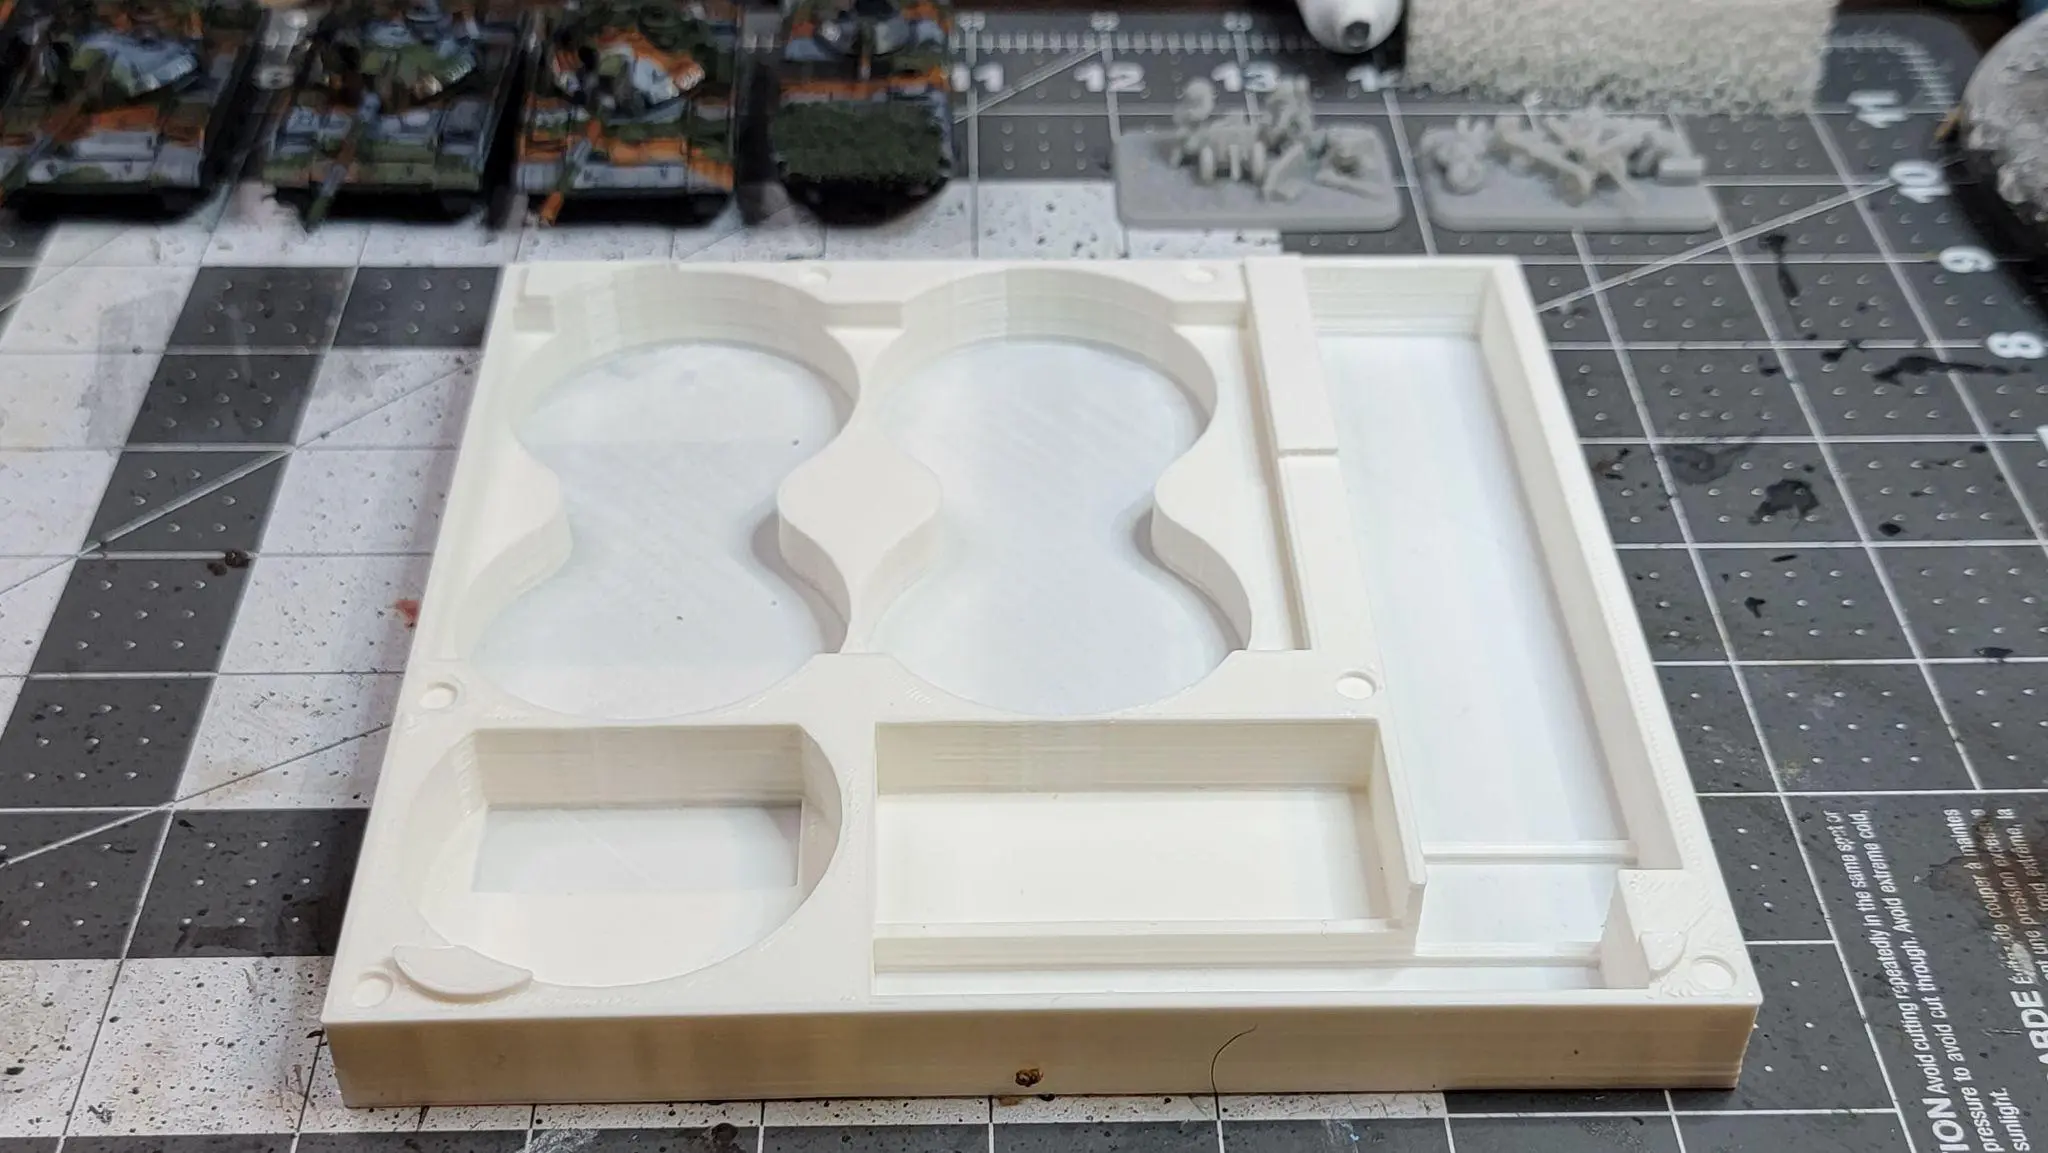
Plenty of space for multiple smoke markers and flame markers. Only real issue I see is the thinness of the base.
It’s only the smoke bombardment markers that are a little thin for my personal preference, but they do hold up.
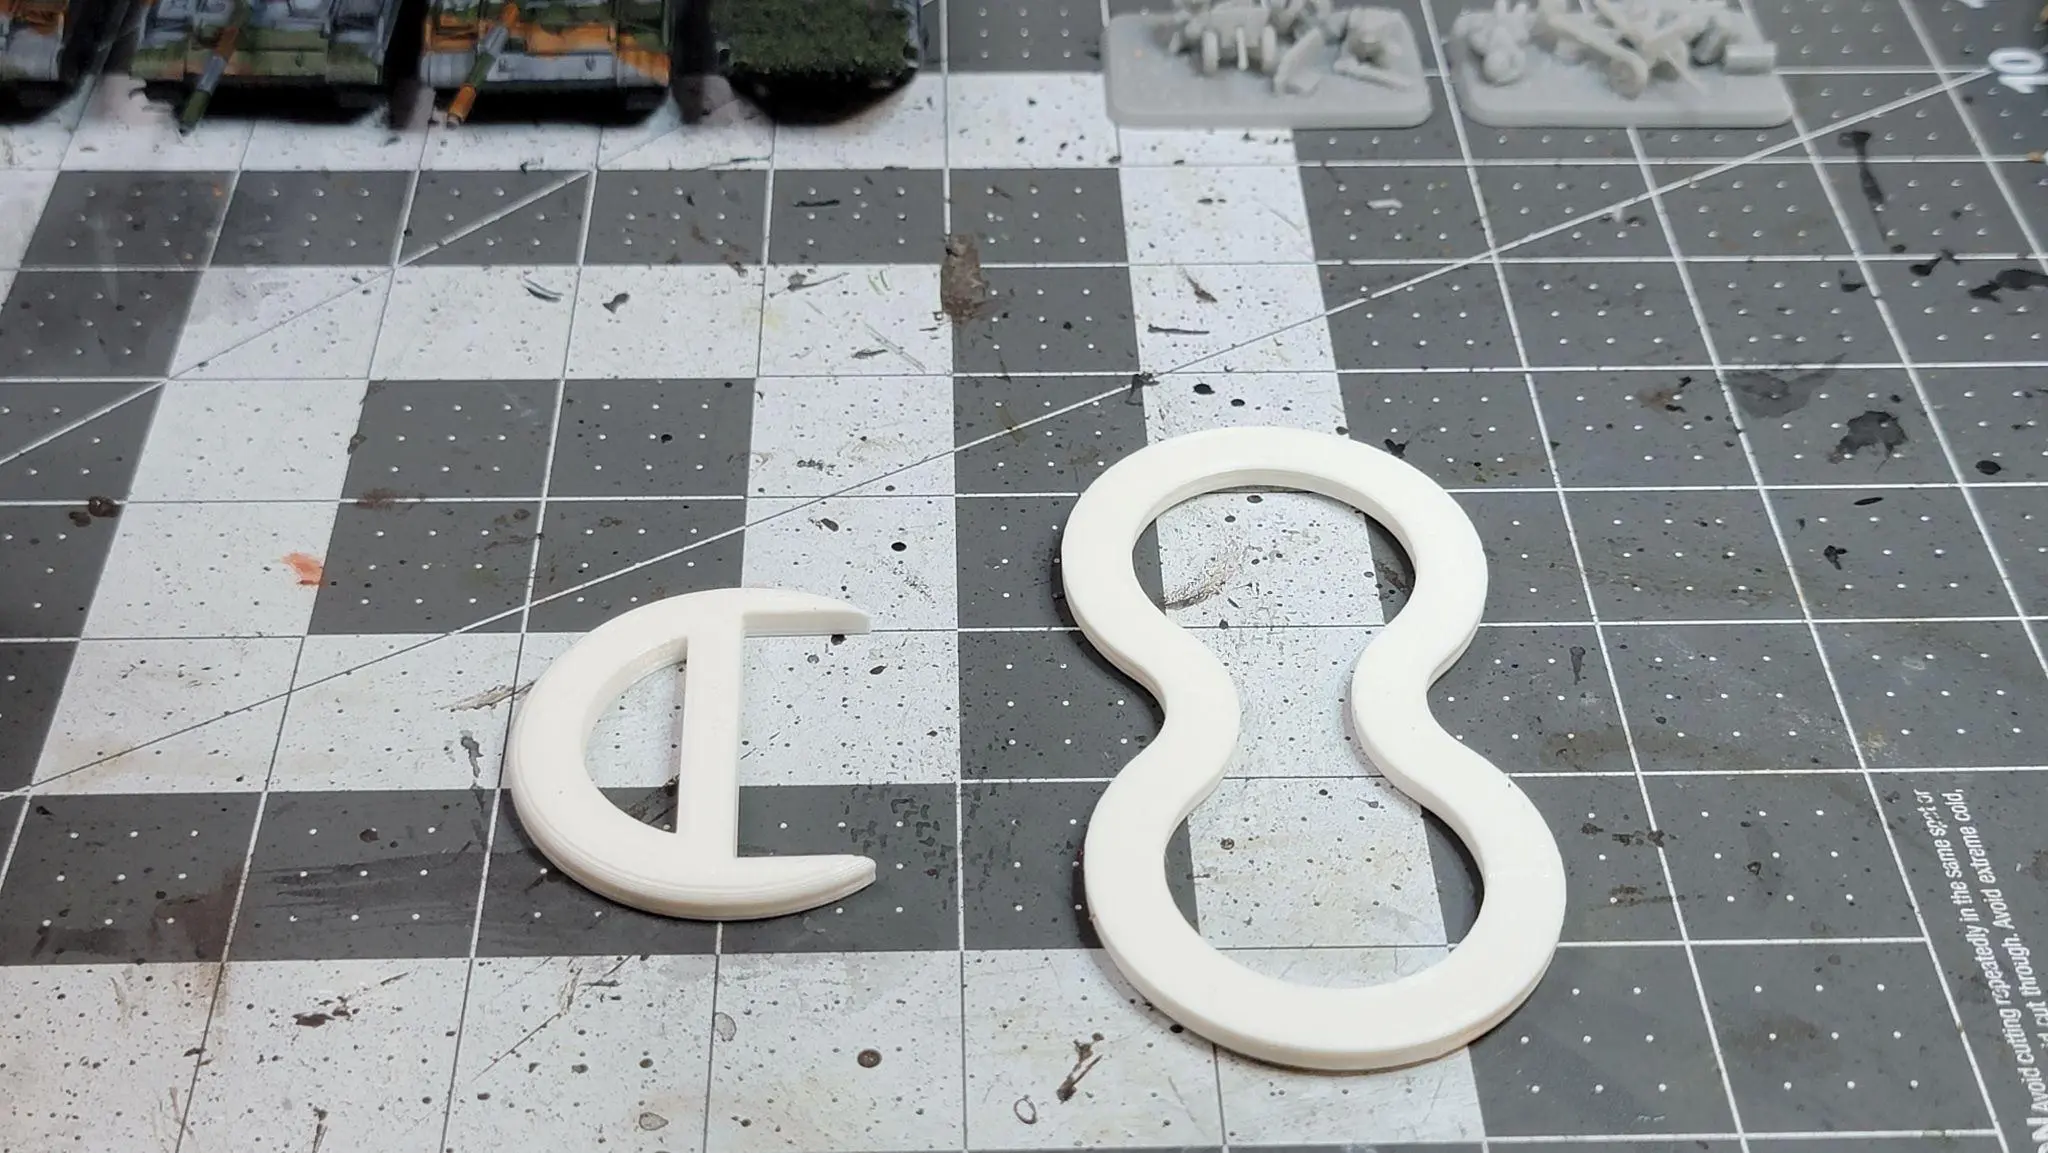
Provided is a direct fire marker (left) and a bombardment marker (right) The notches are sized to fit Battlefronts punch out smoke markers they sell. I have my own (unpainted) that I use.
Still a decent fit and gets the point across!
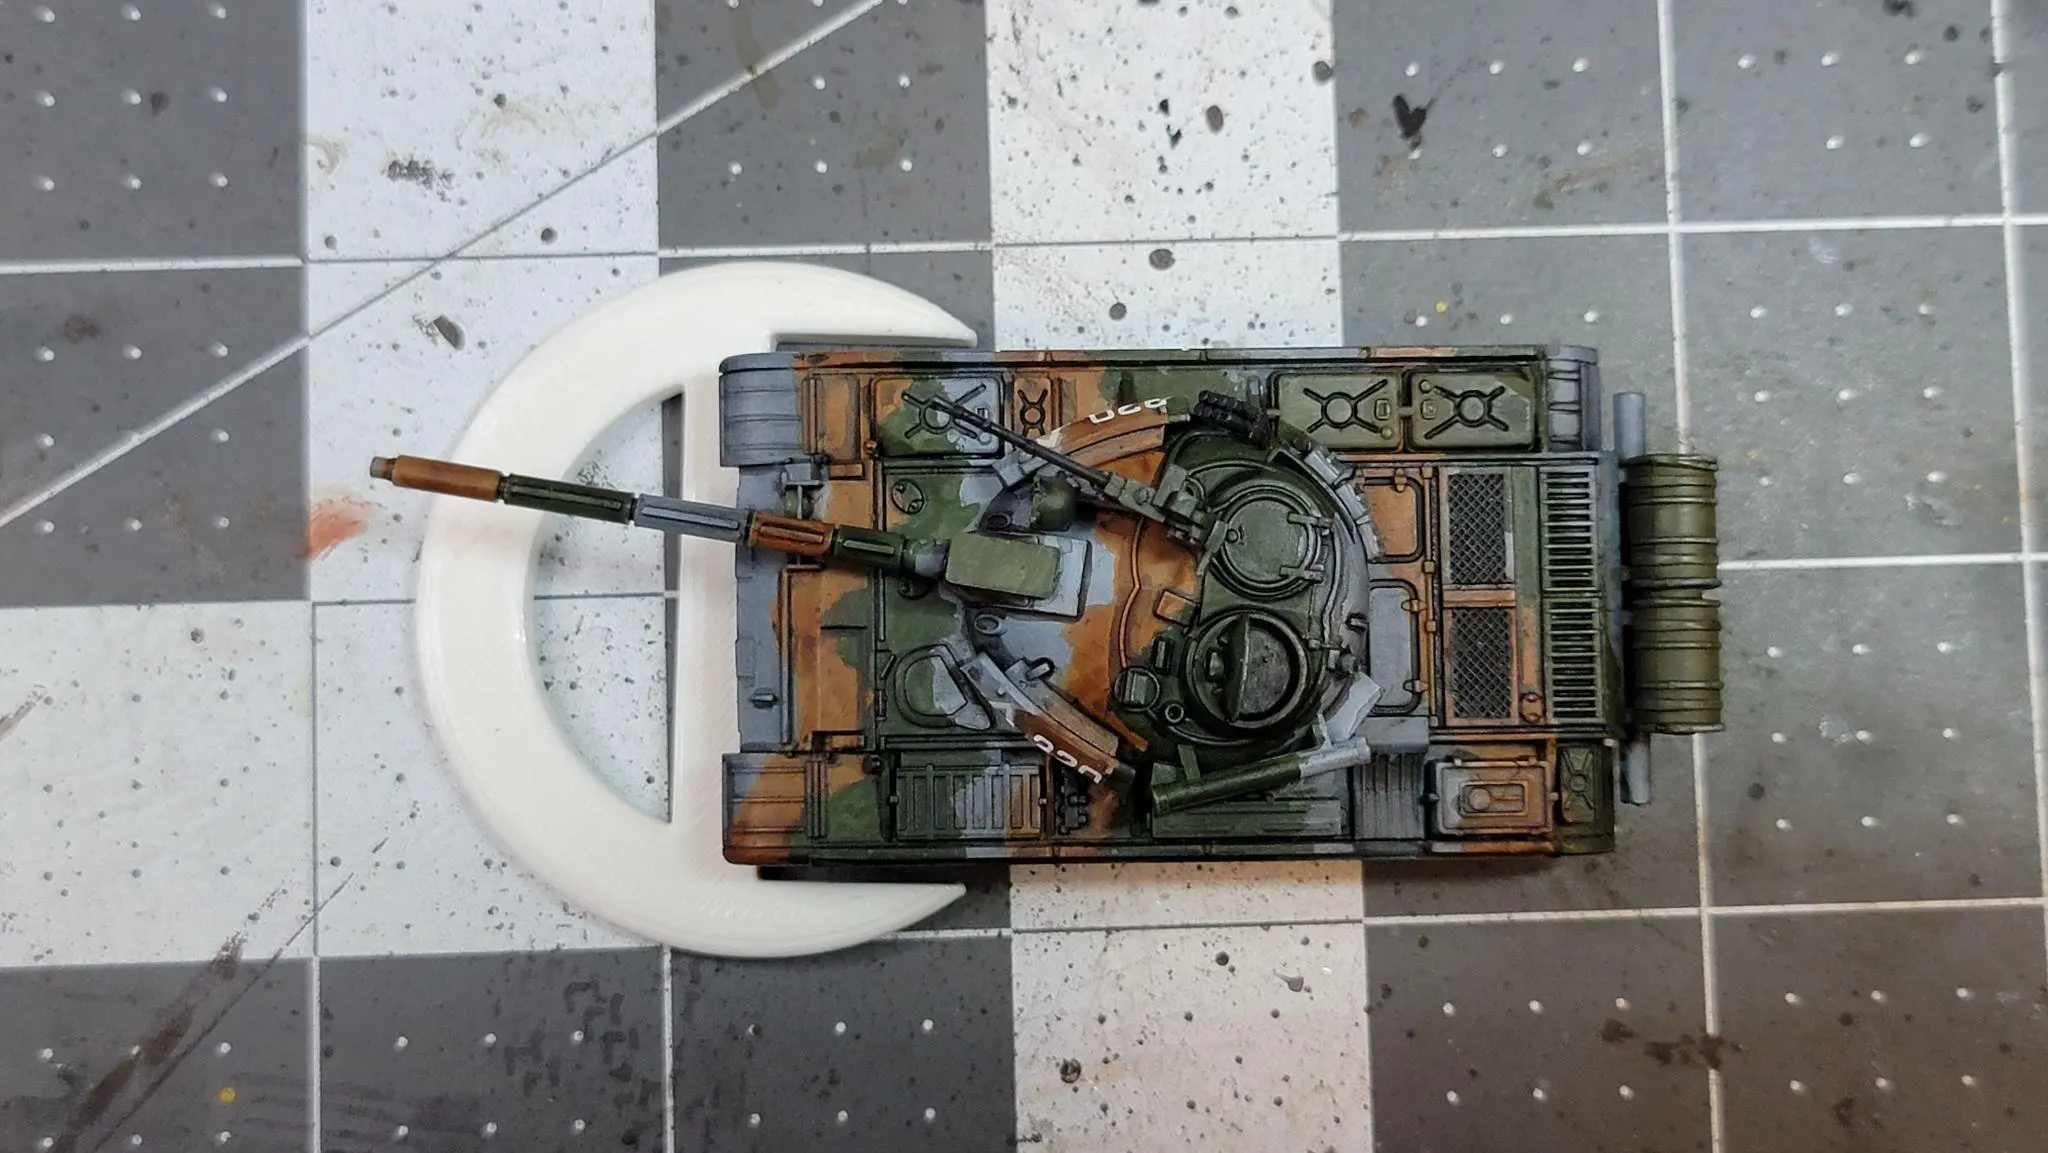
The direct fire marker fits nicely onto the front of a T-55am! Should have little problems wrapping other targets.
Each smoke marker has cut out areas to fit them in for storage.
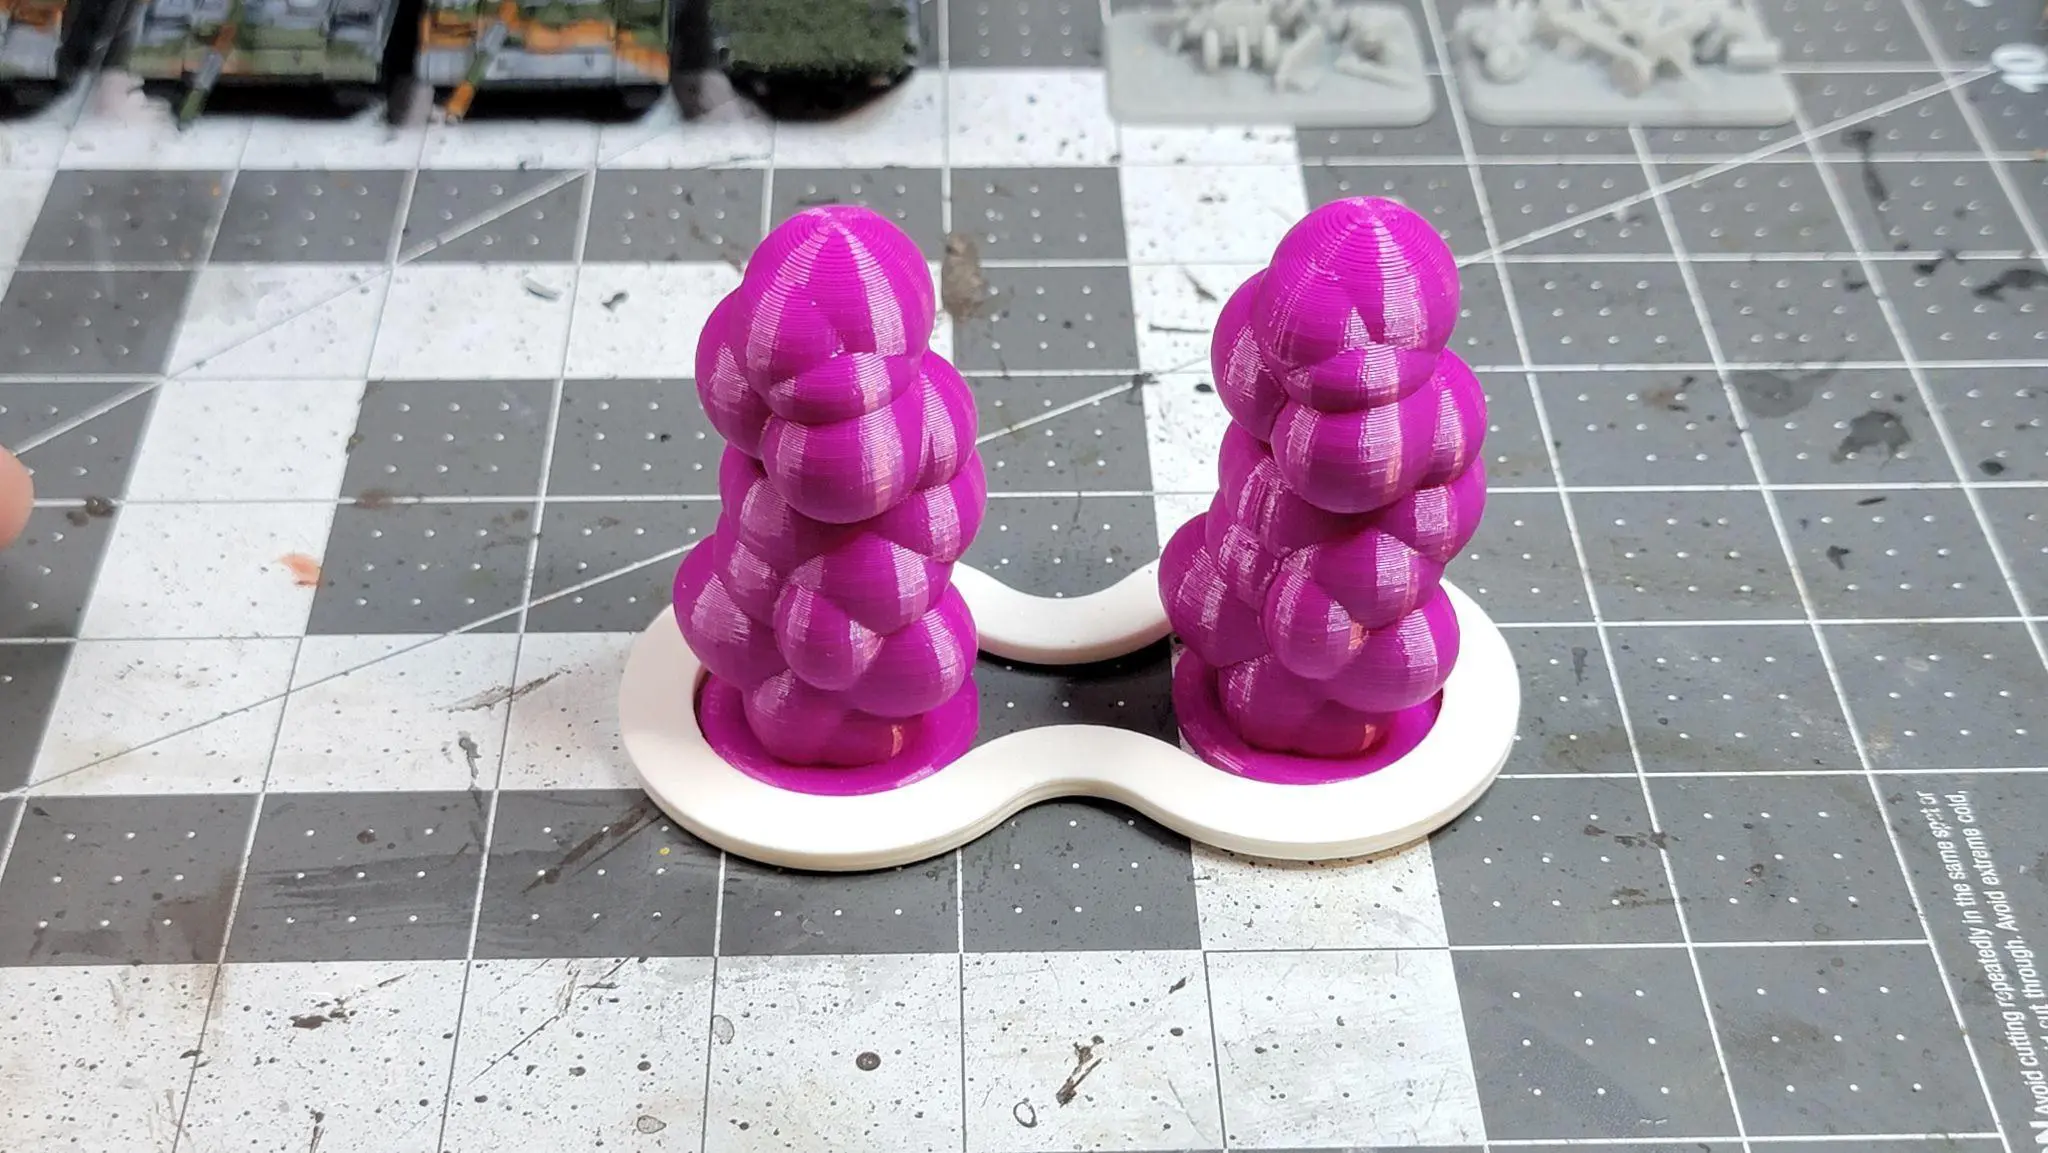
The smoke marker intrigued me.

The flame portions can be painted red and the smoke can be painted black. They’re suppose to slot into the base but I’m assuming my printer made them a touch too thick.
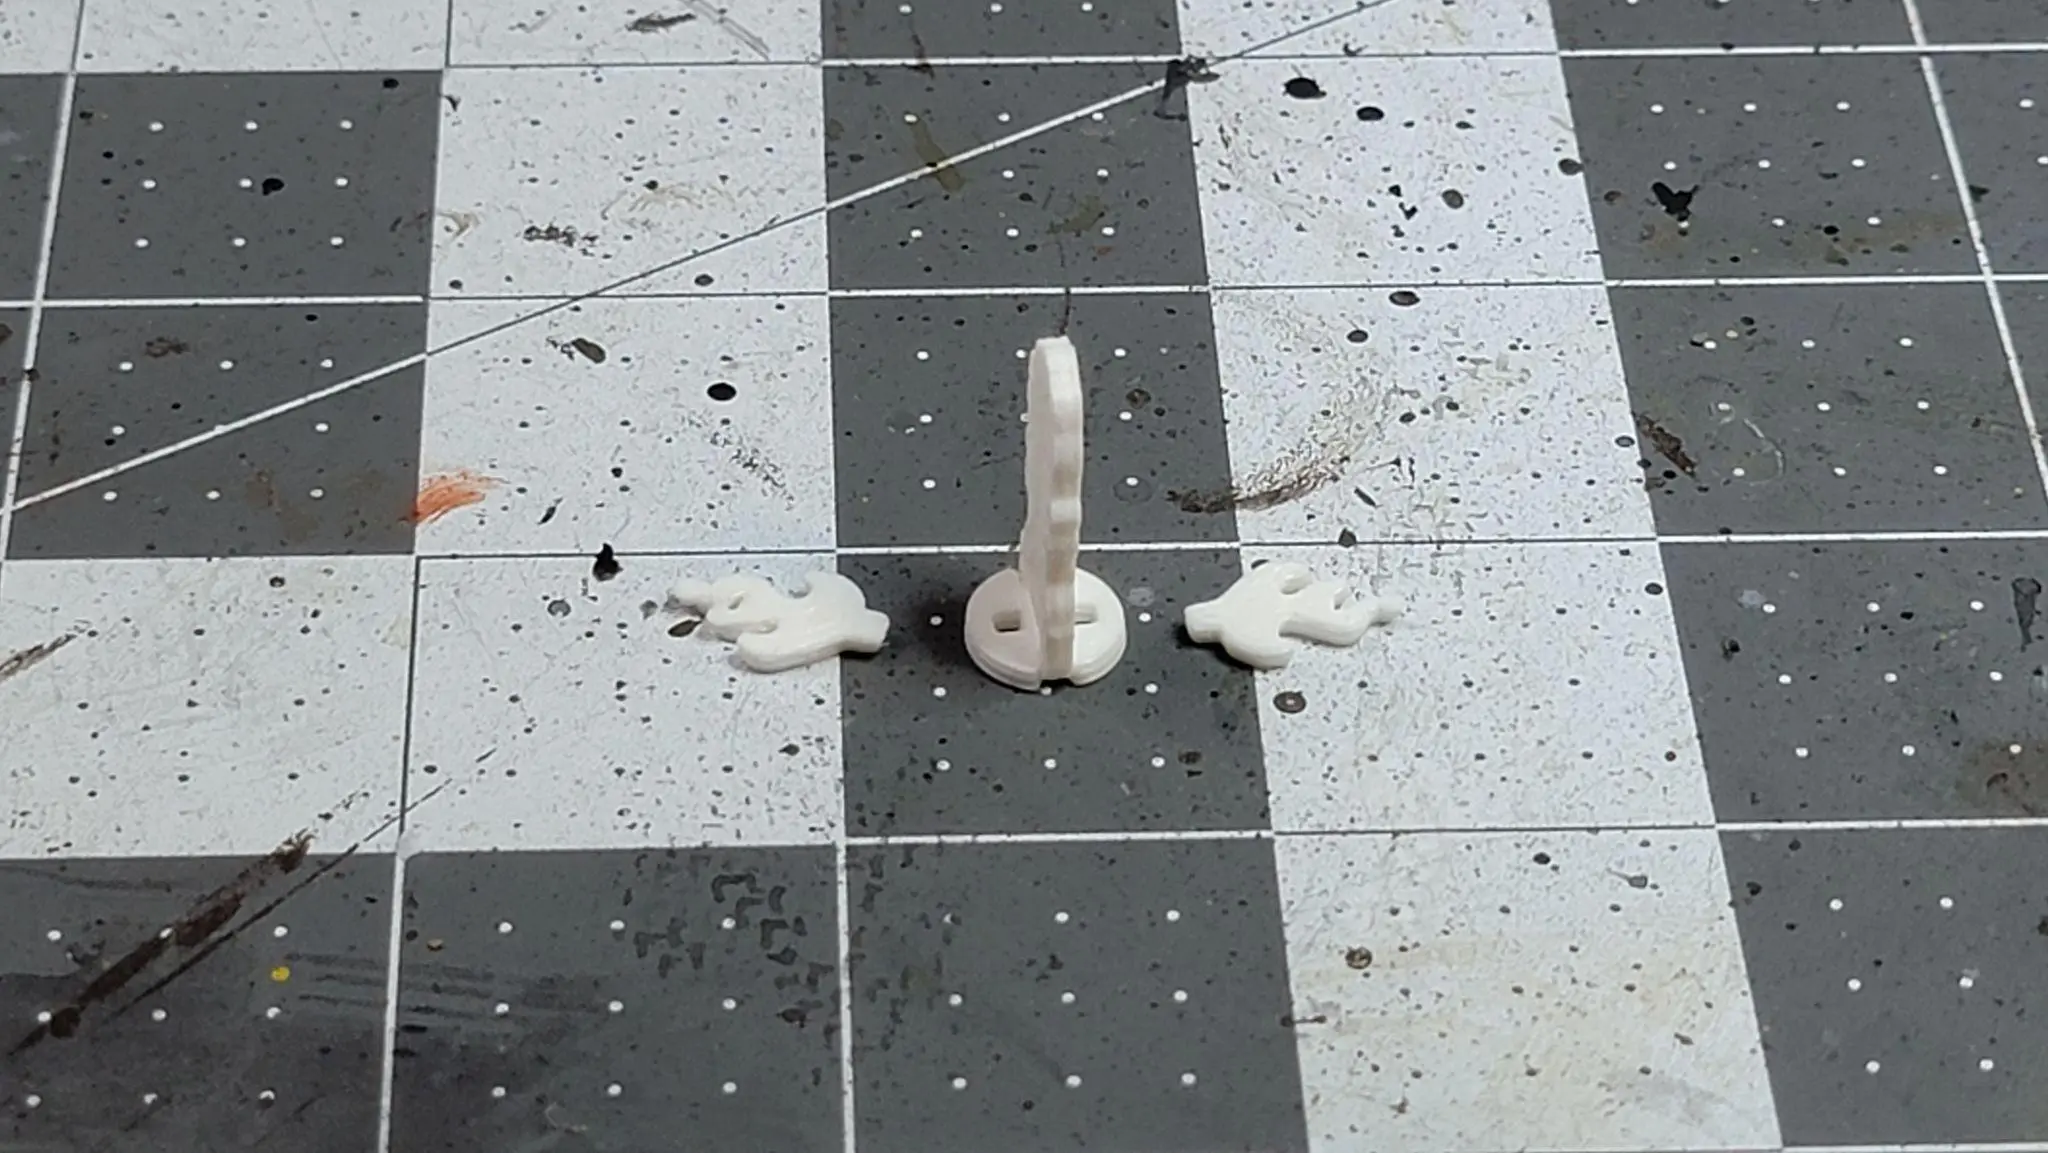
A mild issue, that’s easily fixable
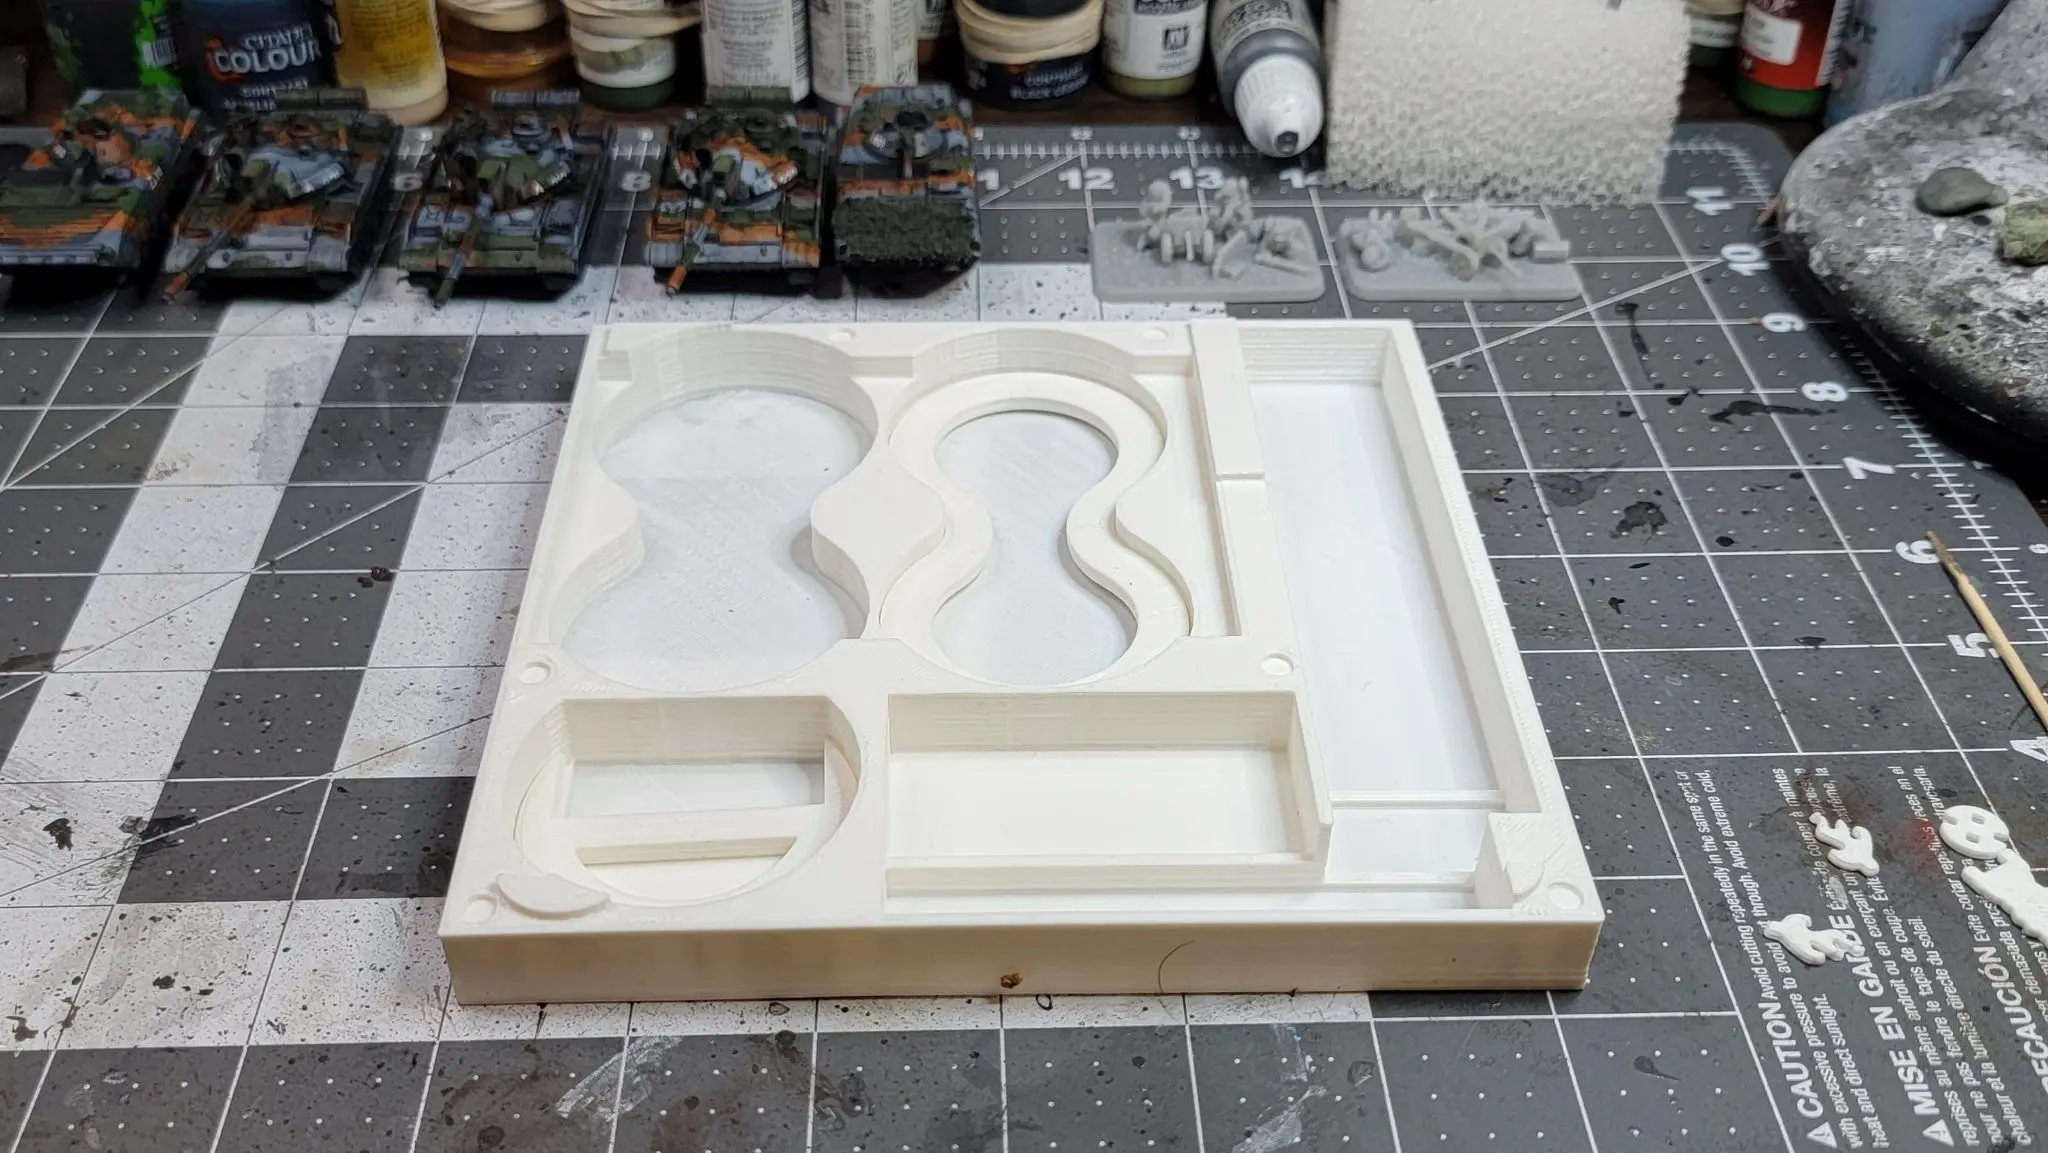
The real treasure here is the token tray.
Just look at all those slots.
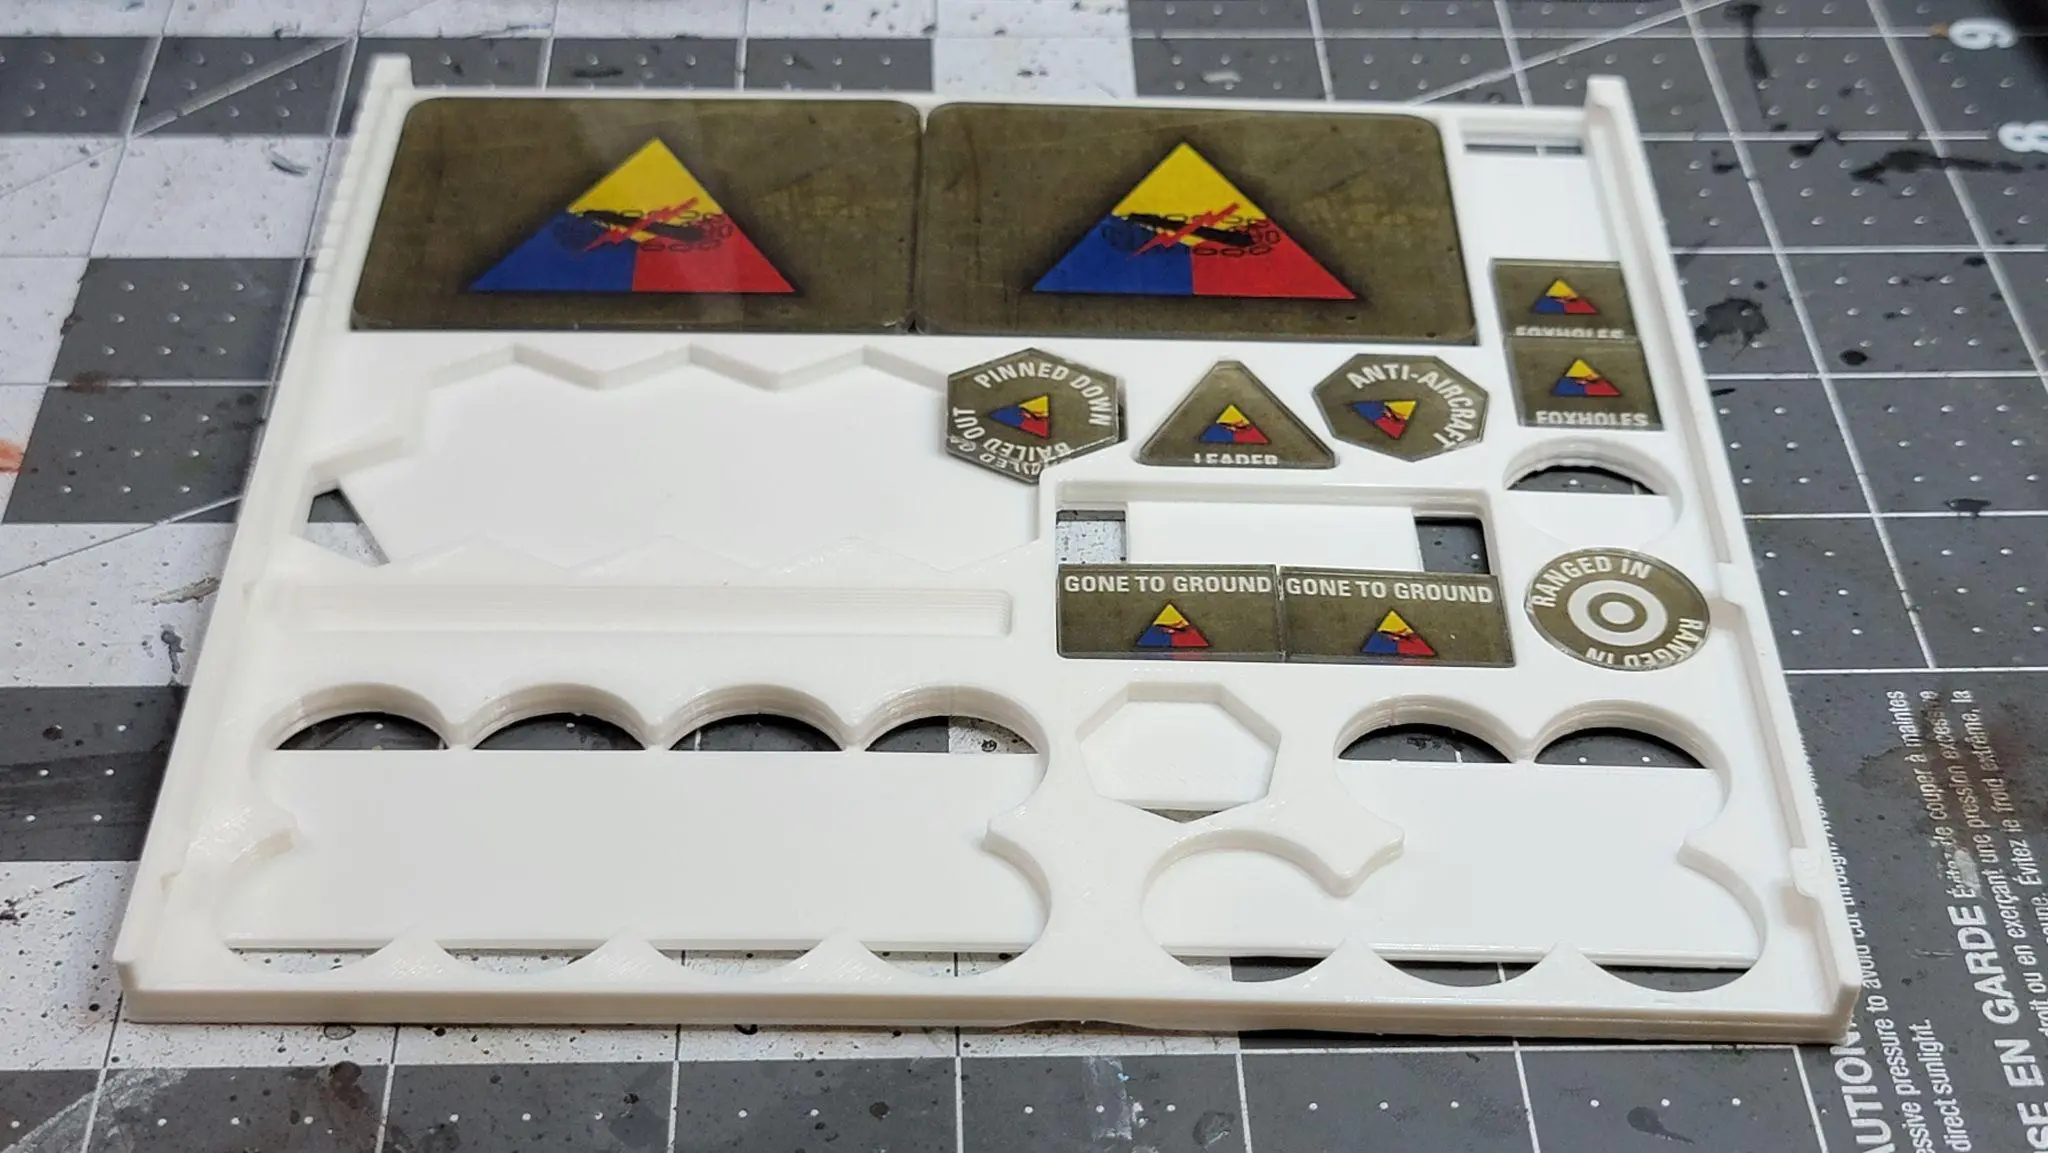
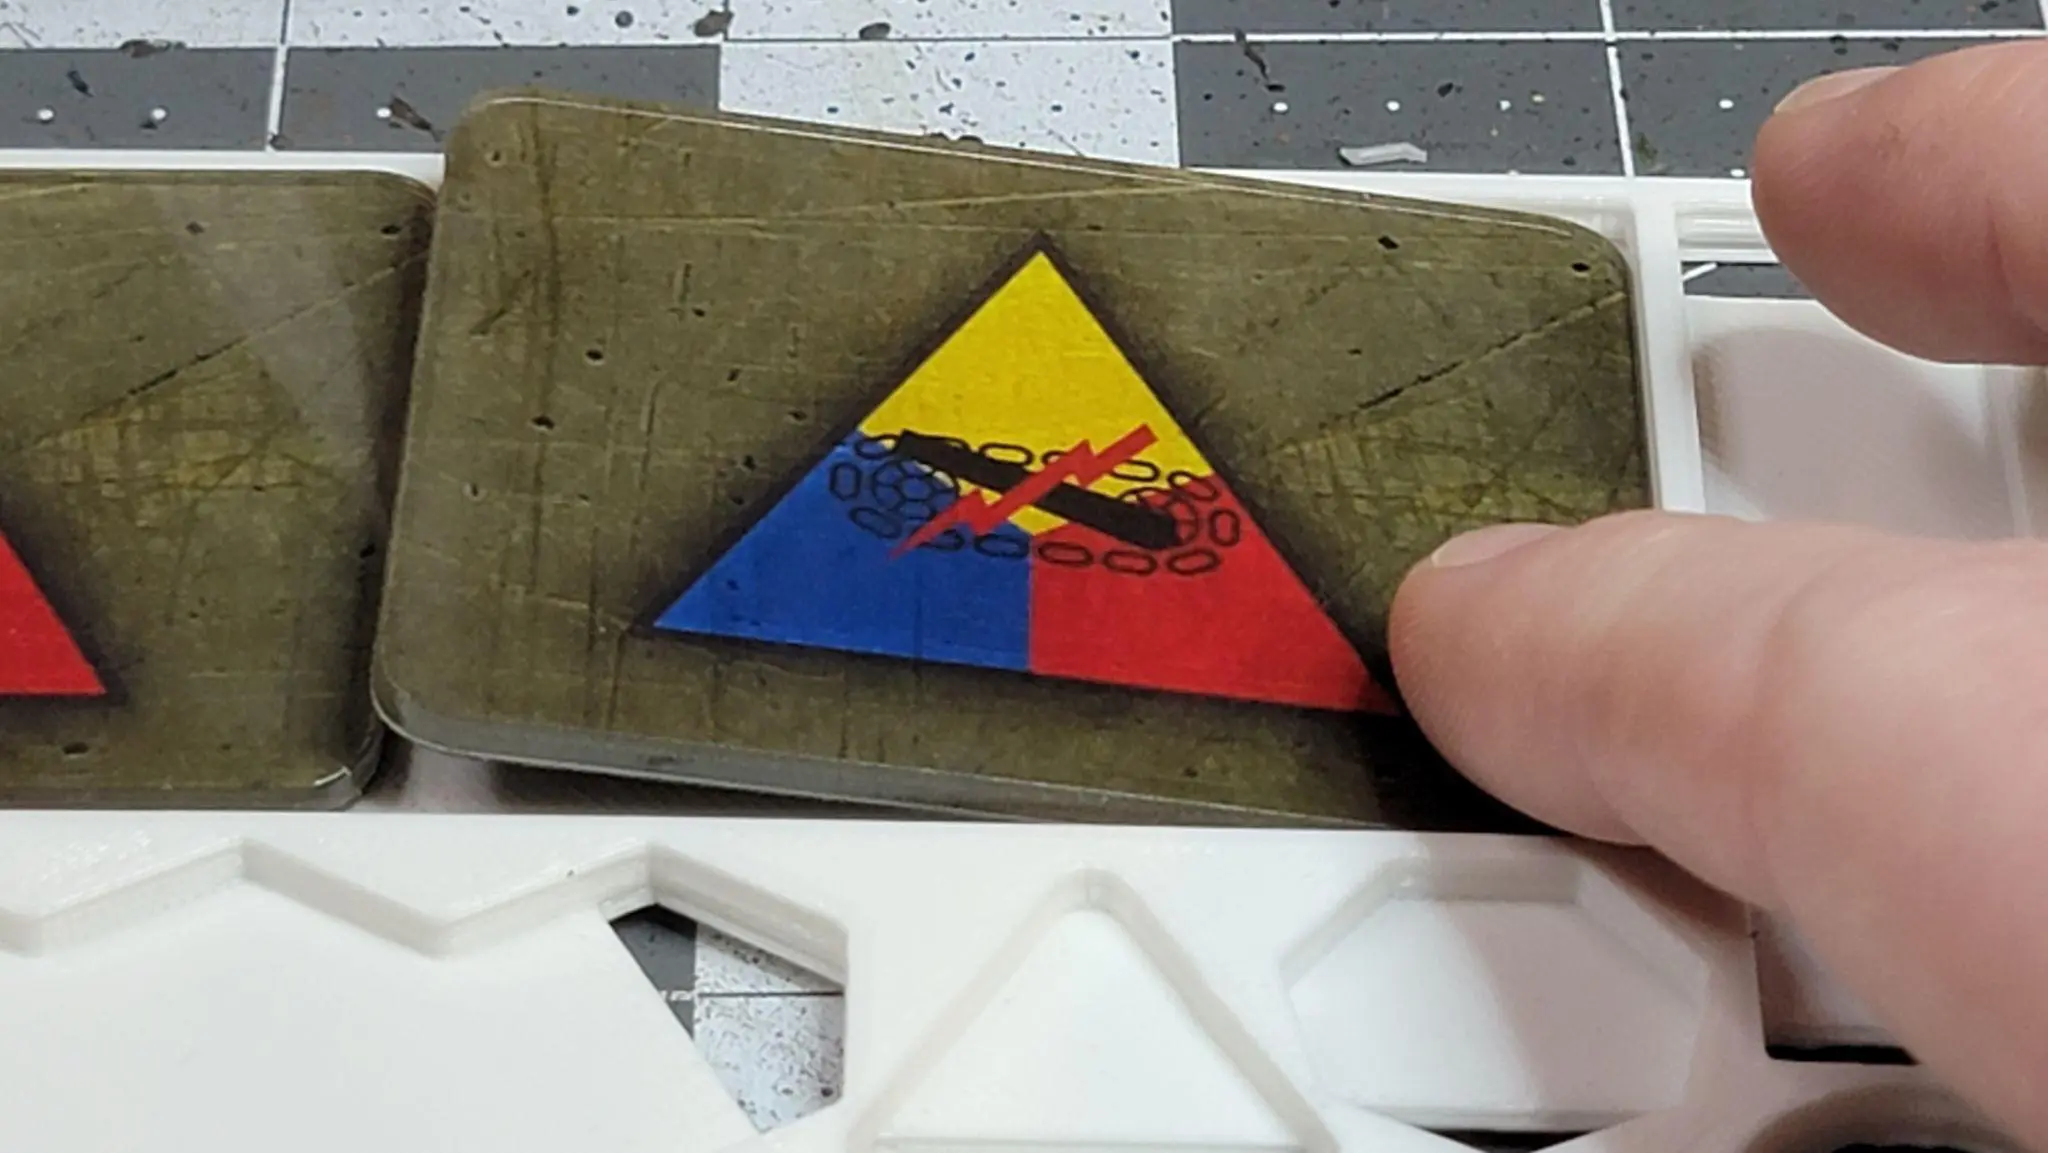
Pulled out my American Armored tokens for a size test, and they were a perfect fit. In addition, the tray is designed to make the tokens pop out when pushing down on them!! A very nice touch.
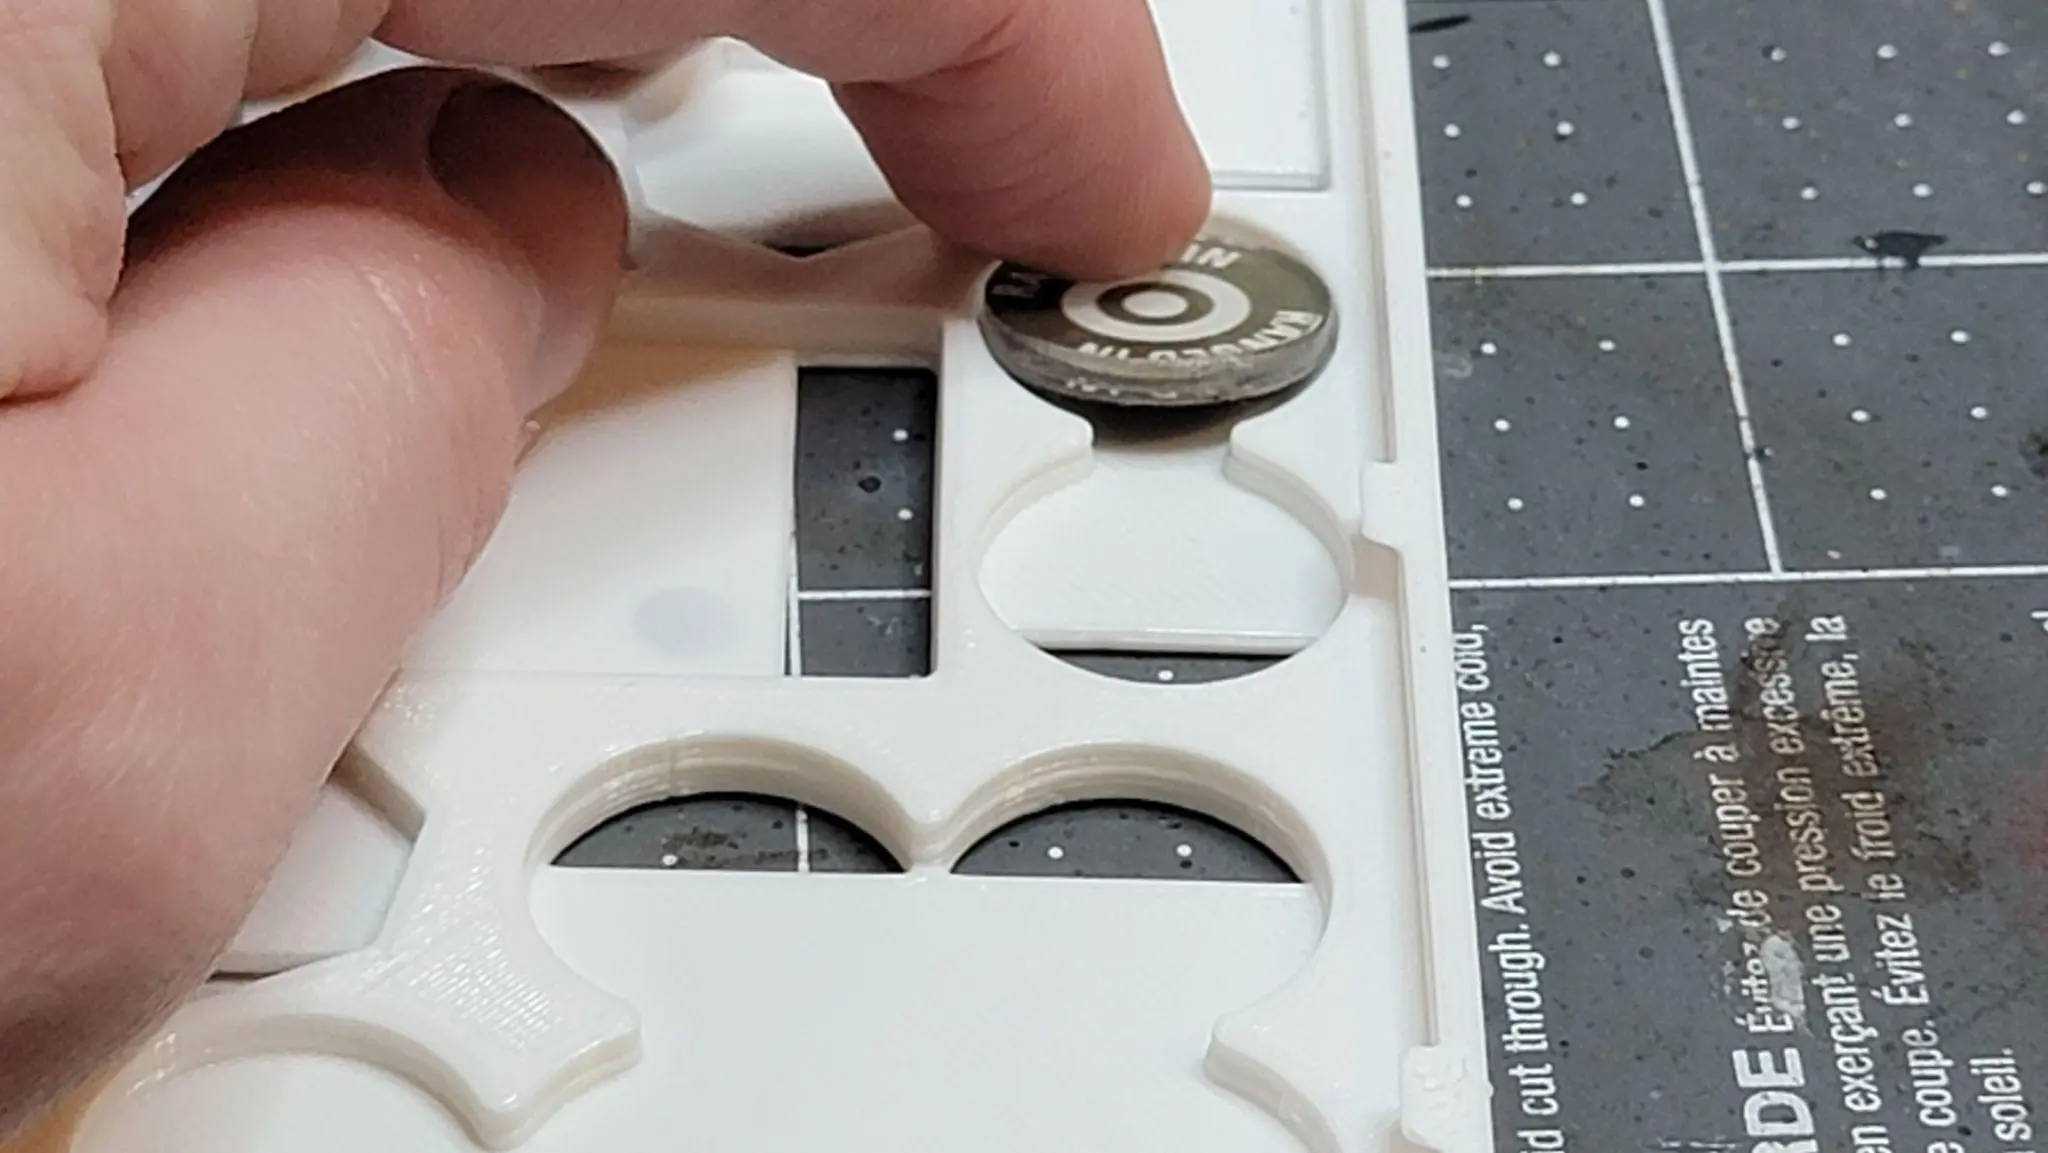
I absolutely adore this touch. No need to upend the tray or scrape at the tokens to get them up. Just simply push and grab.
Another nice feature is the Unit Card holder.
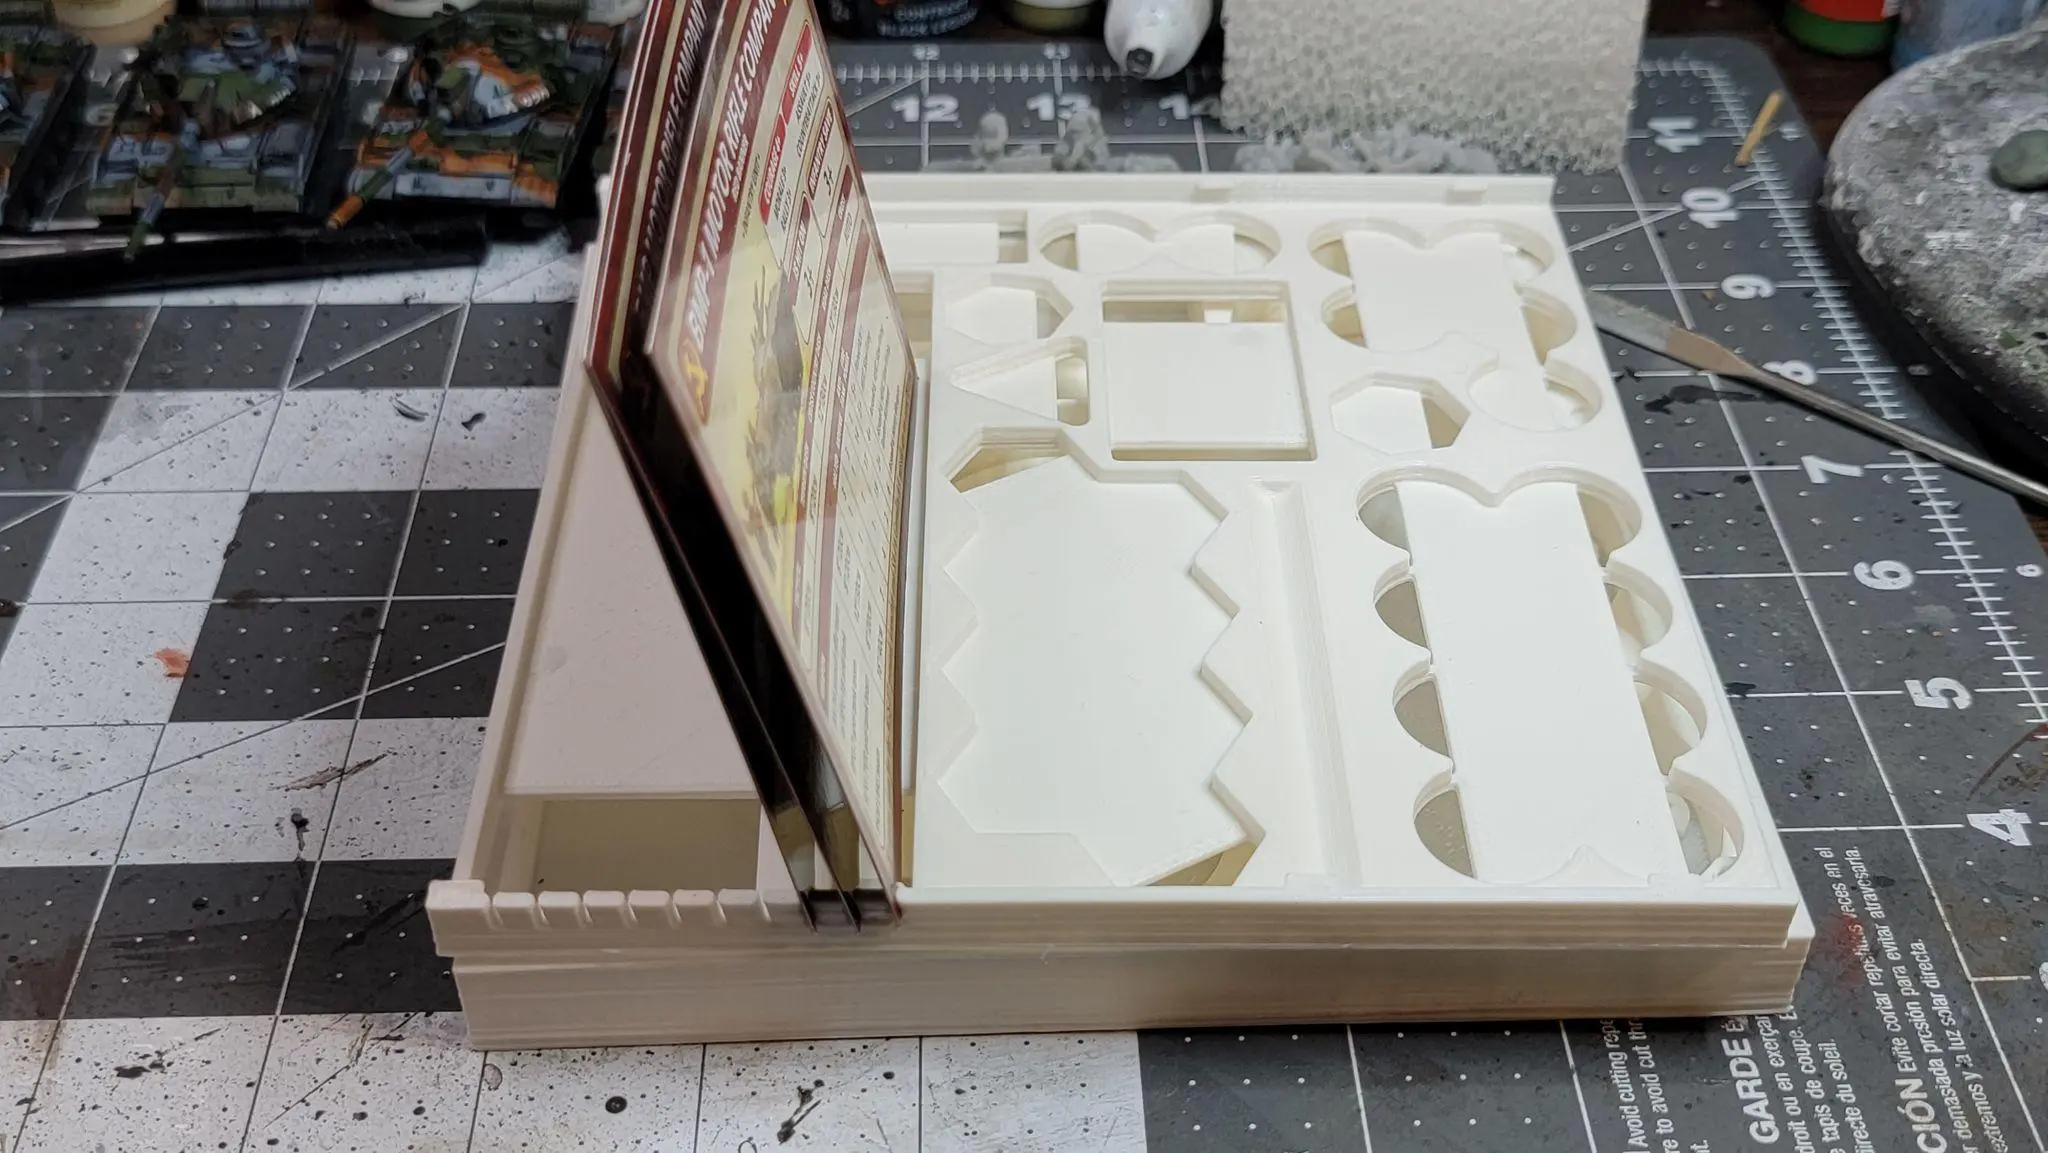
A great way to keep the cards handy!
The final issue I had with the print is something that I encounter with any files that are designed to fit together perfectly. My printer added some extra onto the slots and that made them no longer line up right so the top tray didn’t sit evenly on the bottom tray. There are holes for magnets to get slotted into, but I didn’t get a decent photo of those.
A simple enough fix, just like every single one I’ve mentioned so far. There is one primary problem and it is one of personal preference.
Conclusion
Overall this is a handy solution for your games of FOW/TY. I do love the indents to lift the tokens out of the tray, the direct fire smoke markers and the cutouts for the Unit cards to sit in. It is solidly designed (minus the thin areas under the smoke bombardments) and with minor tweaks to the file/printer the pegs and holes should match up perfectly. Solid 8/10
*If you don’t know if your plate is level, level it again. If you think your plate is level. Level it again.
**He loves chicken and blueberries.