TALE OF 3 GAMERS – Jungle bases

With the release of the Pacific book by Battlefront for MidWar (MW), a lot of people have been inspired to start off new projects, with new armies and a new theater of war. Here at Breakthrough Assault, we have been lucky enough to get sent a copy of each of the 3 Pacific army deals to review and play around with.


Here in my first piece in the series of articles, I will have a look at one of the ways to make some nice looking bases for the Pacific theater of war.
As always when starting a new project its a good place to start to have al look at the internet to see how the real world looks and see if there is something particular you want to replicate in your work.


As you can see in the photos, the Pacific offers a wide variety of landscapes, spanning from the dense jungle to rather open fields. For my project I will be going with a mix. I don’t want my models to completely disappear in bushes and trees, put on the other hand I also want it to be clearly different from my european basing.
The two main things I found is the colour of the soil and the plants, so I will try to make the ground colour a bit more reddish and of cause include a palm-tree, which most people associate with the tropics.
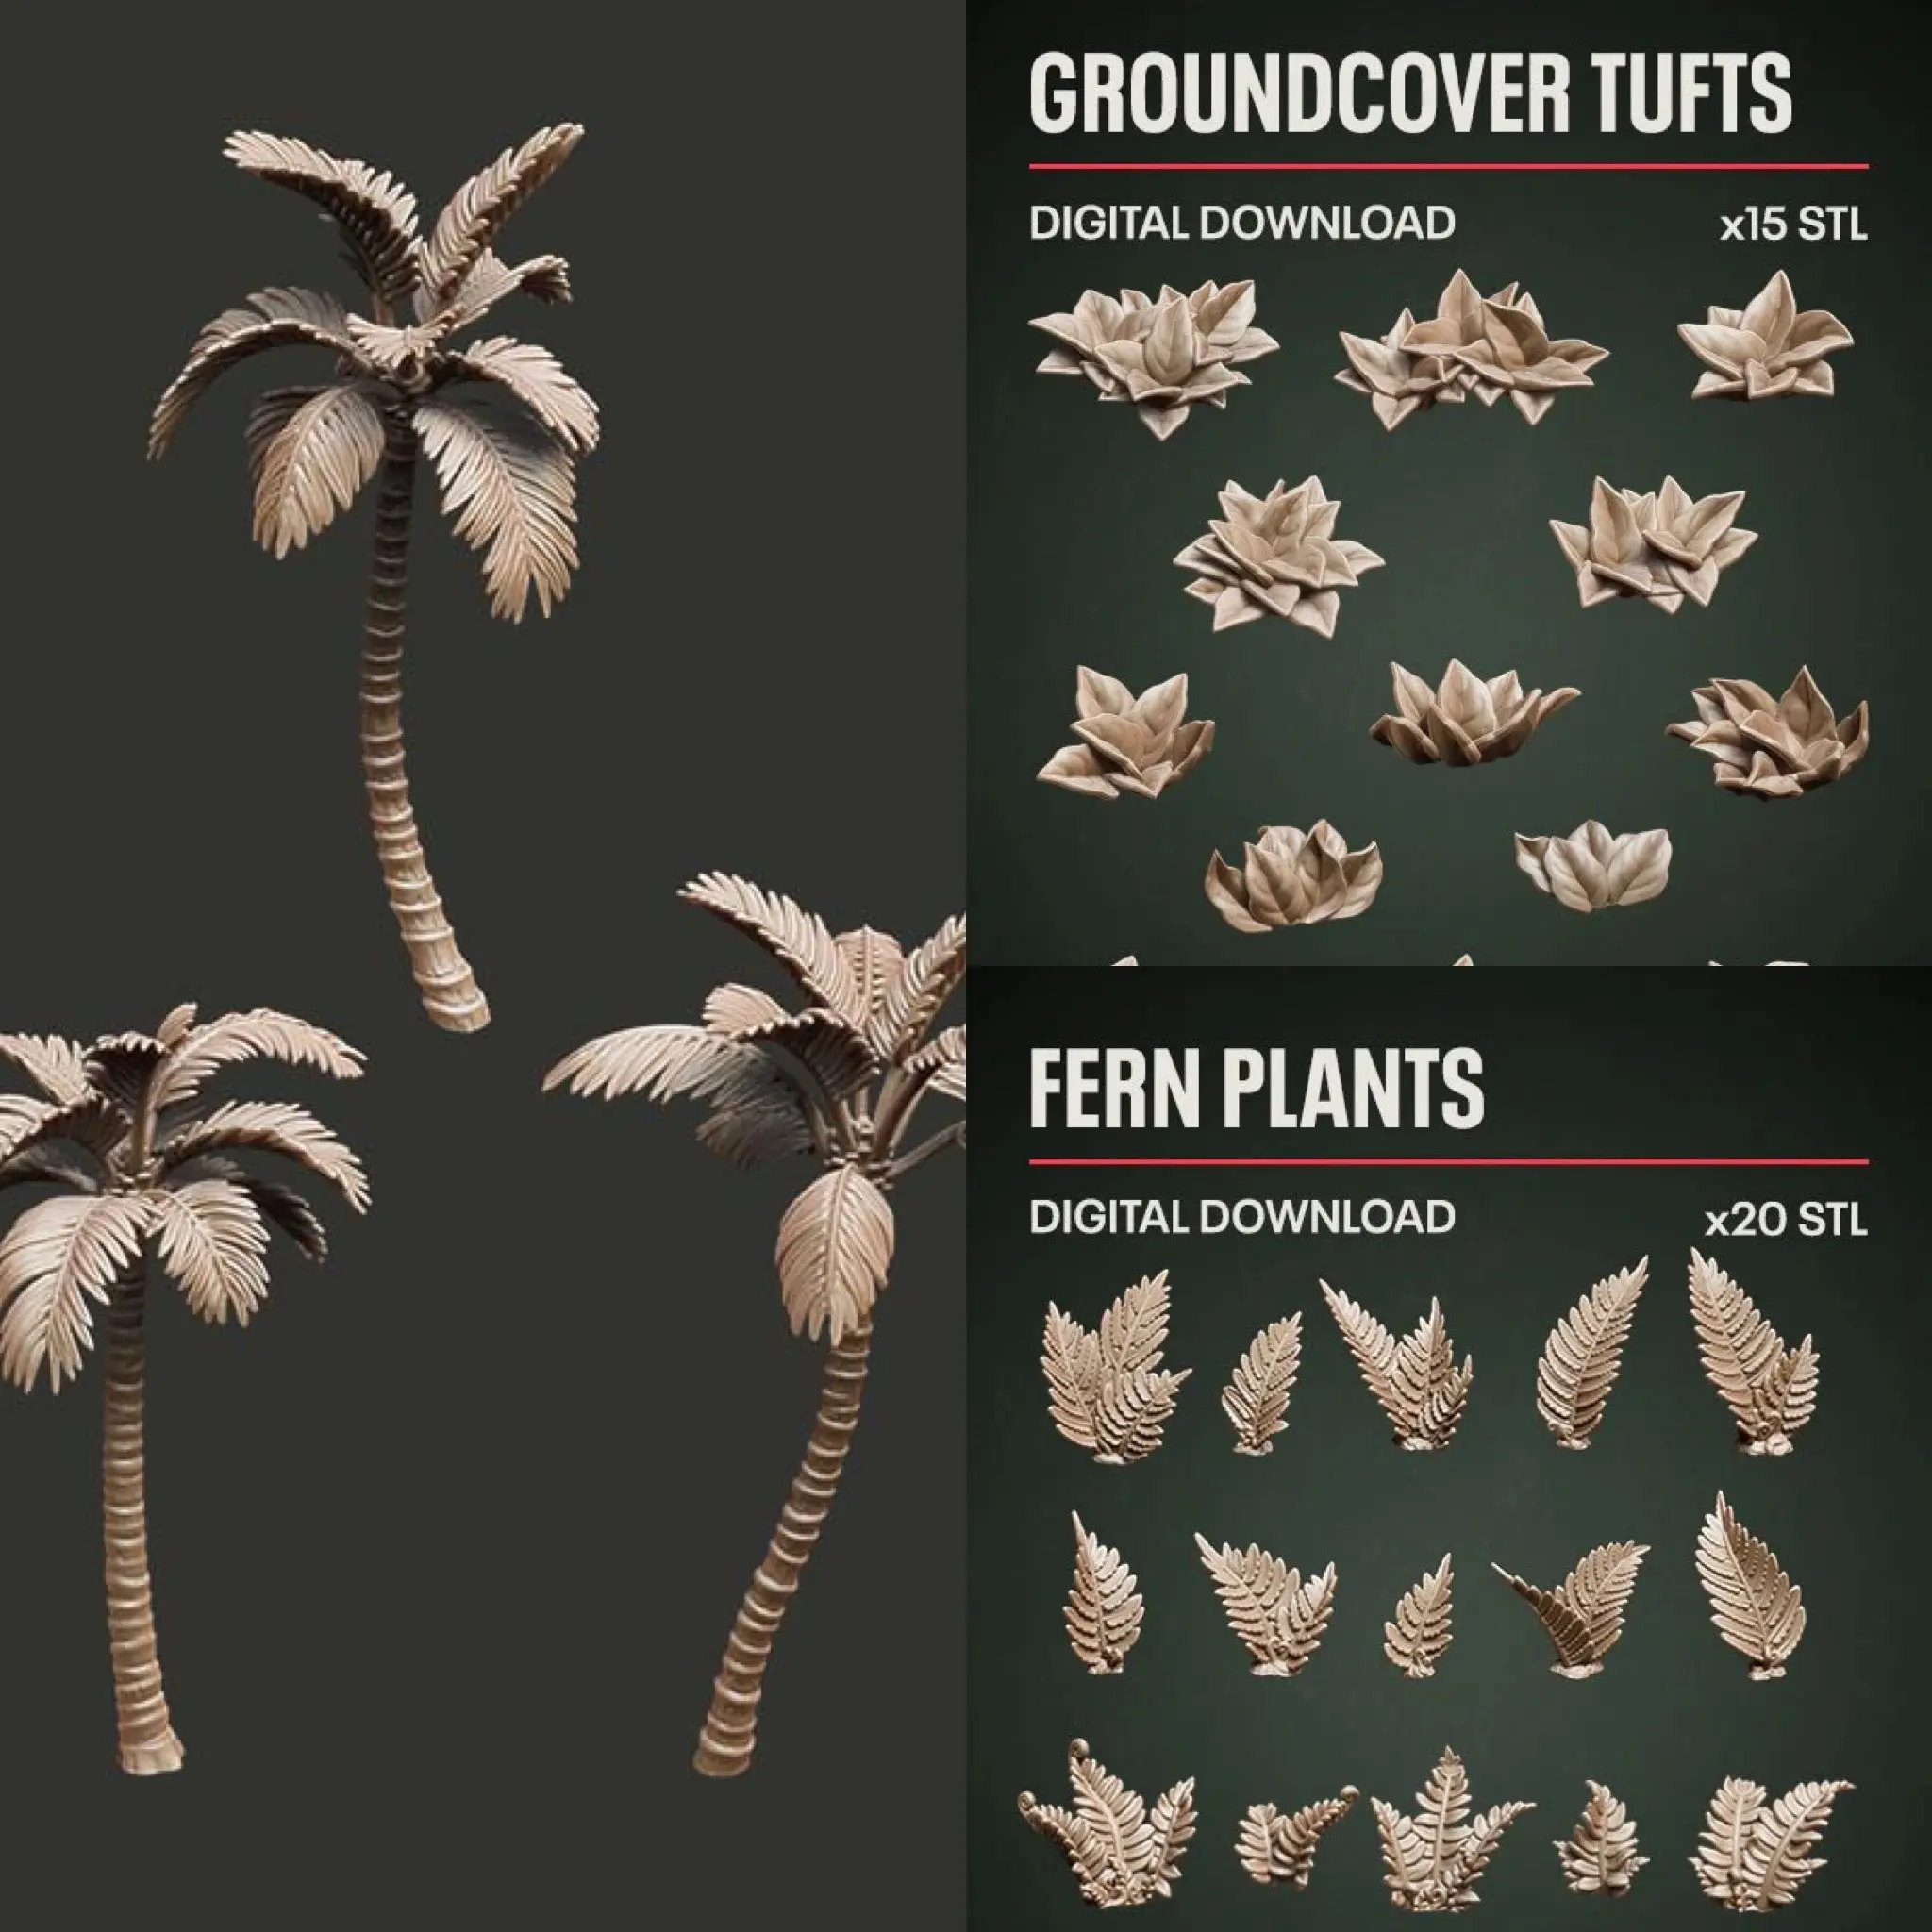
Now with the quick research done, it’s on the the materials. There is a couple of way to go, when finding plants and trees for your Pacific bases. You can go on Temu and buy palm-trees and jungle plant, you can go to your local animal-store and buy aquatic plants for fish tanks or you can do like me and use 3d printed basing stuff. The company Epic Basing offers a wide selection of stuff and you can use, sadly it’s all designed for 28mm so you will have to print it yourself and scale it down to 15mm.
Making the bases
On with the show, let’s do some base building. I scaled down some of the presupported files as I was to lazy to make the supports myself and as always it comes at a price. 70% printed fine which was enough for the stes base, but for future bases, I will have to do the supporting myself. I made some bamboo, a palm-tree, some ferns and some rocks, that was leftover from my Romanian army project.

After a quick trail setup on the base, to insure it will fit with the figures, I glues the scenery to the base using superglue and add a layer of wall filler mixed with a brown paint.

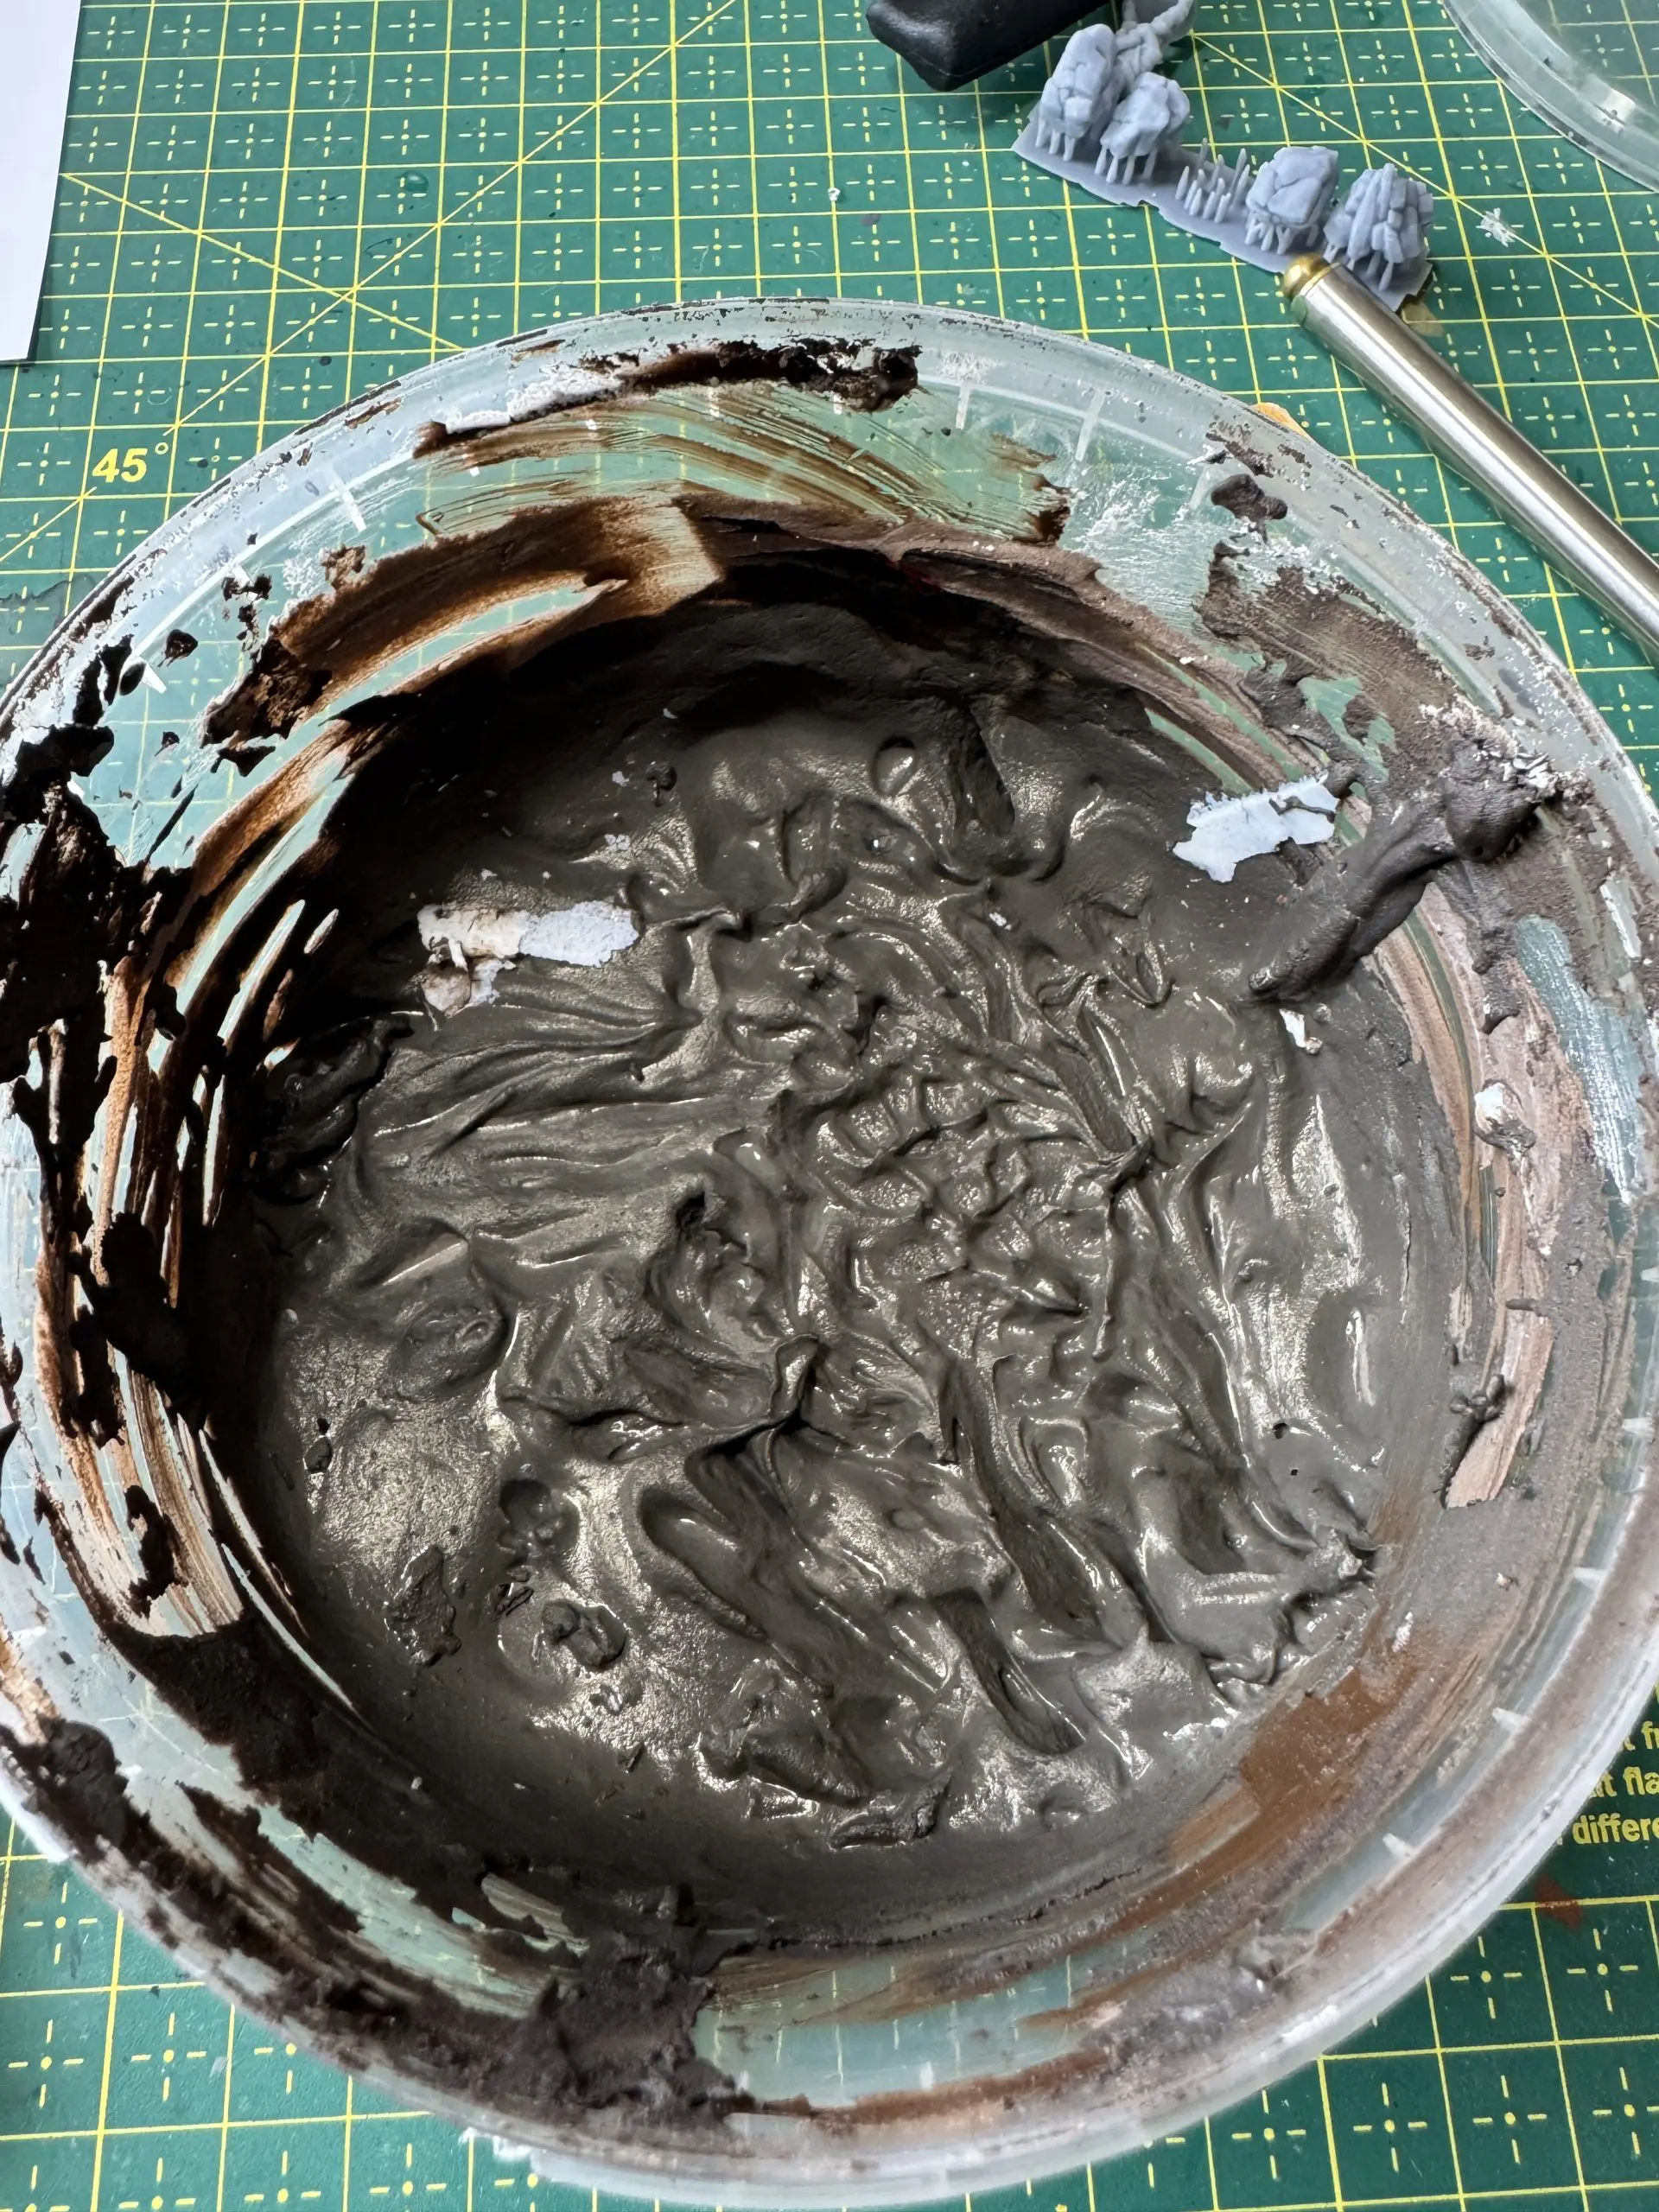

The paint is only added to ensure that if there ever should occur a some chipping it won’t be a bright white spot shining through.
After the filler has been applied, I use and old brush dipped in water to push it around making sure it gets into all the right places and the water helps soften out any sharp edges the quick drying filler otherwise might make.
While the filler is still wet, I sprinkle some ground scatter from army painter on and to add to the jungle feel some herbal tea, that will add some texture and looks like twigs and dead leaves, I also added some same cork pieces as rocks. I forgot to take a picture when the tea was added.


Painting
First up everything gets primed using the airbrush. First a layer of black and then a highlight of white, not that the white is important as I wont be doing any glazing, but as the colours are yellow and bright green, it’s easier to paint over white.


The palm-tree leaves, ferns and bamboo all gets painted with a layer of German bright camo green and then layers with increasing amounts of yellow added to the mix, covering less and less of the leaves/plant.
Next up, the ground is painted with two coats of dark brown. This is just wall paint as I find it too expensive to use model paint for large amounts of base. I bought 1/2L at my local hardware store for next to nothing. I keep the paint rather thin to make sure it flows well into all the recesses. It can also help to add a drop of dishwashing soap, to break the surface tension.


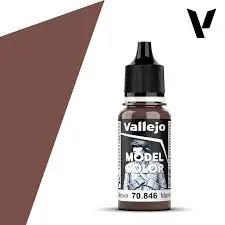
Next I painted the tree trunk with a base of German camo medium brown, US Field Drab on the edges and then gave it a wash with Sapia wash followed by a dry-brush with Iraqi sand.

For the rocks I chose to go with a reddish tone to contrast all the green and the green uniforms of the British I will be adding on later. The Reds are a mix of Rot Braun, Mahogany and Saddle Brown painted on in blotches while the paint is still wet (wet-blending).


When everything is properly dry I give it all a wash with Sepia Wash. I use this because it has a slight redness to it and therefore help blend it all together. This is followed by two layers of dry-brushing each a little lighter than the other. First a drybrush with Beige brown and then a layer with Beige Brown mixed 50/50 with Iraqi Sand.


I then highlight the rocks with a dry-brush of Tan and add some different coloured turfs from Gamers Grass. I deliberately do not overfill the base with static grass and turft as the the miniatures gets added they will be wearing green uniforms as well and I want the red/brown ground colour to contrast the green.
Finally I sprinkle a little more of the tea blend on and seal it with watered down PVA glue and add a couple of puddles using AK Puddles.

The AK Puddles can be a bit of a pain to work with as it shrinks quiet a lot, but it’s fast and and easy to get hold off as most hobby shops carry AK interactive stuff.
That all for now. I hope you can use some of the techniques I used here to make your own jungle themed bases or learned what you definitely don’t want as that is at least half the way to the goal. Happy hobbying
-Soren-


3 comments