The Cromwell’s Charge

“In a daring and energetically led attack along the west flank of the army, the division [Das Reich] has destroyed a considerable enemy force, and thus created the necessary condition for further operations. I convey to the division and its officers my special recognition. Mention of the division in the Wehrmacht communique has been proposed.”
Field Marshal von Manstein
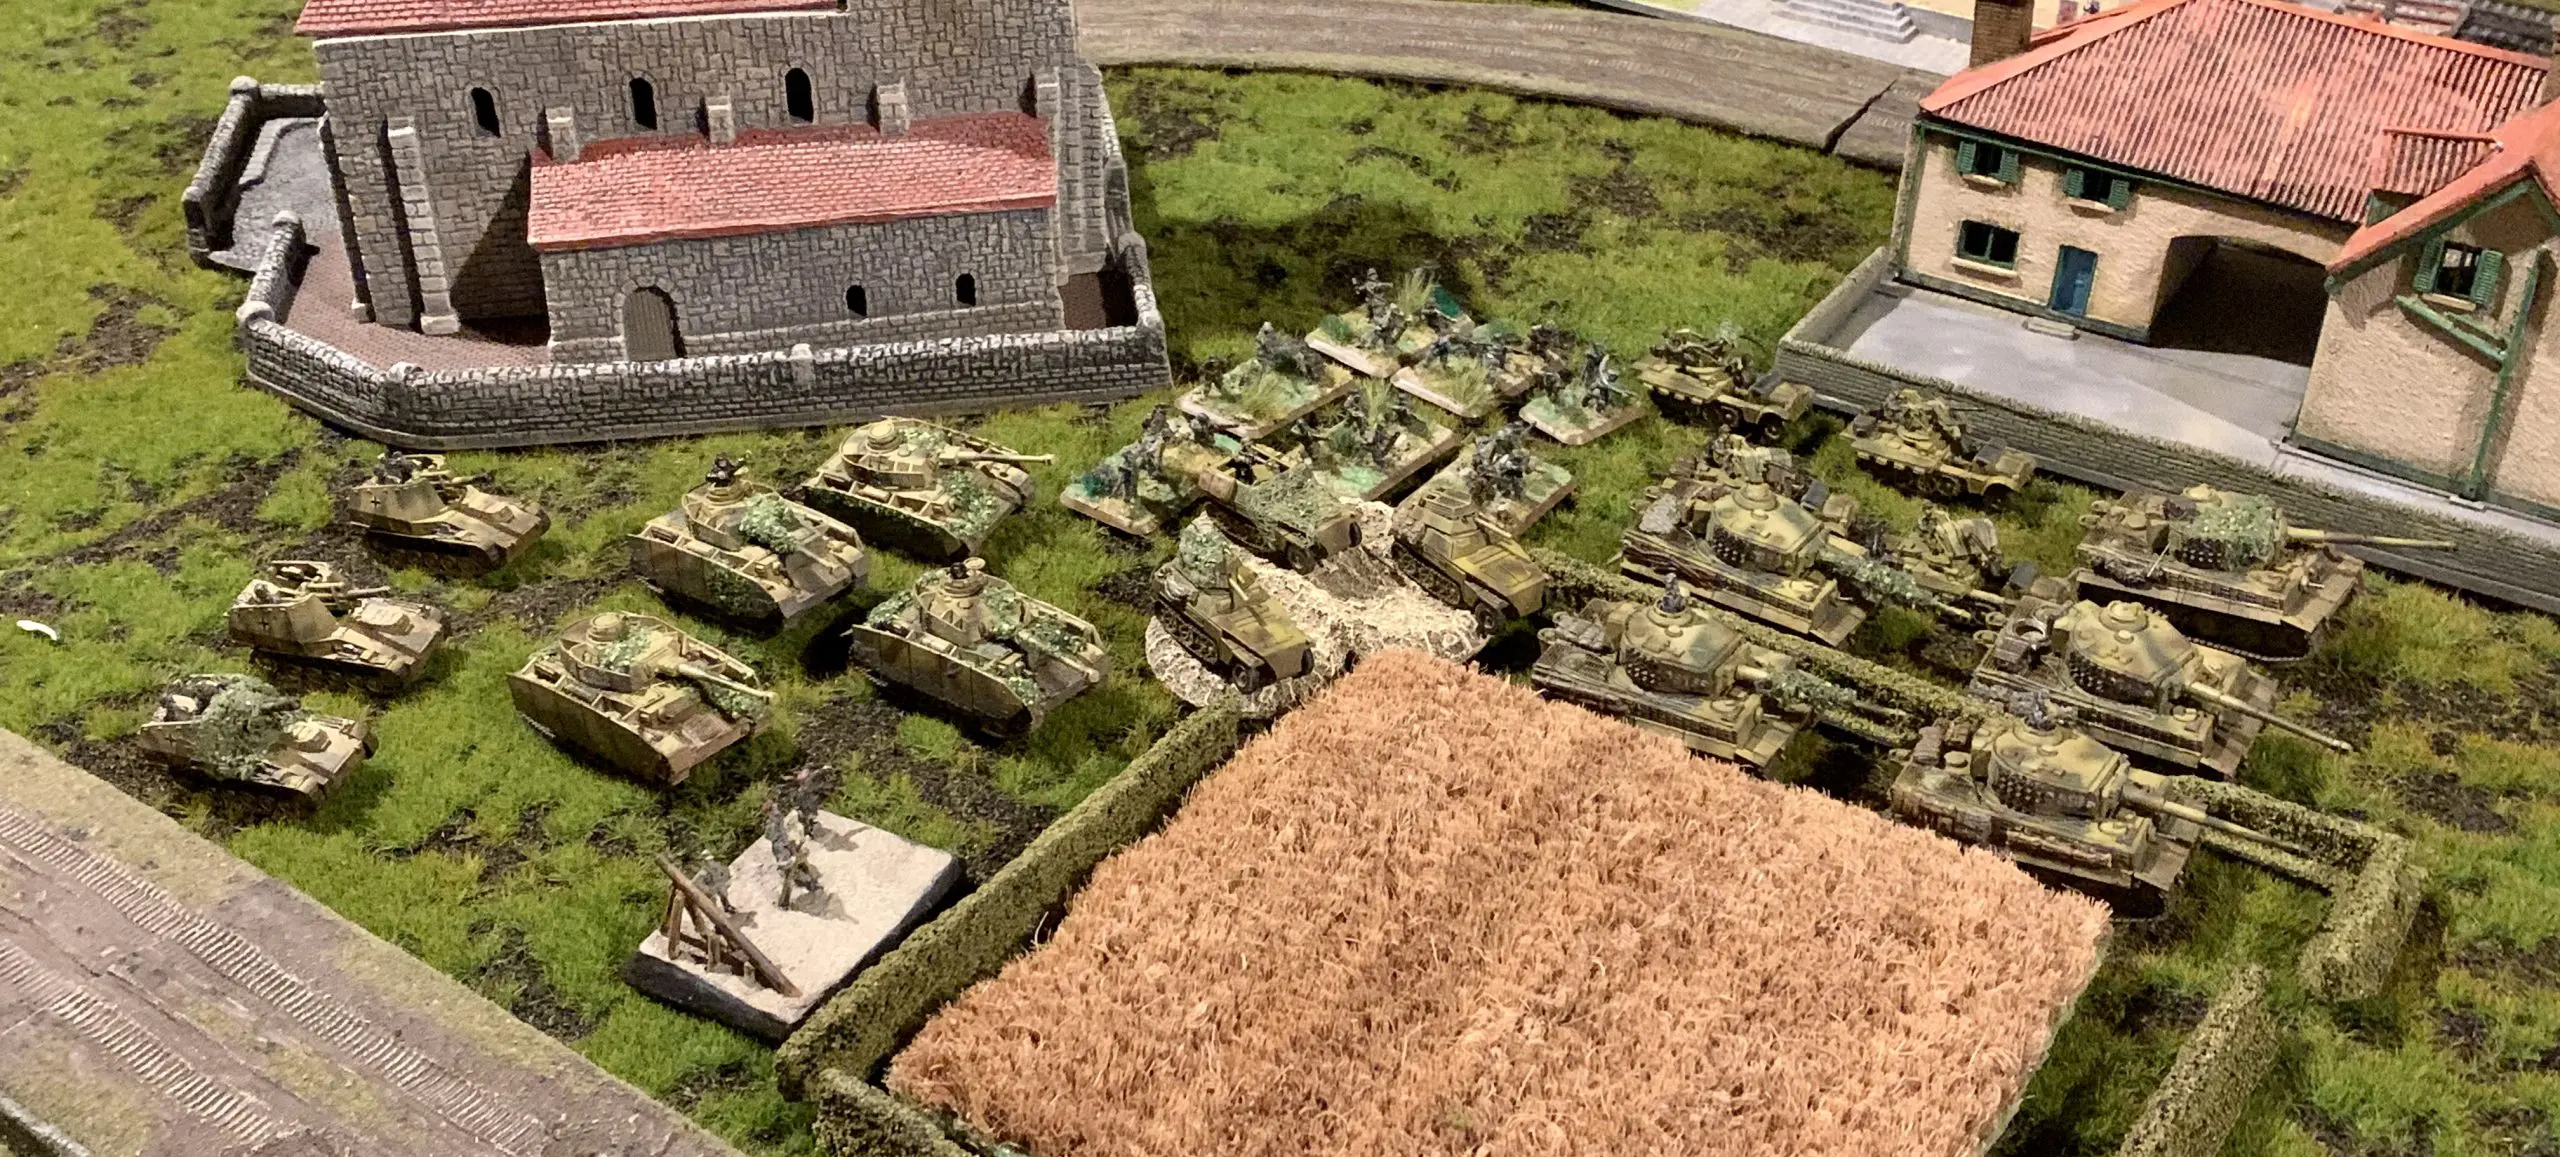
With the details of the SS book revealed I decided it was time to give them a runout. As I have enjoyed fielding their Heer Tiger cousins I thought I would try the new SS Tiger formation complete with SS support. My opponent Paul opted for his new Cromwell formation.
HQ 2 x SS Tiger
3 x SS Tiger
4 x SS PanzerIV
4 x Sd KFZ 10/4 AA
7 MG SS platoon.
250 recce patrol
3 x wespe
Hq 2 x Cromwells
3 x Cromwell & 1 x Firefly
2 x Cromwell & 1 x Firefly
3 x Cromwell & 1 x Firefly
4 x Achilles
3 x Stuart
Short Para platoon with gammon bombs
Typhoons
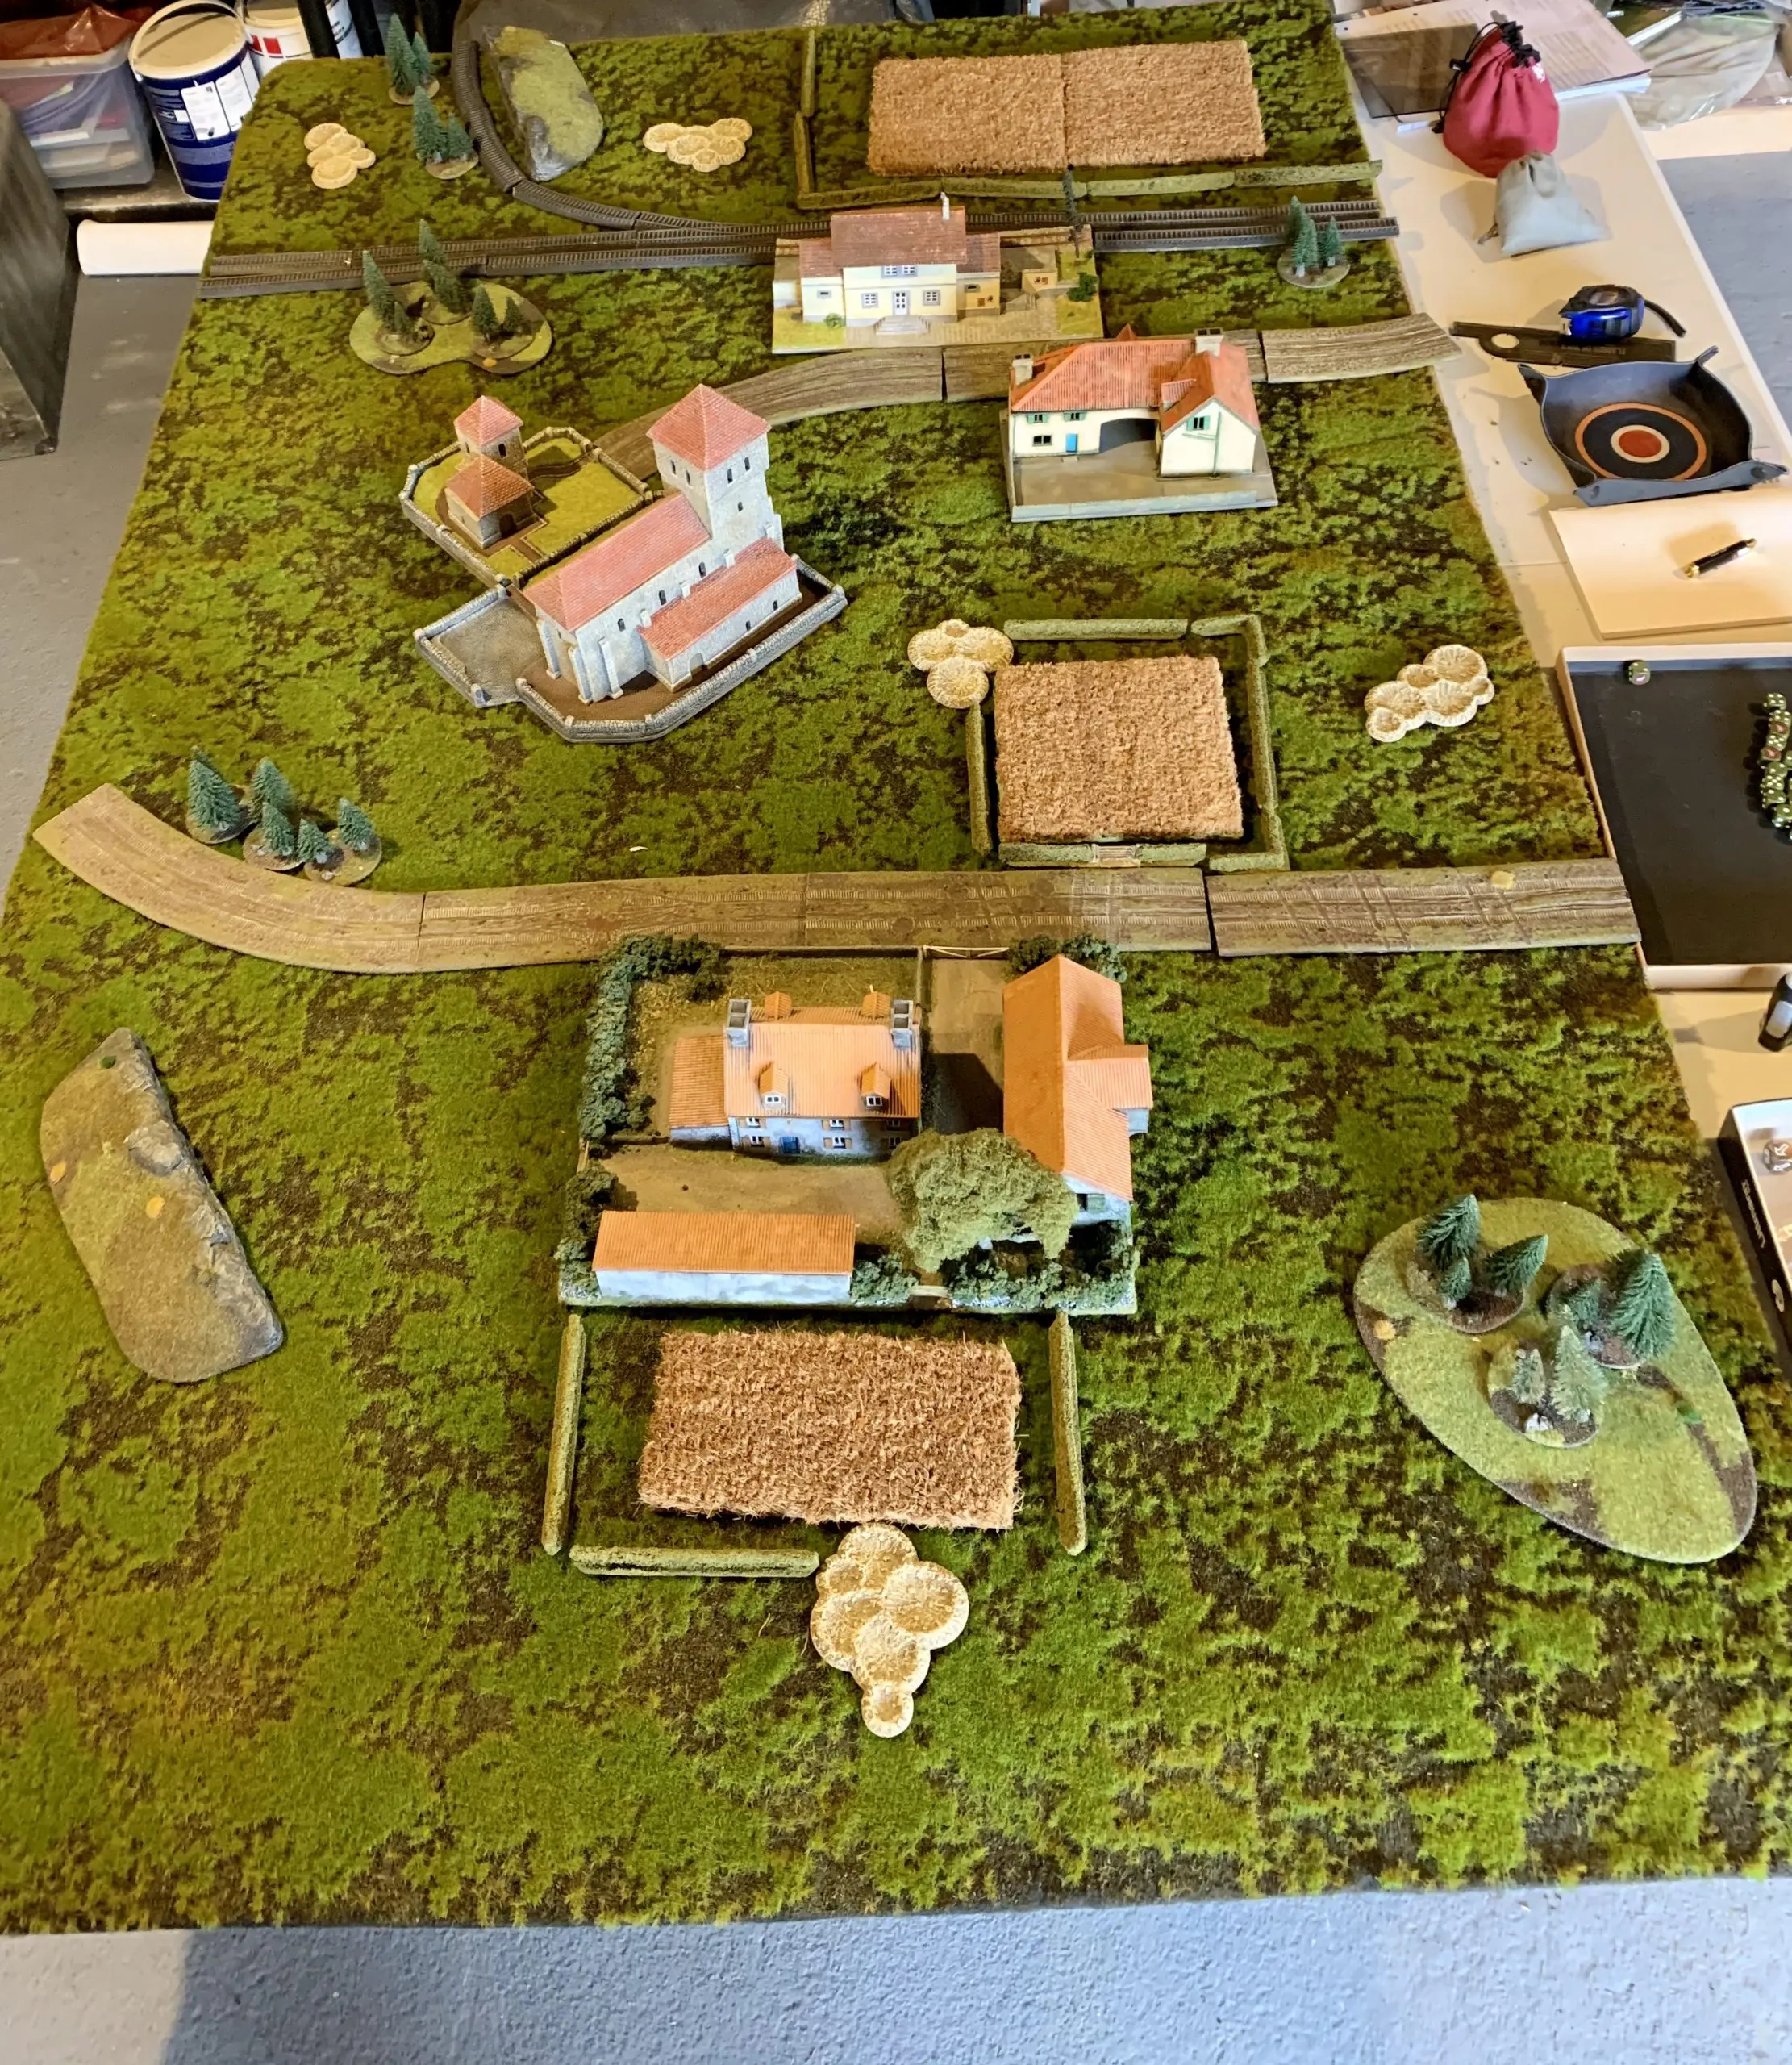
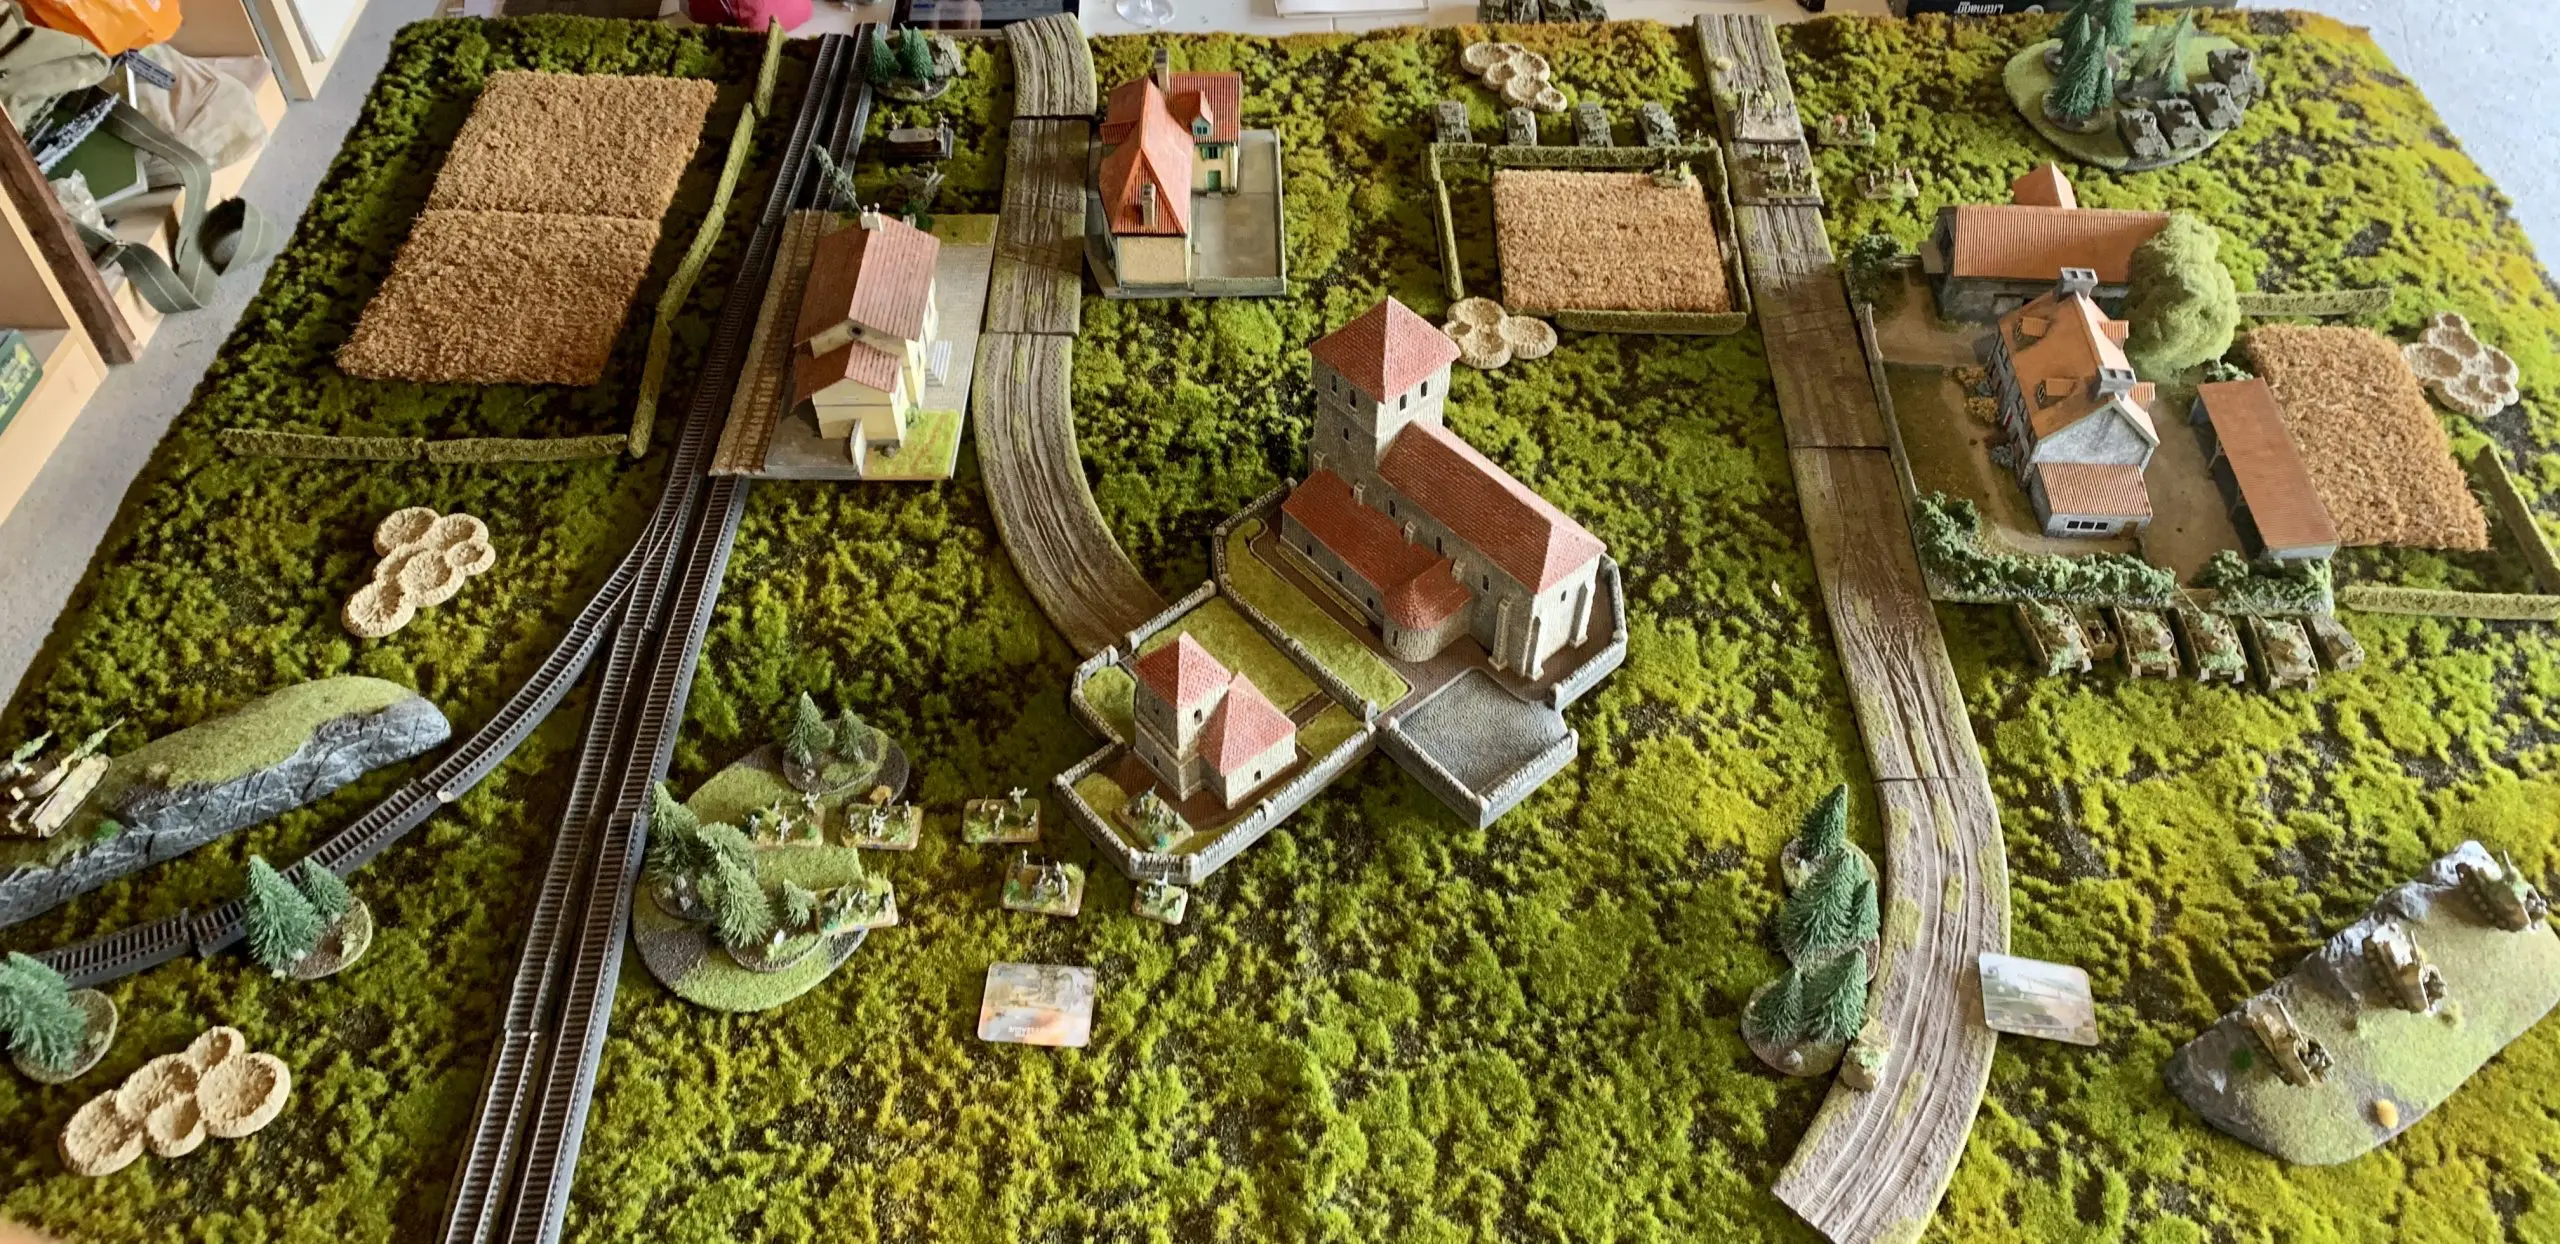
We both chose to attack and using the Breakthrough Assault Expanded Mission Matrix rolled up encounter. As the Tiger commander, I looked at delayed reserves and immediately went ouch!
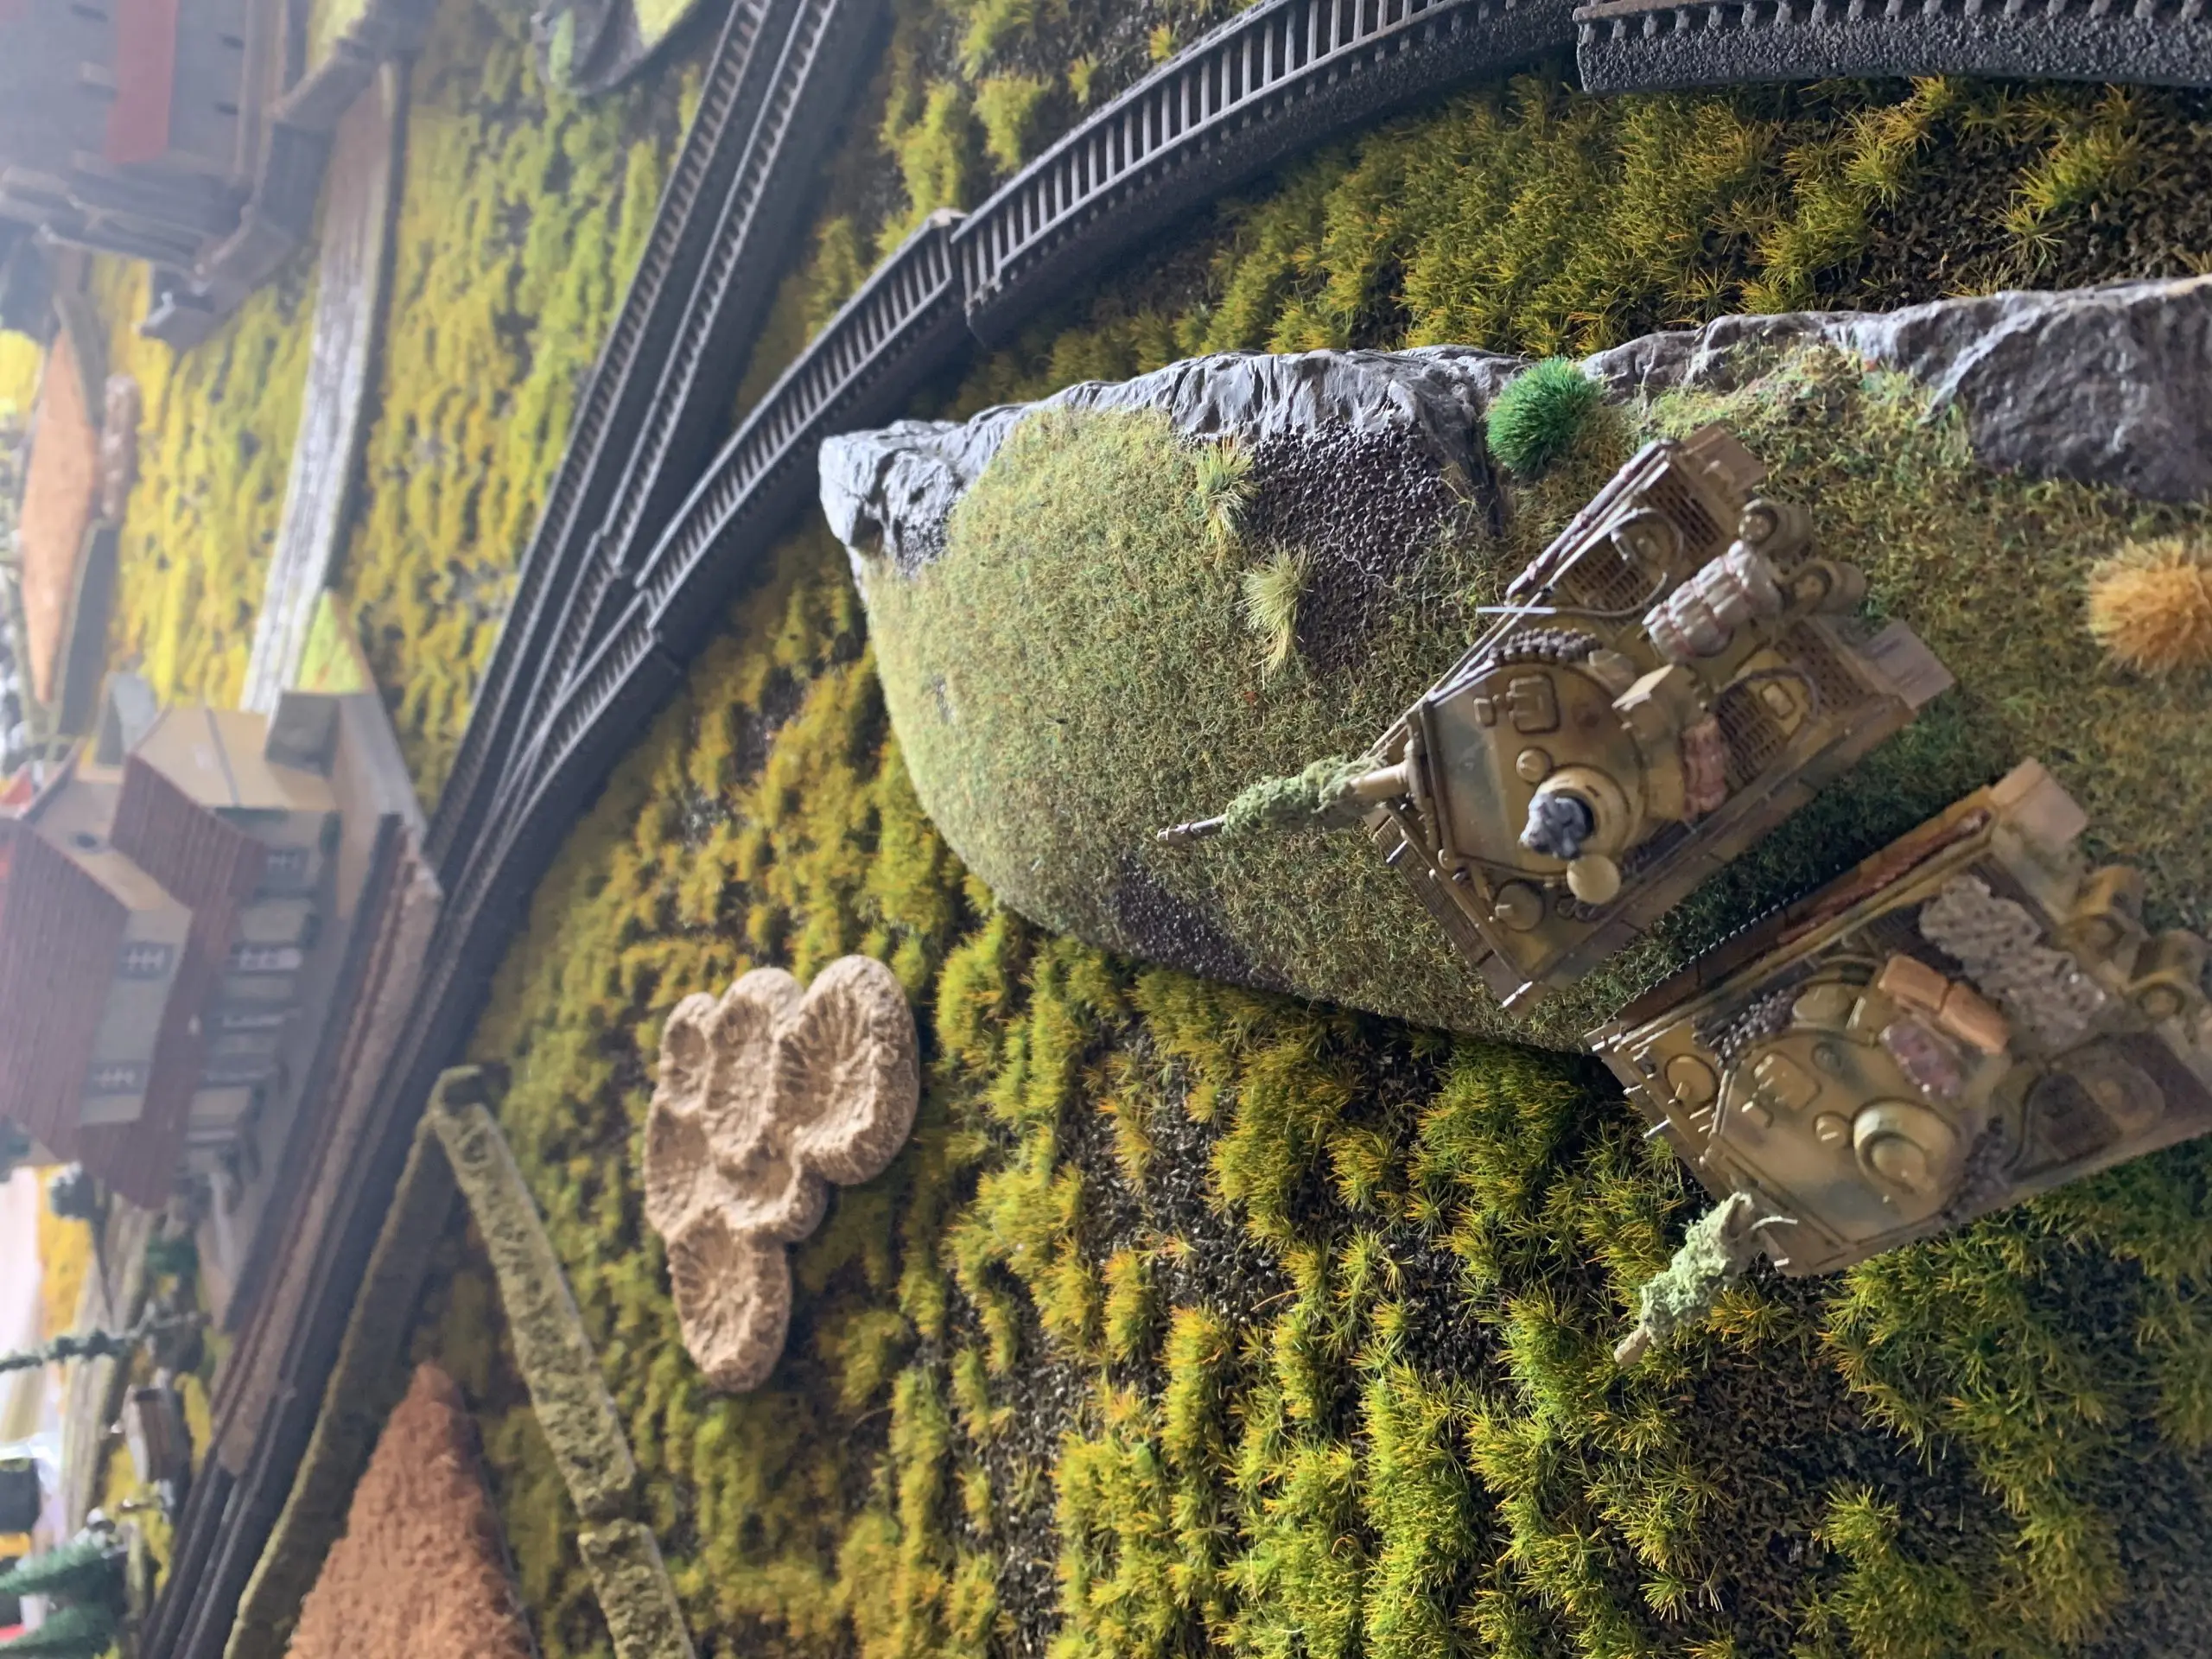
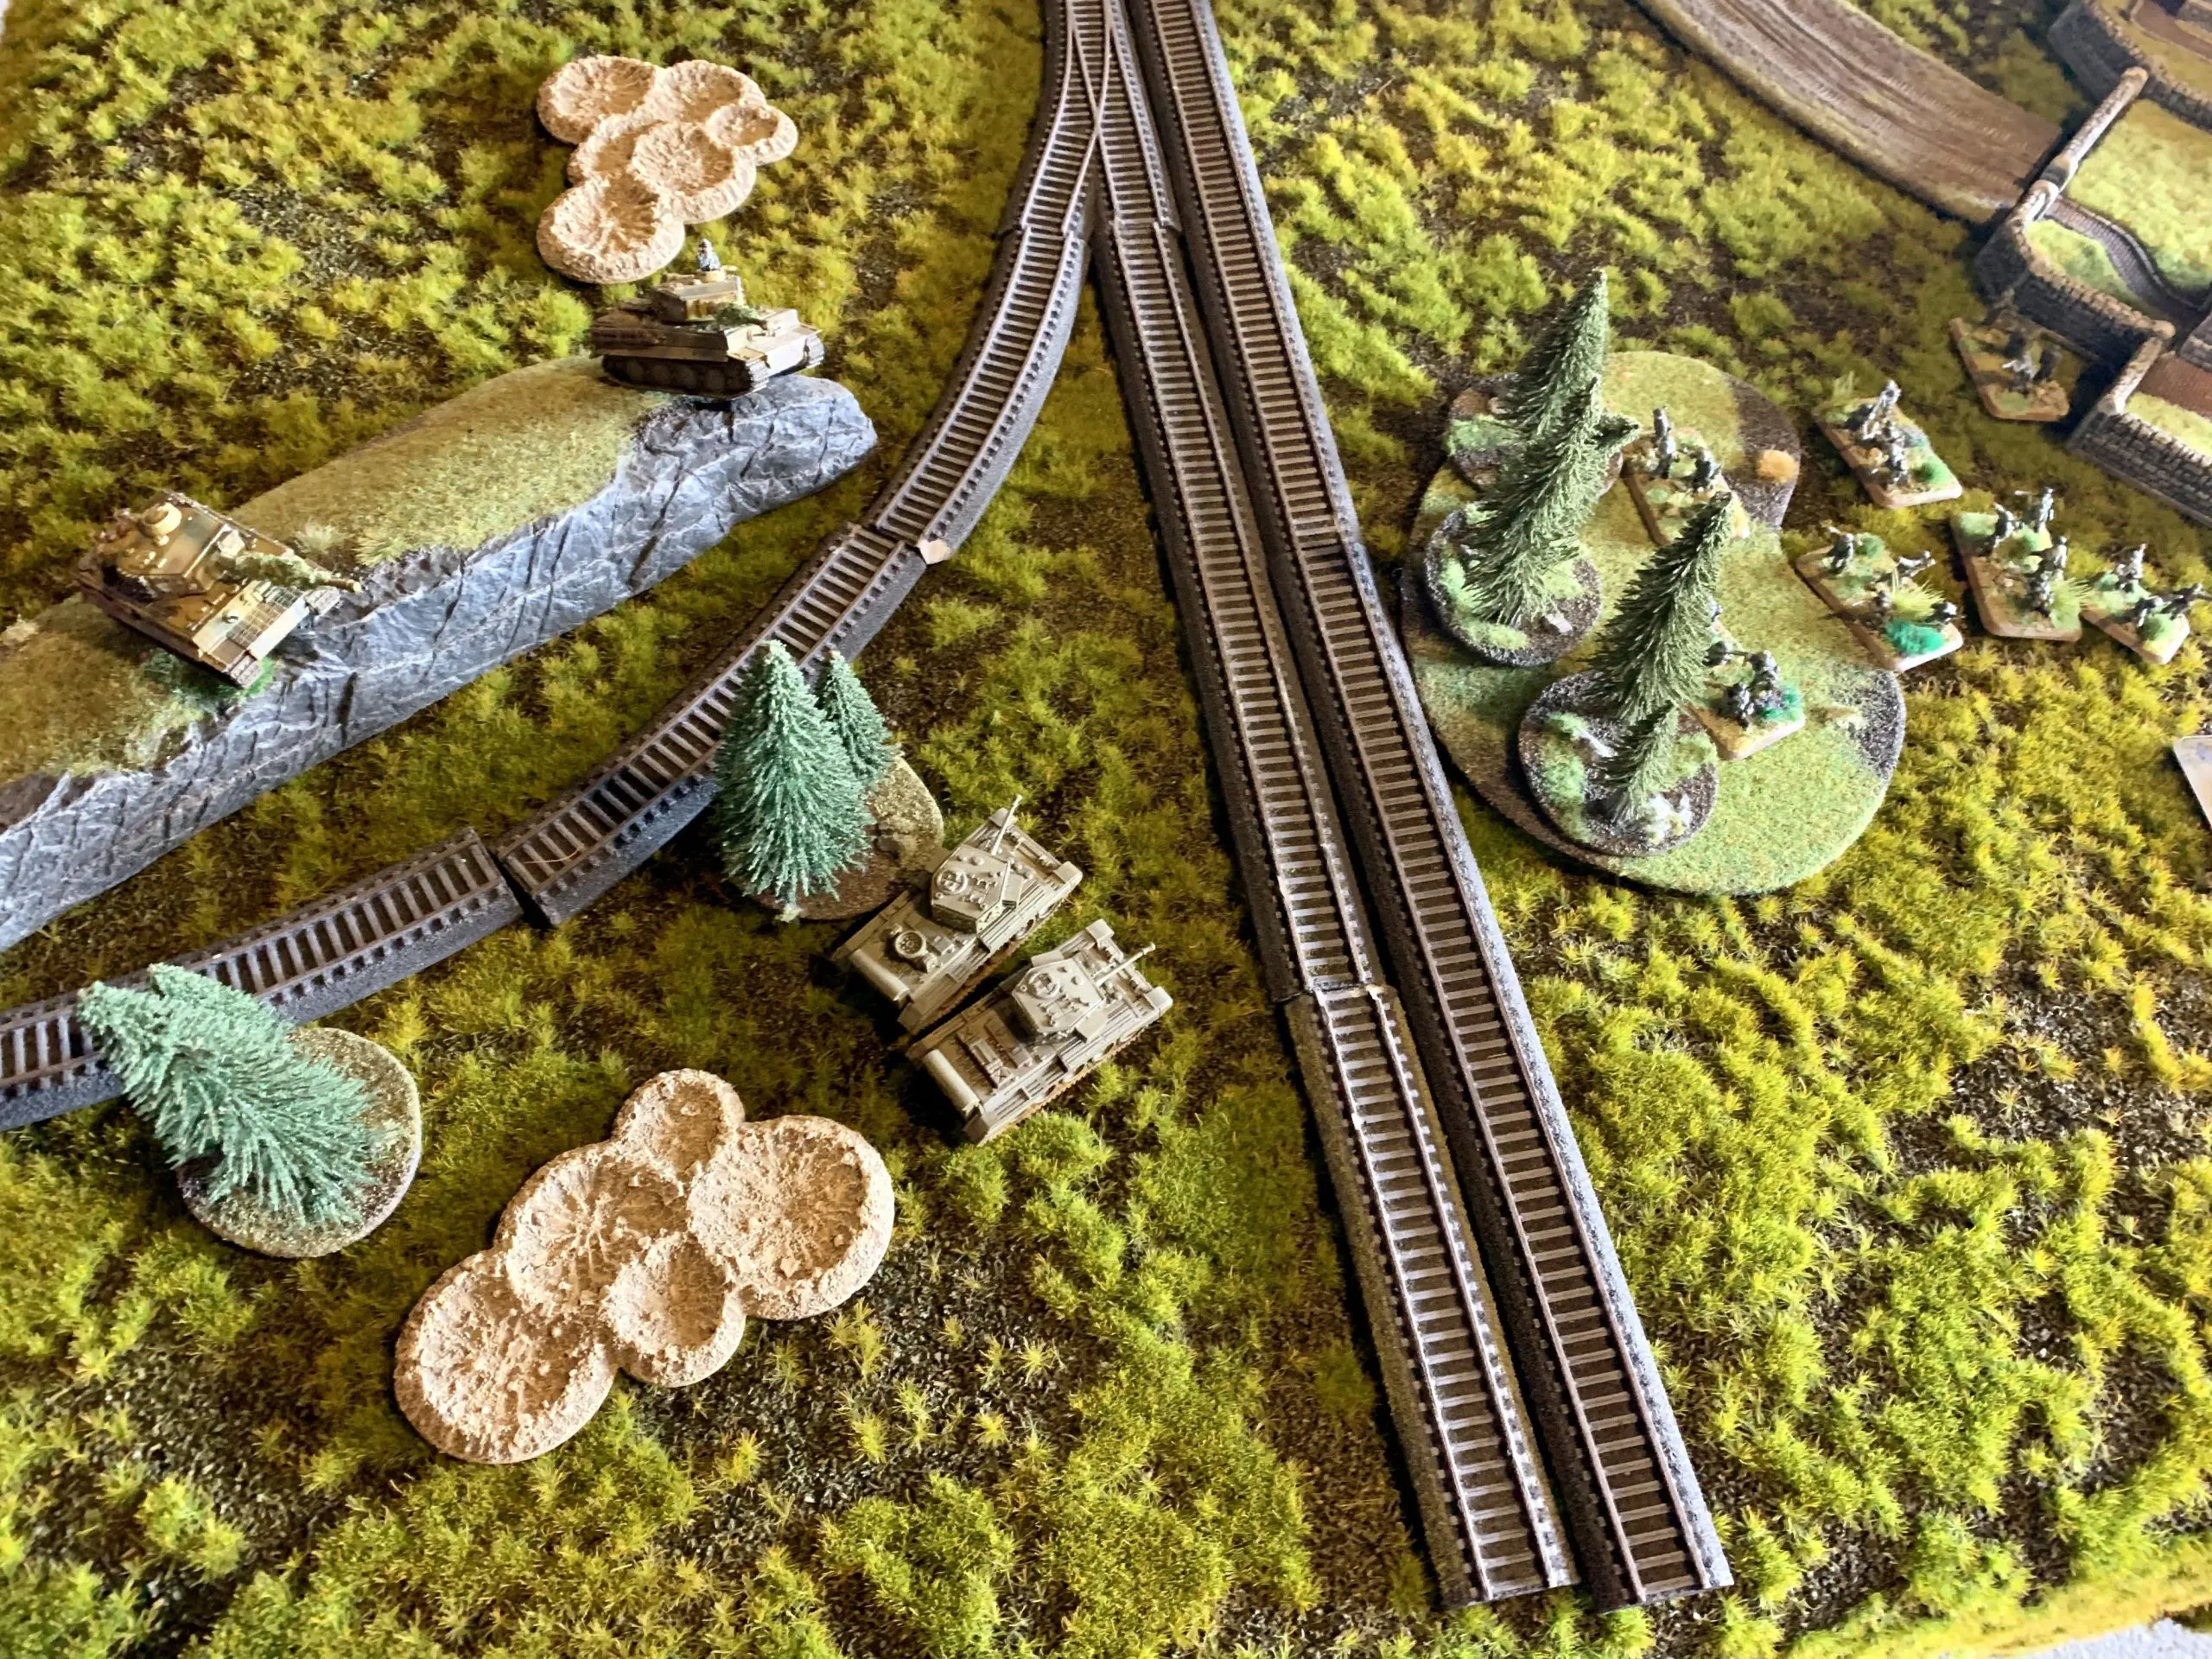
I left 3 x Tigers and the AA in reserve, with Paul leaving a large Cromwell Pltn, HQ, Typhoons and Stuarts off the table. I immediately regretted my choice of not putting my Panzers on the ridge-line in my deployment, I had delusions of being offensive and then remembered they were aggressive so hit on 3s! Sitting on the ridgeline would have overwatched my objective nicely. I also deployed 2 x Tigers in a dangerous but advantageous position on the back slope of a ridge knowing he would only get 1 shot with a Firefly at long range.
Turn 1
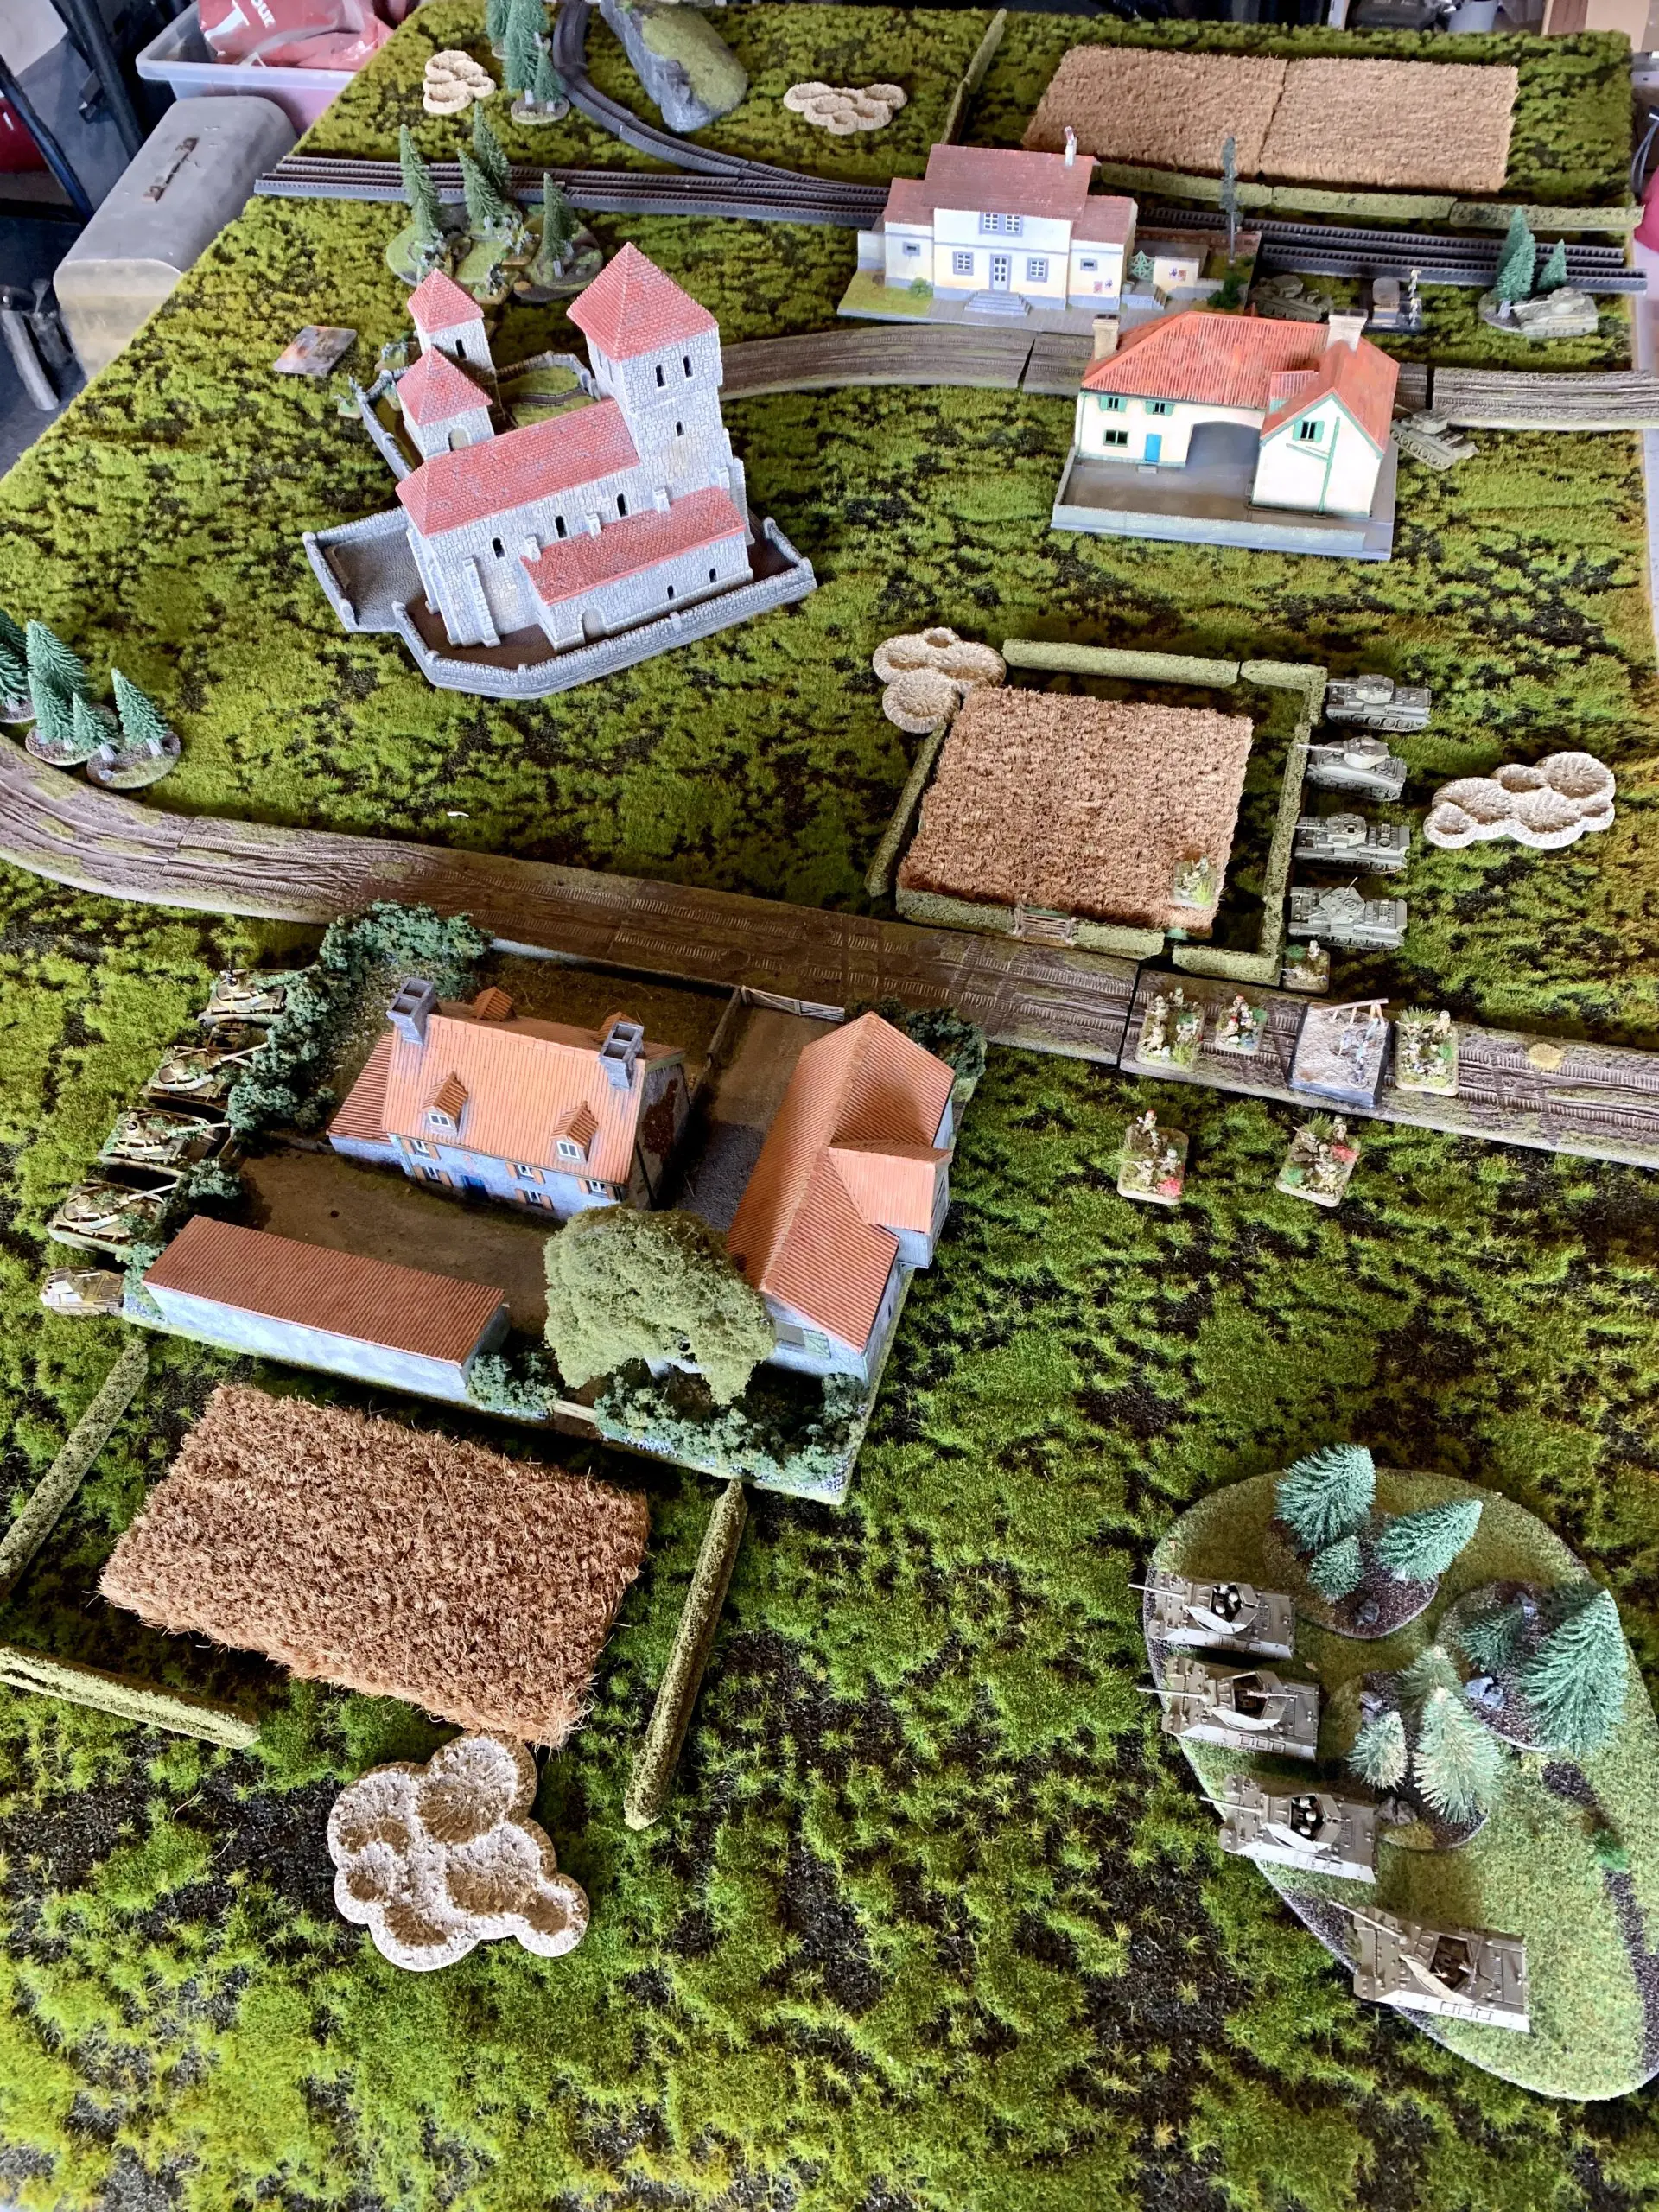
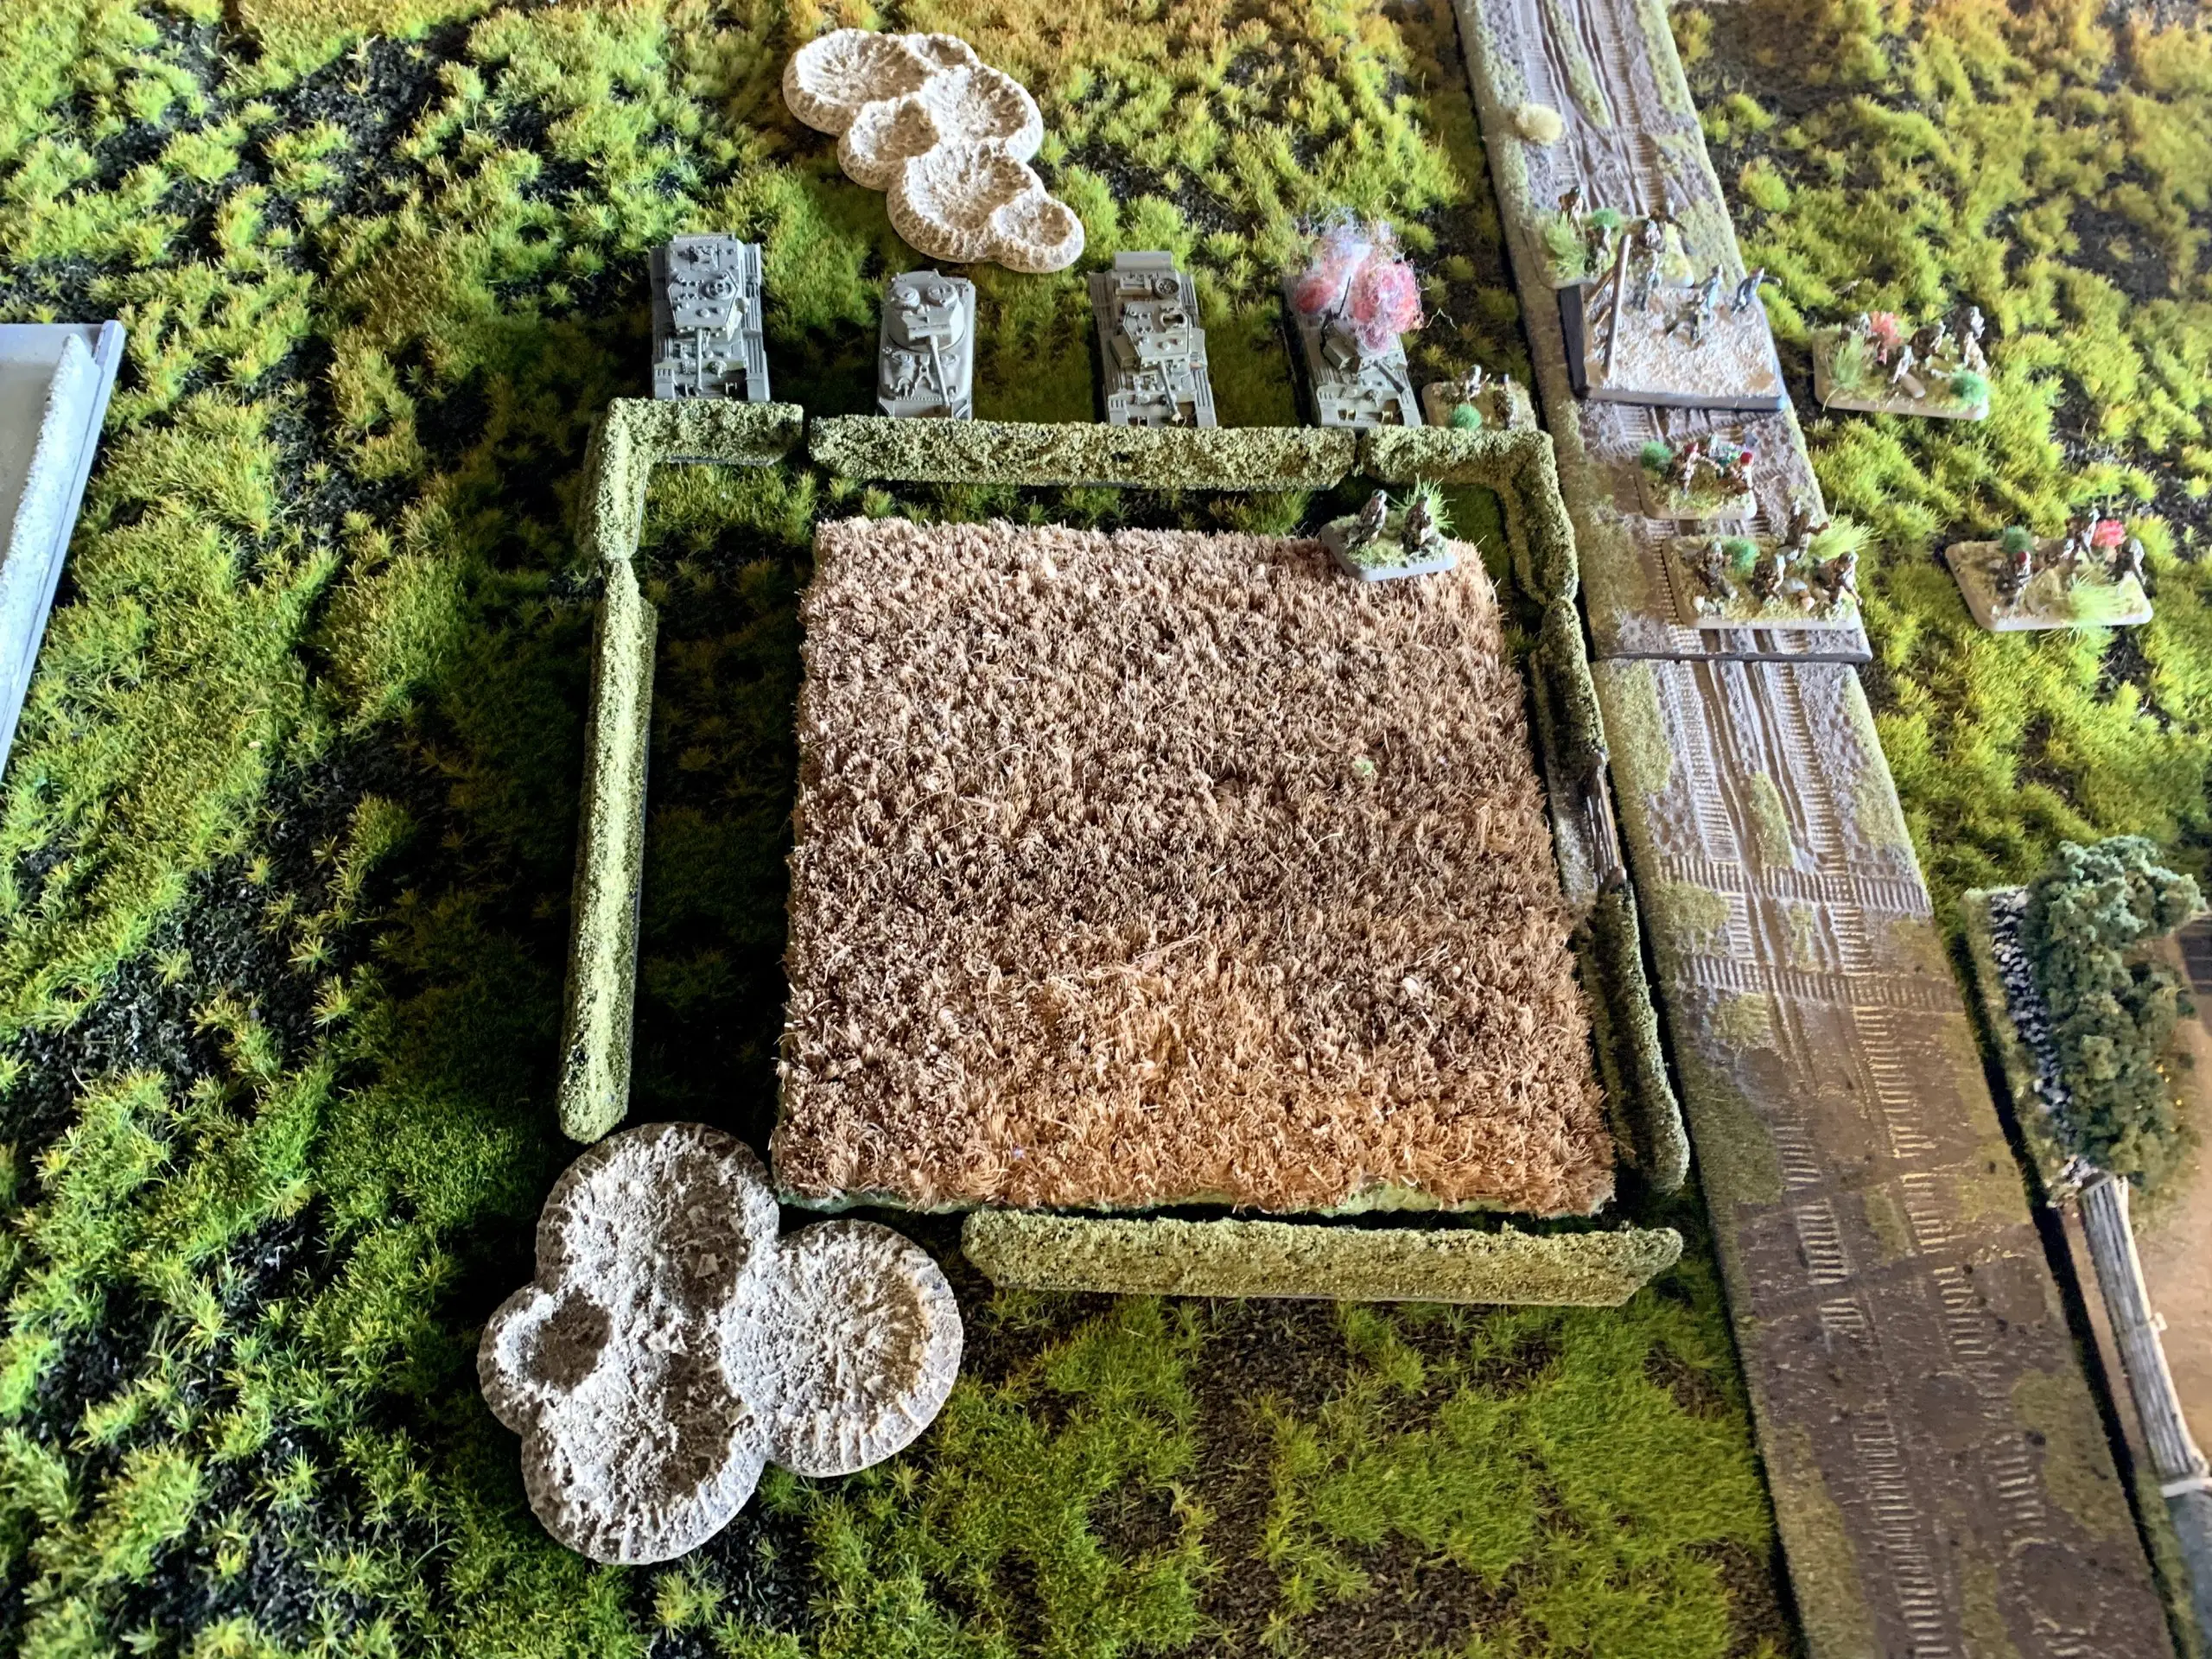
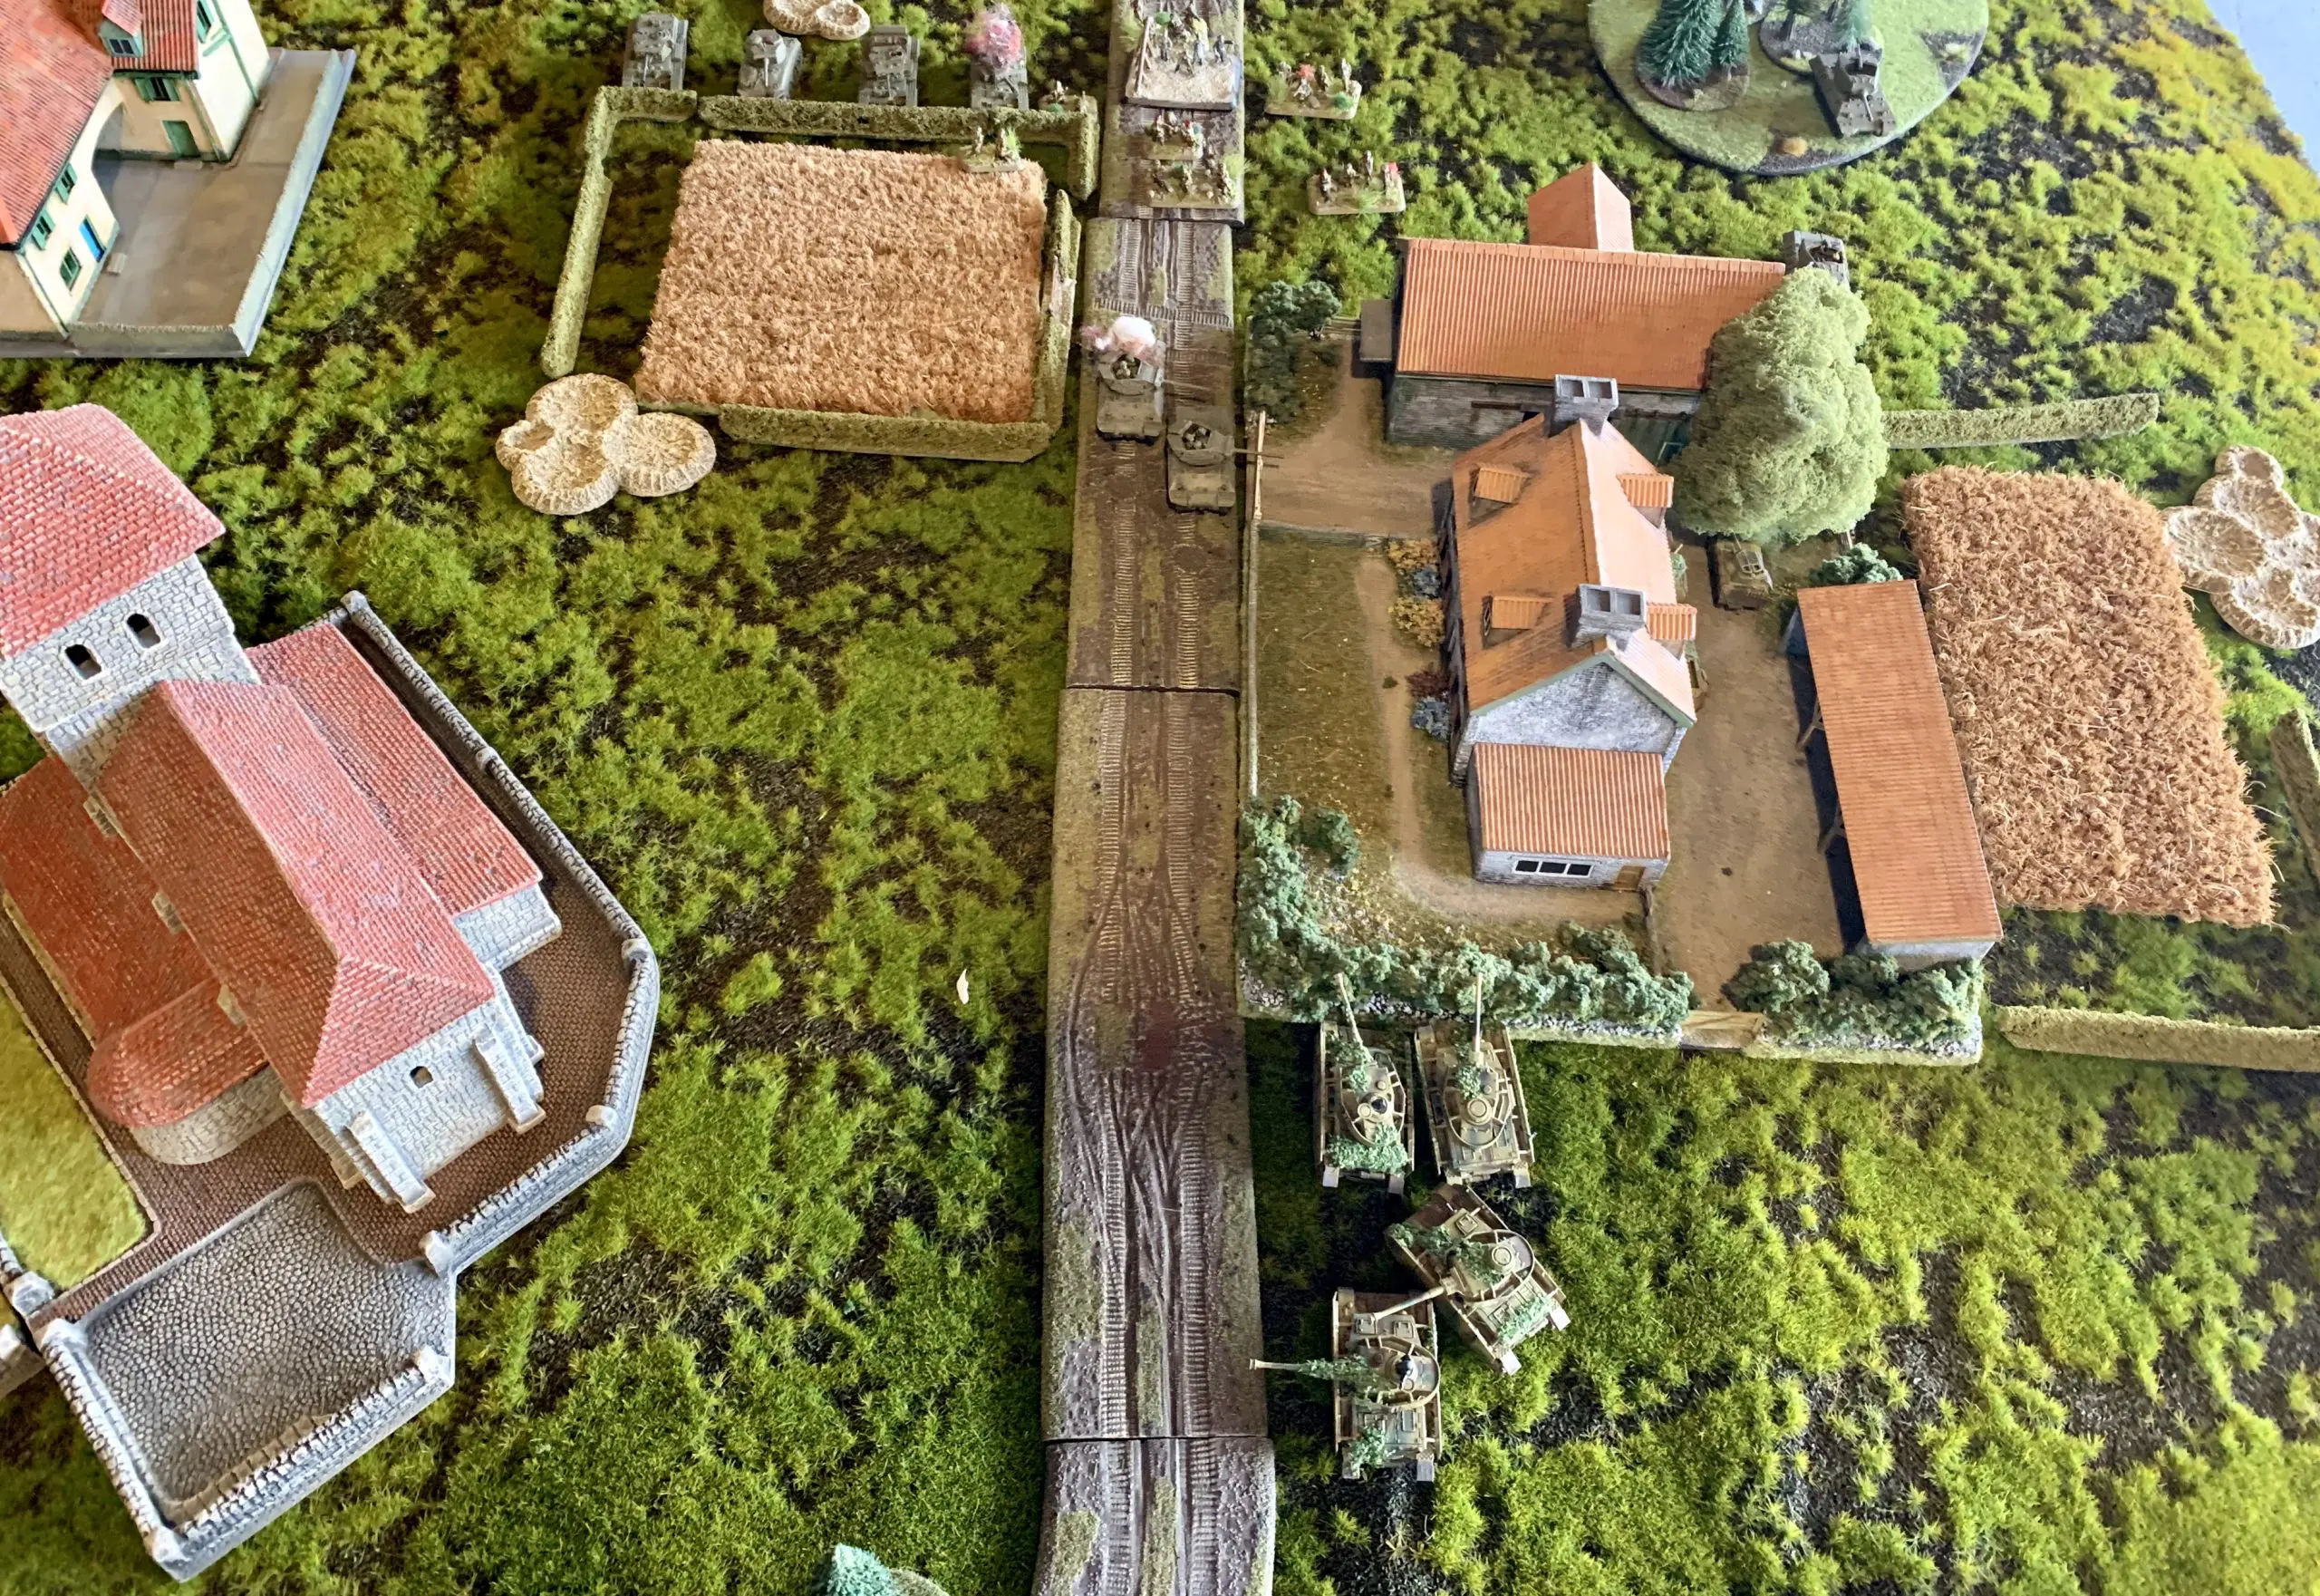
Paul got first turn and advanced his Achilles on the right flank. 2 failed cross-checks so only 2 moved up the hedge. He also hit a Wespe (wouldn’t have happened as Heer!). His small Cromwell platoon advanced on my left flank and he took a shot with his Firefly, luckily missing.
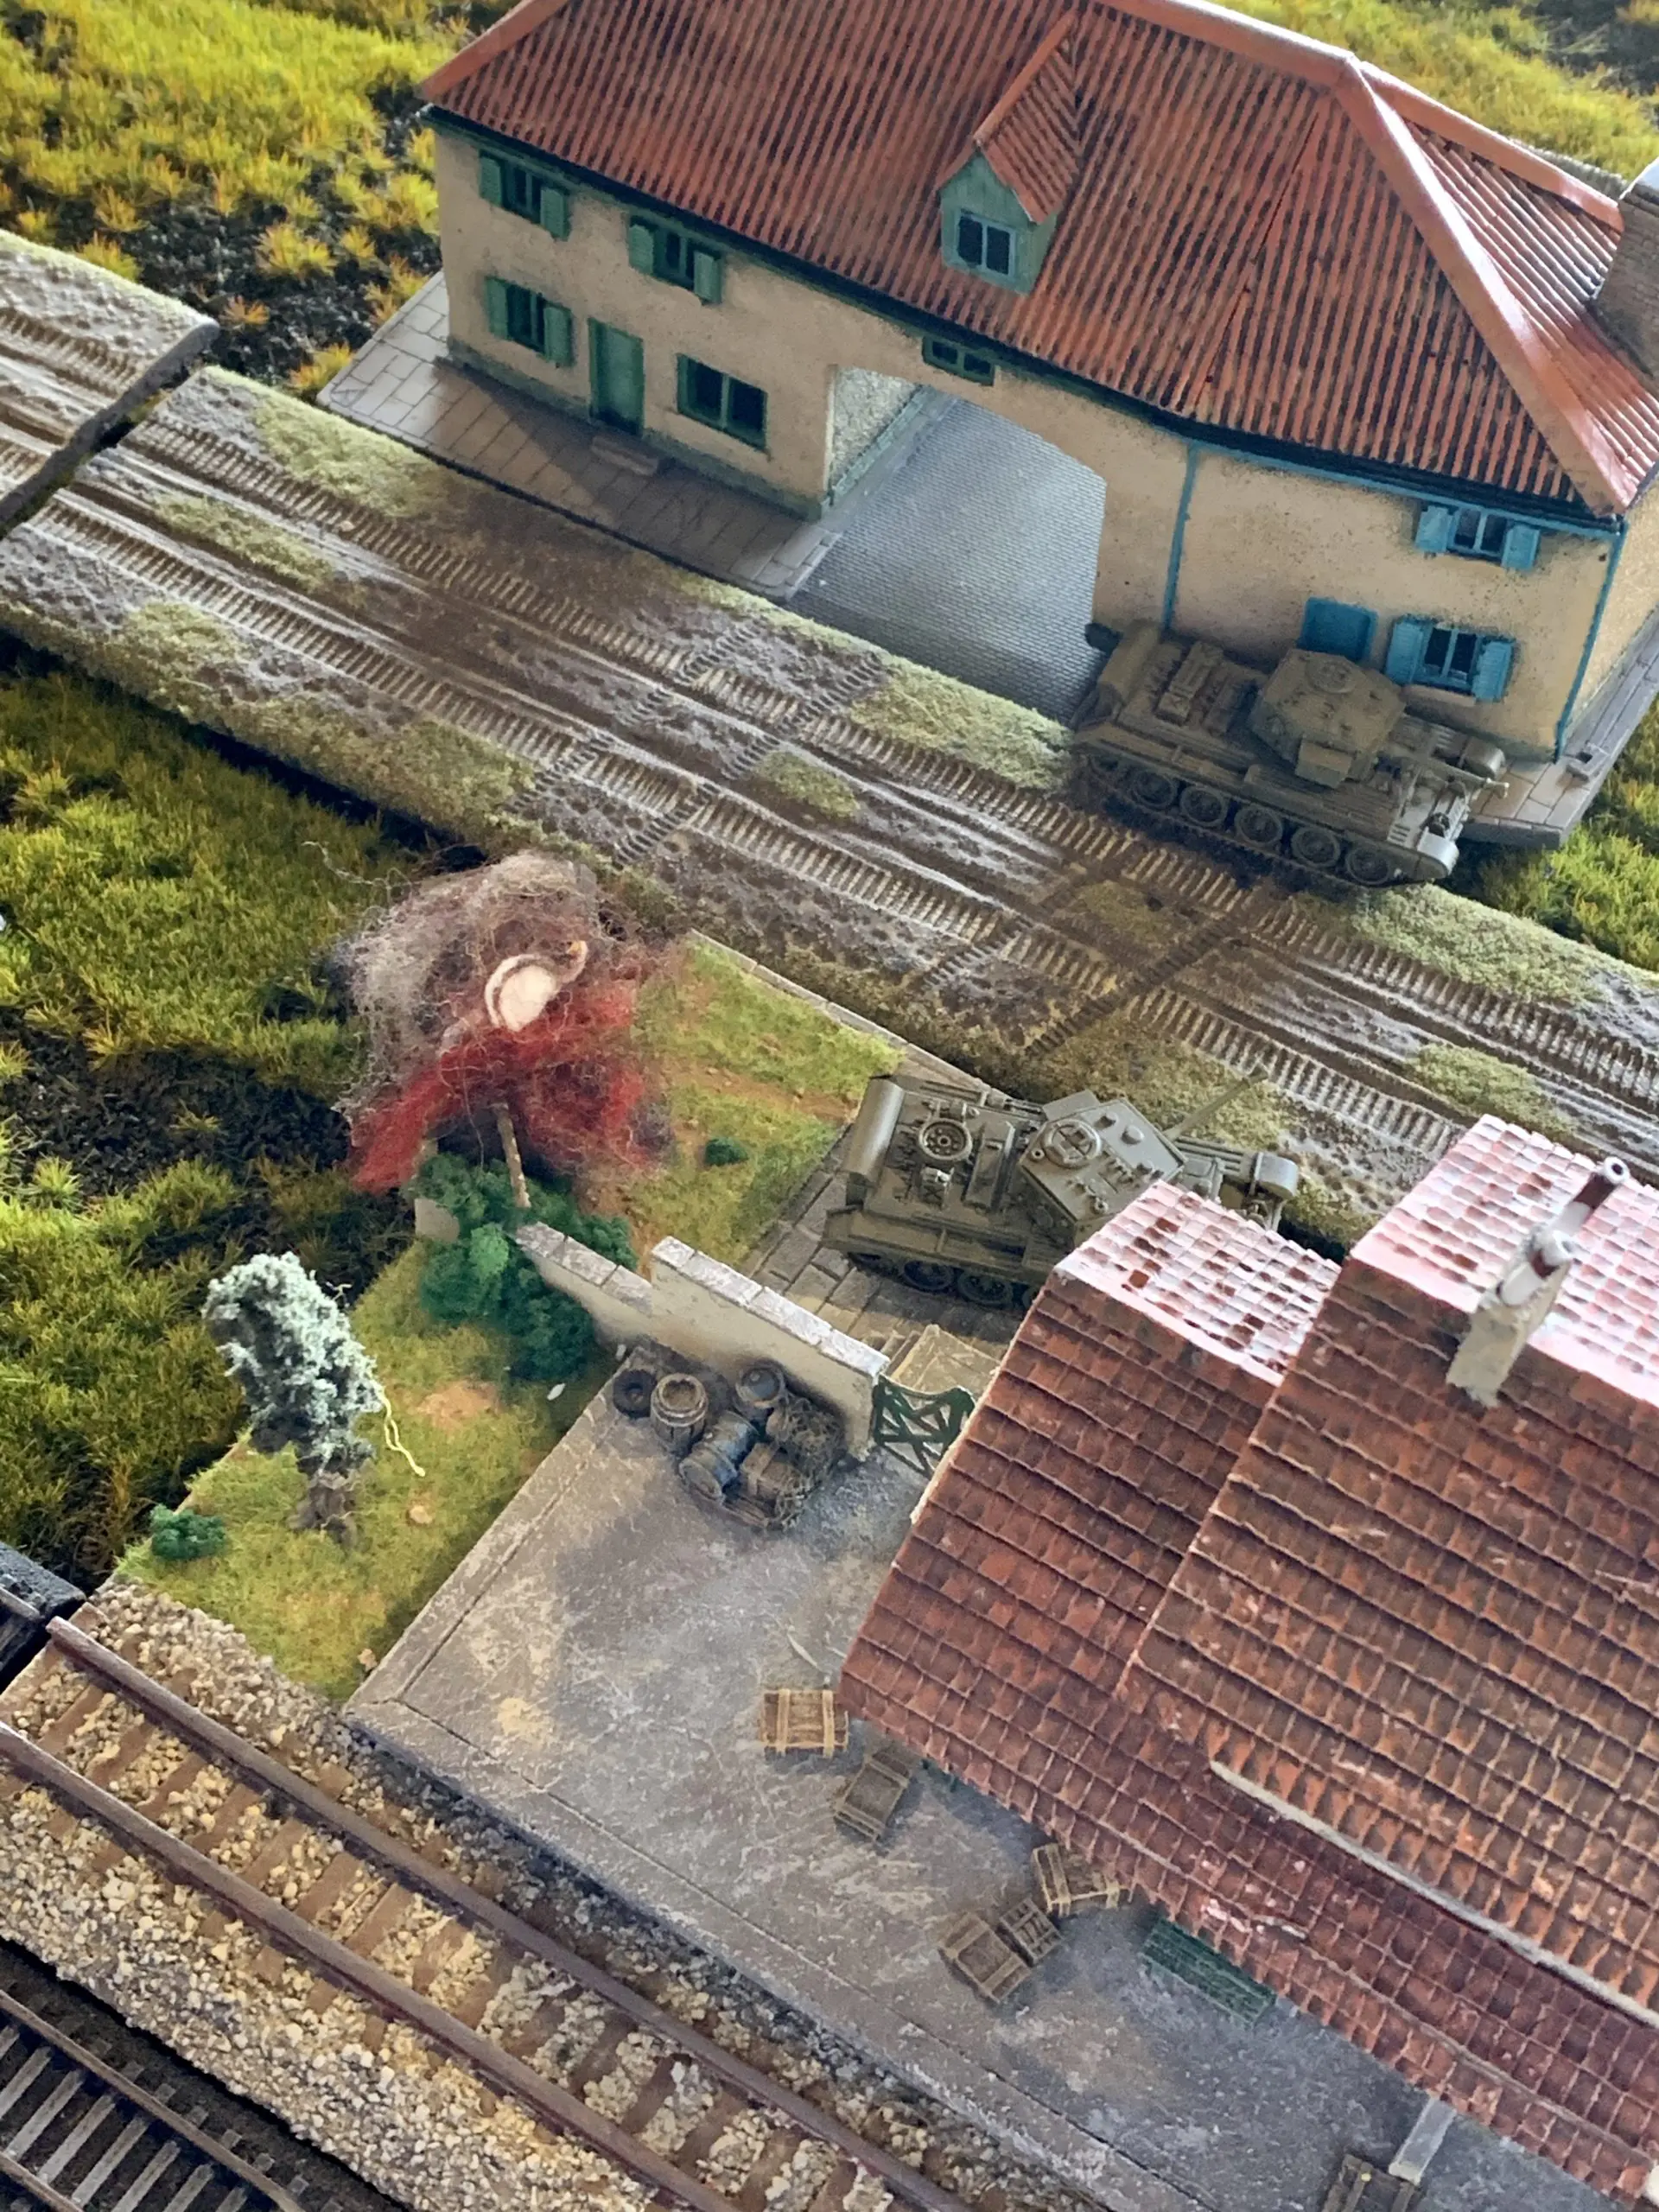
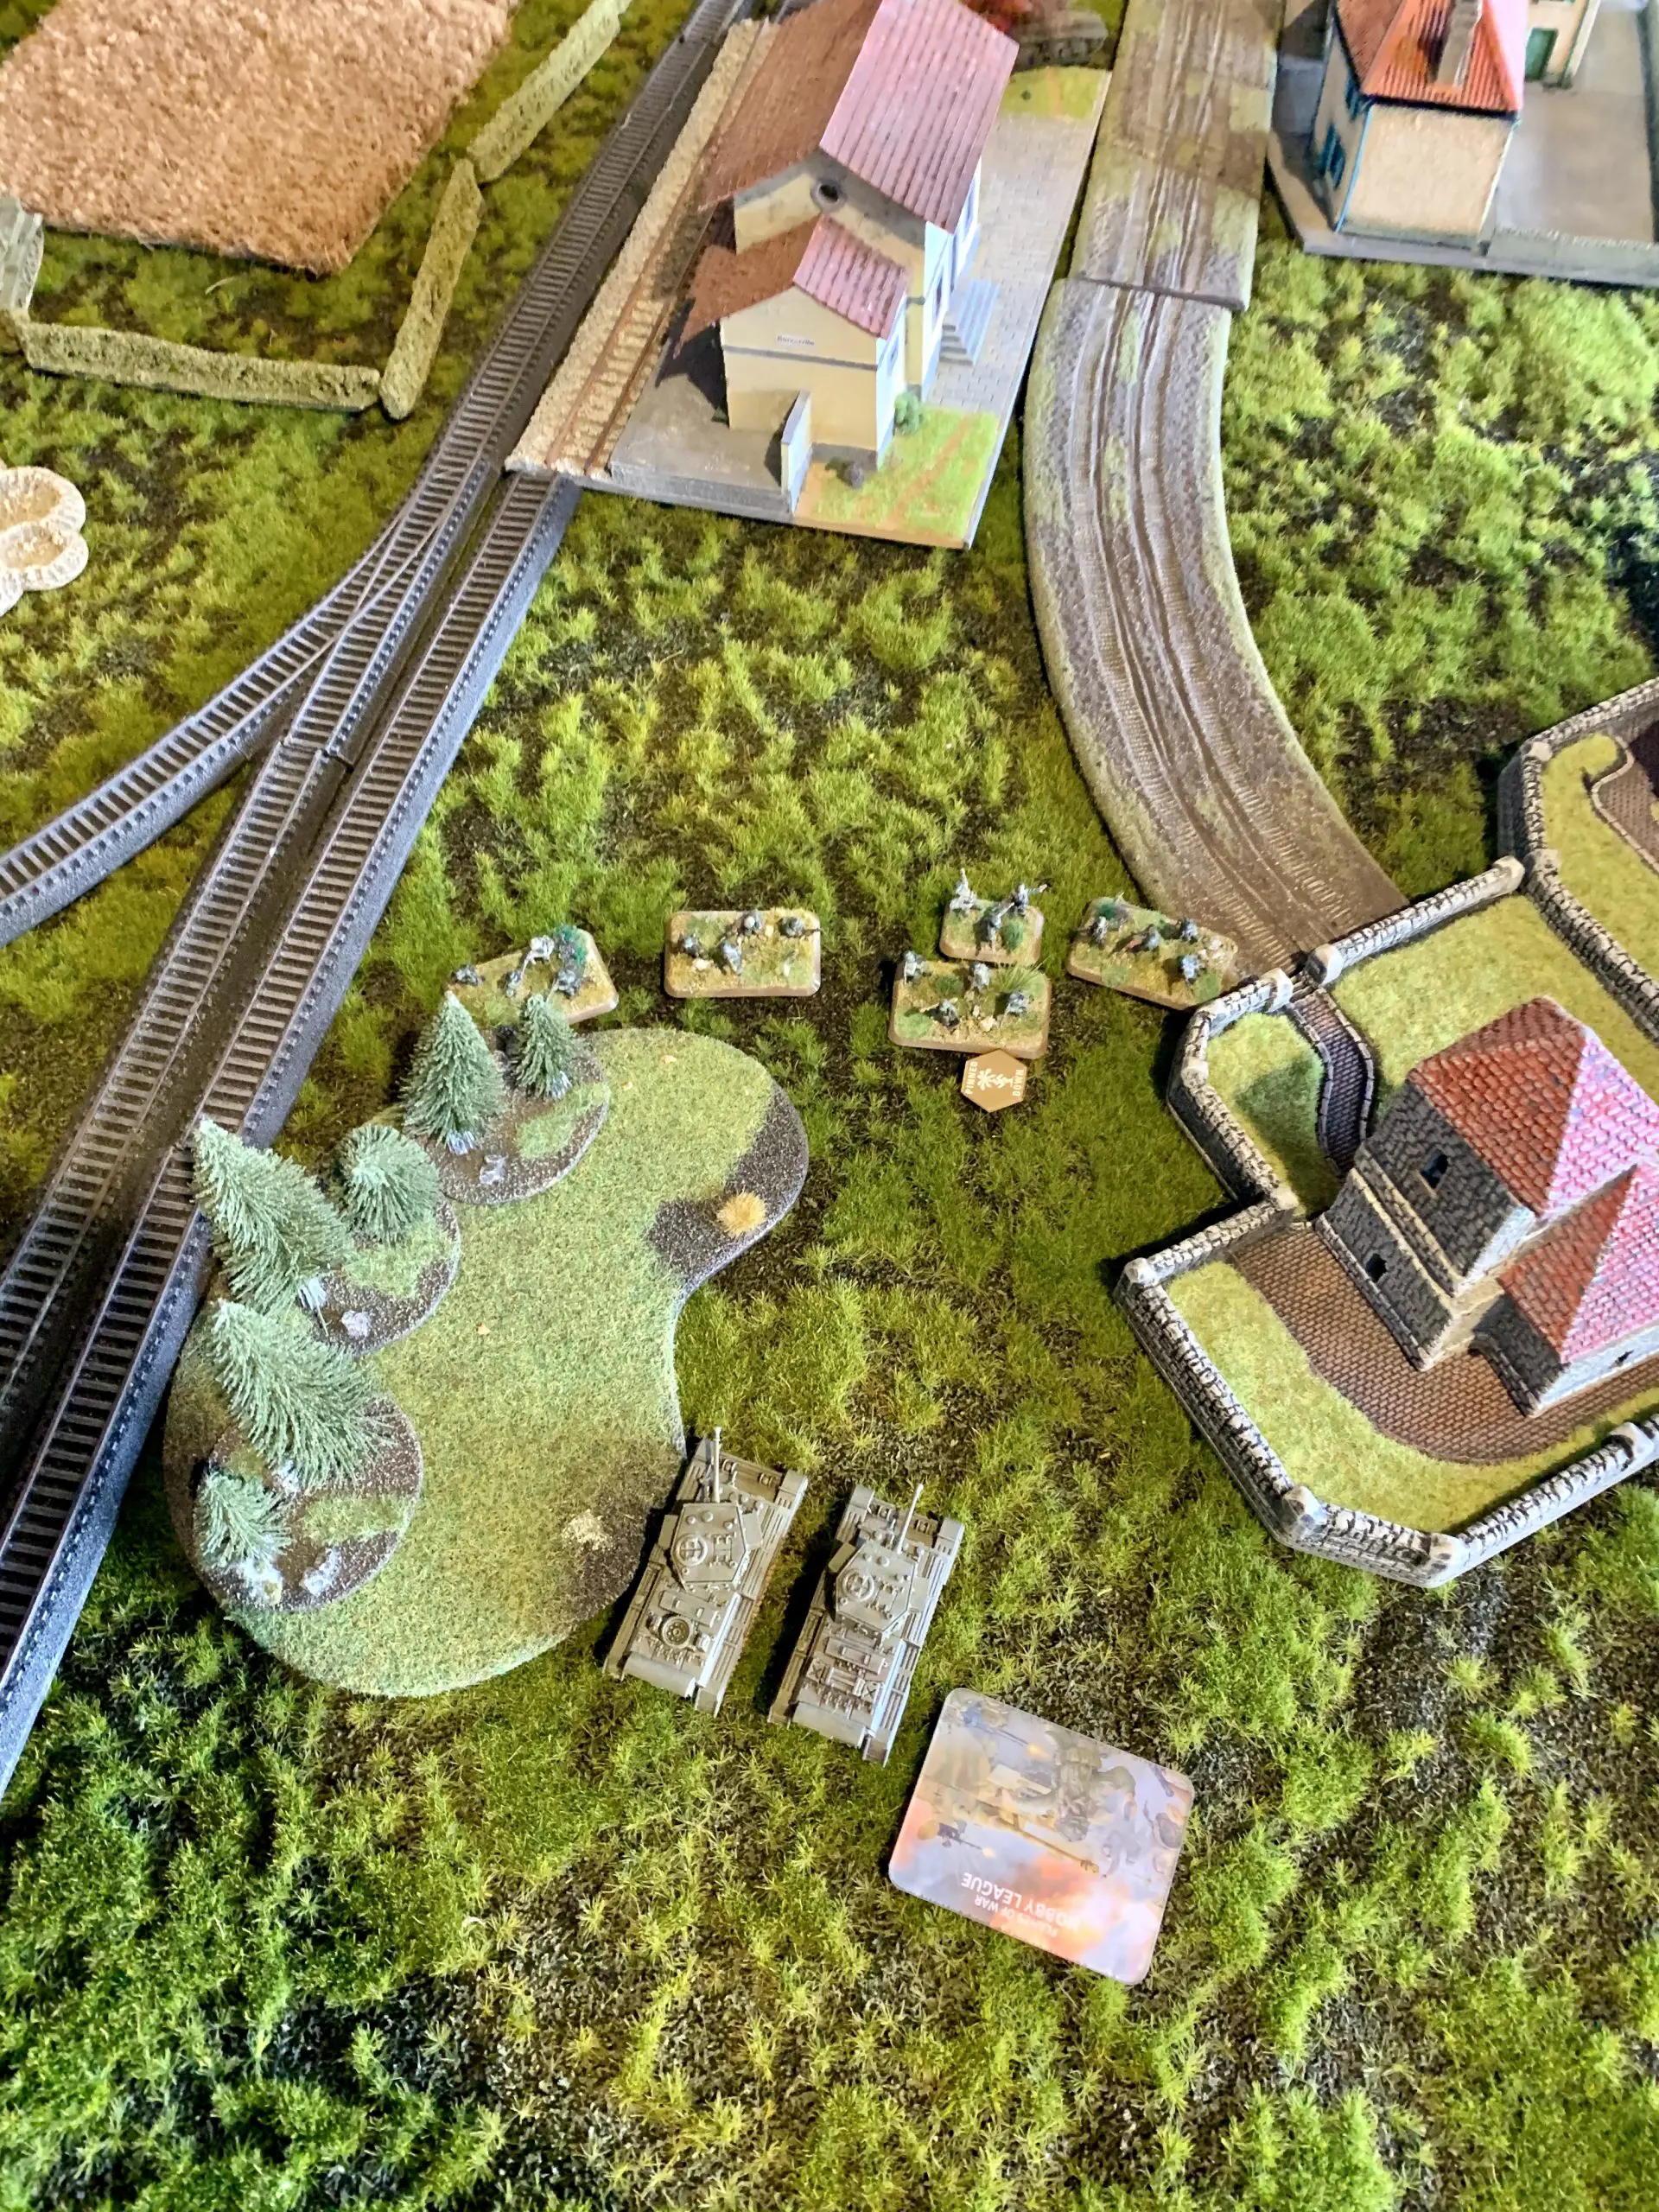
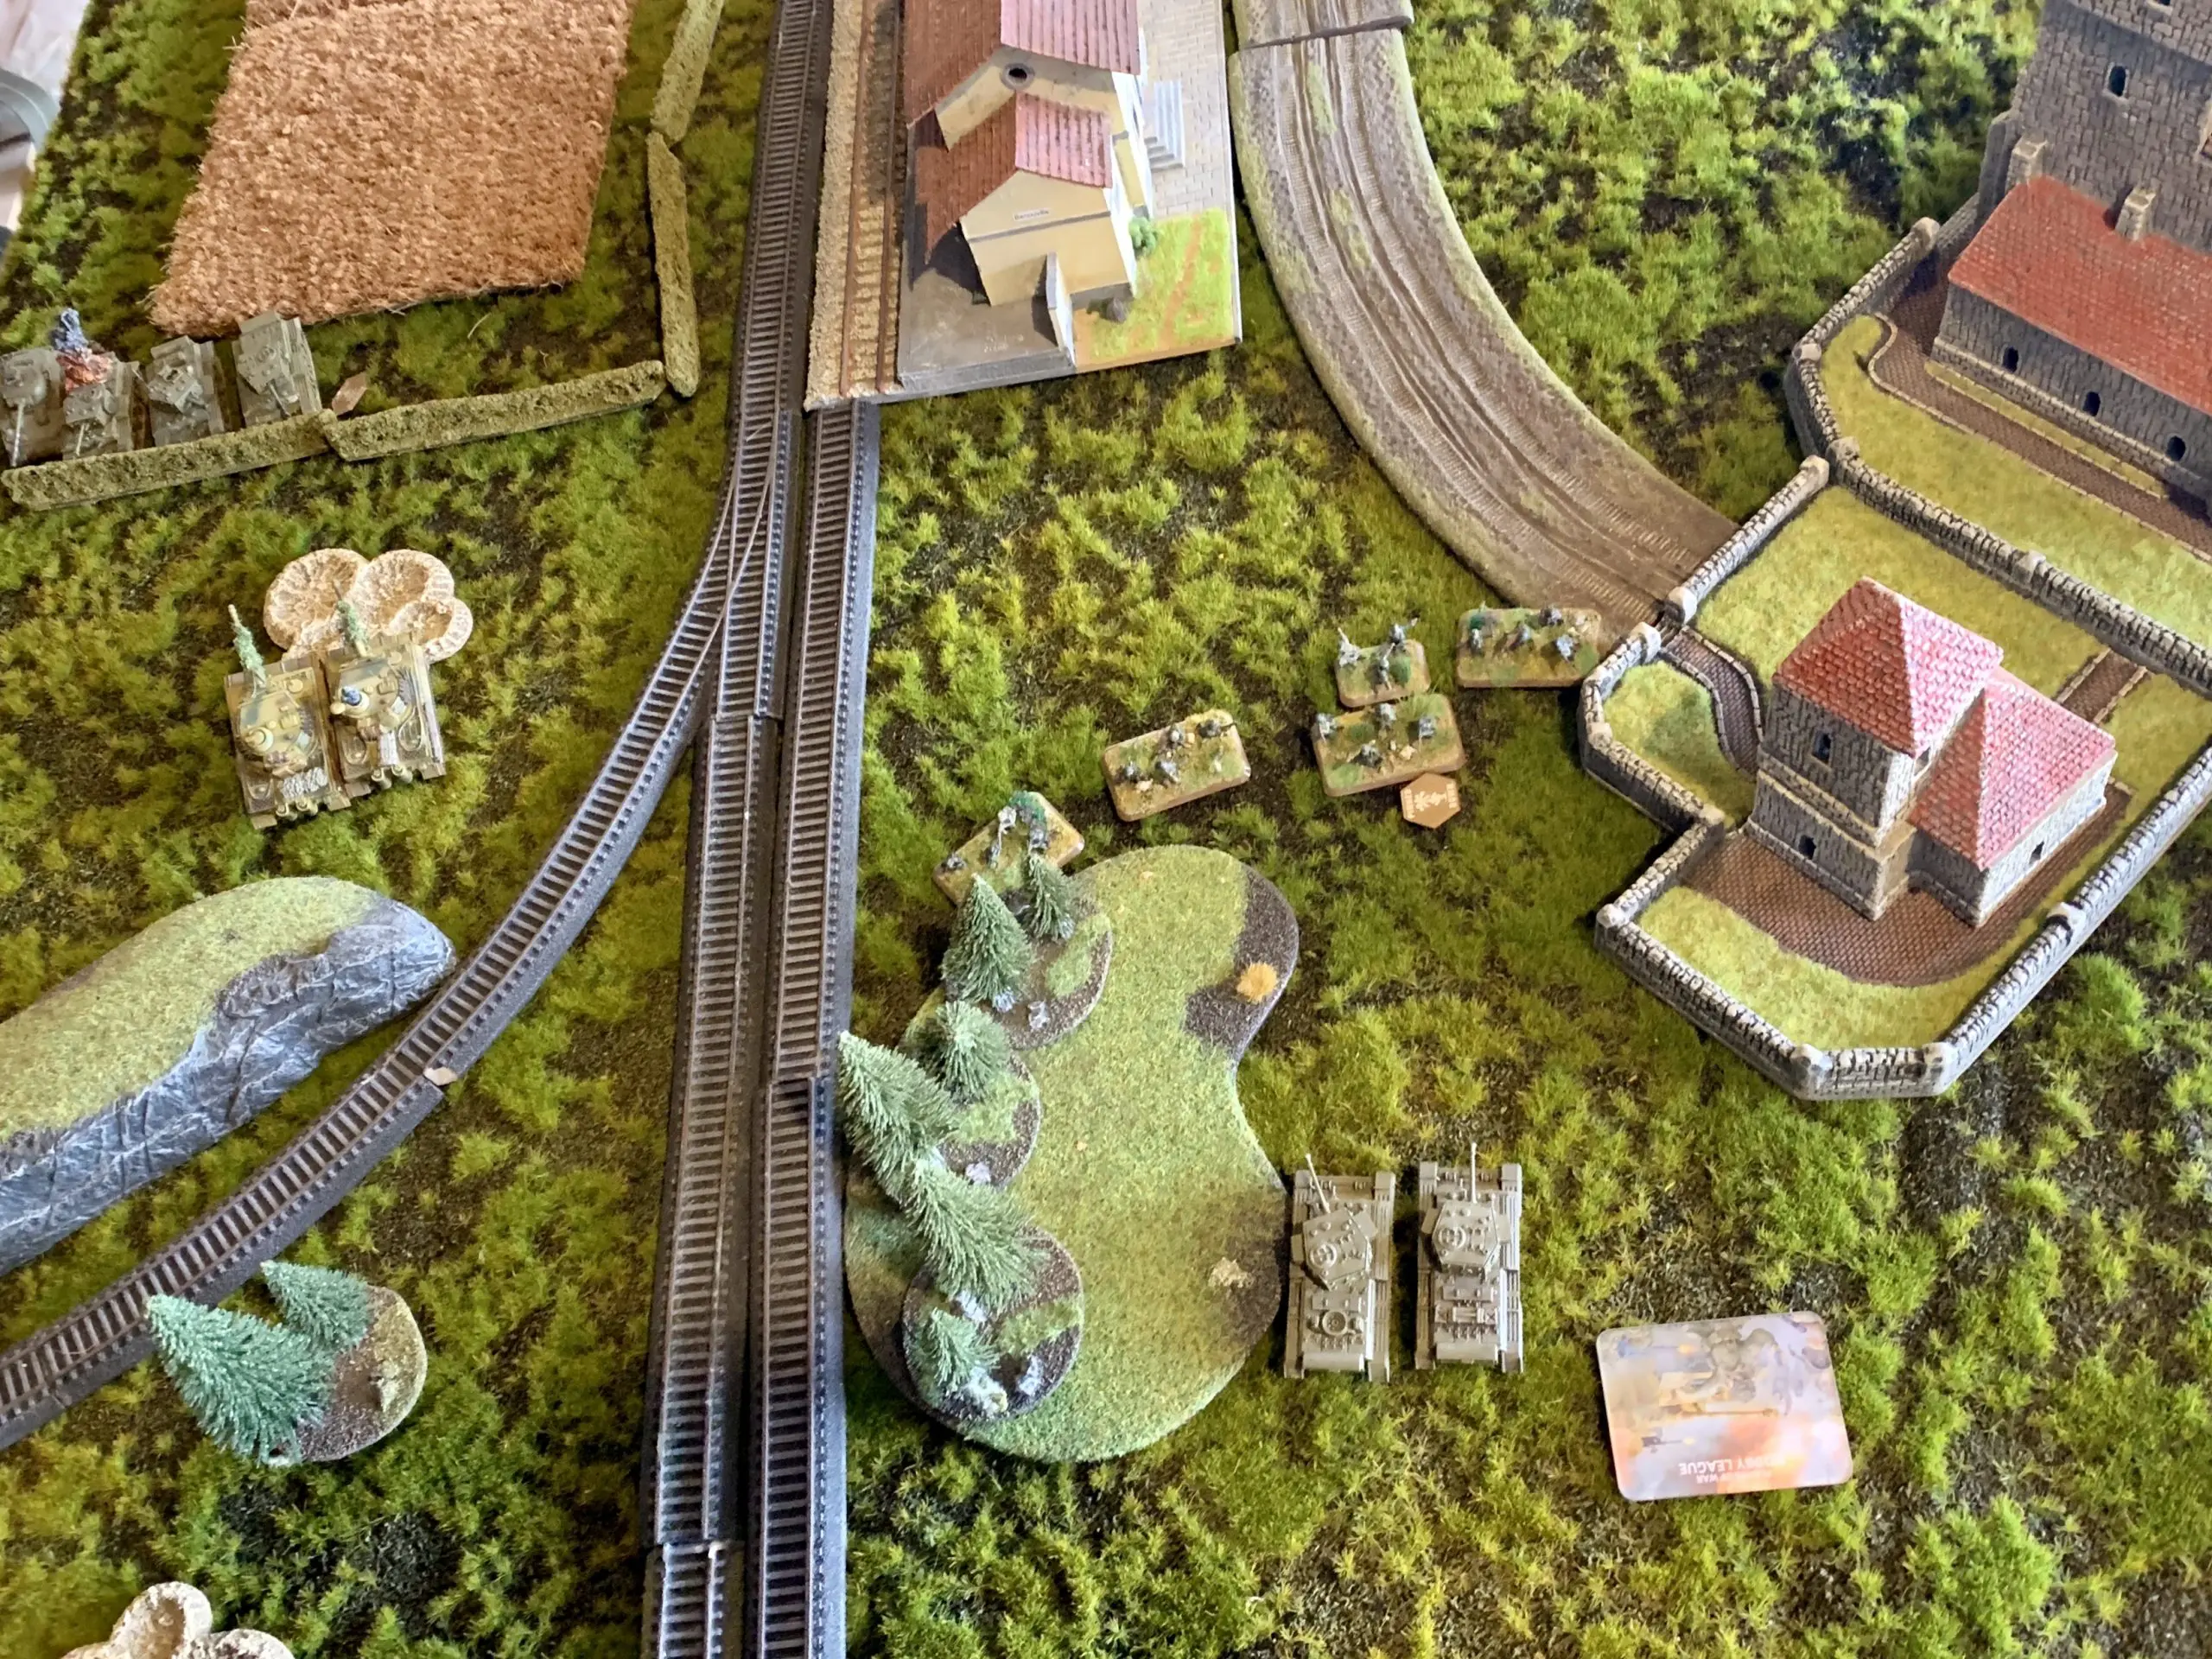
In return, my Tigers destroyed the Firefly and managed to Shoot and Scoot off the hill. The Wespes backed off the hill while the recce advance into the farm complex. The PanzerIVs stayed put not wanting to move in-front of so many guns. Infantry moved up into the church to hold a centre area.
Turn 2
His 2 x Cromwells on my left flank did a 28-inch dash (!) to the far side of the ridgeline. Moving that inf was a fatal mistake as it meant he didn’t come into 8 inches of a team so could make it. I had not expected such a bold and risky move. The Achilles continued to reposition.
My Tigers blitzed onto the hill and the infantry moved back towards the Cromwells failing their fearless follow me meaning no assault could be made. The Tigers bailed a single Cromwell. However, the Wespes did manage a blitz and blew up a Cromwell in the centre which was rather lucky.

Turn 3
With the Cromwell remounted he moved these 2 bold tanks to assault my infantry from behind (no sniggering please). Also, he got reserves and they came on right by my Tigers. His Achilles moved forward and took a couple of shots at the recce in the farm bailing 2. His Firefly penetrated a Tiger but only bailed it. Frustratingly his Cromwells killed an infantry stand and I rolled a 2 to counter and fell back (Fearless my @%$#). If I cant unpin this will be a short game.
And I didn’t unpin! Desperate measures now. The PanzersIVs braved a 4+ Blitz and passed, getting 4 long-range shots in the open bailing 1 Cromwell.
The Wespes moved and fired but seemed to be shooting another barn door somewhere. The Tigers nailed a Cromwell and bailed another before scooting into cover. The PanzerIVS also claimed an Achilles meaning they were now actually in poor spirits due to their stung out nature.
Turn 4
My only chance was for the Cromwell platoon to fail to remount and then fail a 5+ last stand. Ever defiant a 6 was rolled and it was 8-1 to the British.
Well on the downside the SS lost. Looking positively at least the SS lost!
A tough matchup and hard to get definitive data but as a seasoned V4 Tiger player a few thoughts.
- While it didn’t matter on this occasion the 3 points in the force for a 2+ follow me and counter-attack I think are worth it. If you face infantry you can rollover most things but have a 50% chance of failing to counter leaving your small number tanks exposed for another turn.
- I don’t think SS infantry stacks up vs a Heer platoon with the 116th Infantry Division; Greyhound command card (4+ Tactics and 5+ Last Stand). I am not fussed about the main infantry platoon Last Stand and SS already have 4+ tactics. Therefore I am trading Cautious to Aggressive at the cost of just a last stand reduction by 1. Much better deal with the Greyhound guys… sorry.
- My gut says the Heer version is more competitive mainly due to the support choices and cards. Using the D-Day Tiger formation with Fortress Europe Support (As per LFTF) you can do this (BTW I’m awaiting Bagration where Germans will get air support again!).
2 x Tiger
3 x Tiger
2 x Tiger
2 x Sd KFZ 10/4 (note these are here to hide and prevent formation break).
HE129 support
Beach Defense Platoon with 16th Luftwaffe Field Divison Card (3+ counter-attack and 4+ tactics)
For me the Aggressive PanzerIVs while a nice idea is going to pick up all the AT that cant reliably penetrates a Tiger (which is a lot). Cautious is an armour rating in itself. Maybe Bagration will bring the option of Heer PanzerIVs in your Tiger formation?
Anyway back to the list above. The infantry is broadly the same all be it with a worse Assault and Last Stand. But the key here is that you get HS129s. 6 shots at AT 7 hitting at worst on 4+ unless you are targeting something in wood. After this game, we did some example rolls and in my Turn 1 and 3 would have had them come on. From those dice rolls that Cromwell platoon would be toast and even if it less lucky at least pushing them to a Last Stand test meaning a 1/3 chance the game wouldn’t have ended. Also, it gives something to reach out and touch those Achilles which are in literally every Brit army. Stats wise you get 2 bails per run in and a kill is just gravy. 2 more Tigers also negates all that medium AT that would have been harnessing those PanzerIVs.
Of course, should of and could have is the joy of FOW, there is always something different to try. Fundamentally if my SS inf has passed just 1 of its Fearless moral tests the game probably would have been very different.
Let us know how you get on and thoughts on SS lists.

3 comments