Yes! We have actually played a game!

79th Armoured Division
vs.
352nd Infantry Division
Welcome to the first AAR either I or Duncan have done in ages!
We finally managed to get to play a game.
With both of us having many new toys, deciding what to use was more difficult than usual. With it being the end of June we decided that something just after D-day was in order.
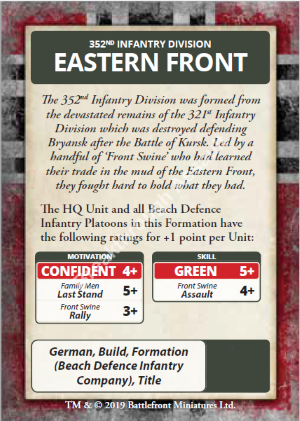
This enabled me to finally get my rather thematic, if limited, British Breaching Group (I built them for a game scheduled for D-Day last year) onto the table and Duncan used a newly developed D-Day German list featuring the might of Panzer Ausbuilding Abteilung 100 from his recent Hobby Hipster article, supporting elements of the 352nd Infantry Division. Not quite a completely accurate historic match up, but both forces deployed in the Normandy region, albeit opposite flanks!
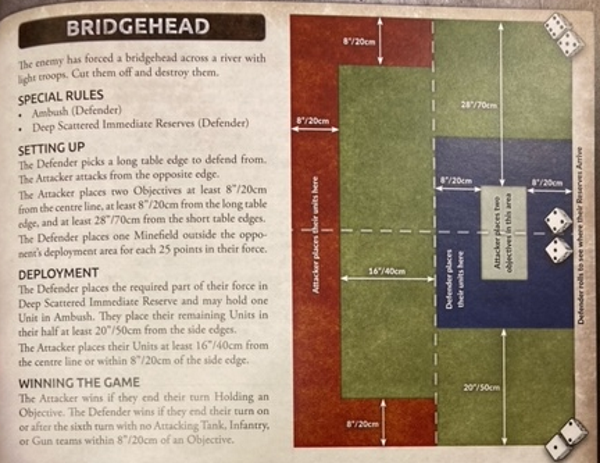
We decided to use the Bridgehead scenario to represent the British still pushing forward to try and breach a German defensive position.
British 79th Armoured Division- Martin
- HQ Sherman DD Troop
- Sherman DD Troop with 2 flail mine-clearing Crab tanks
- Sherman DD Troop with 3x Duplex Drive tanks
- AVRE section with an assault bridge tank
- AVRE section with a fascine carrier tank
- Crocodile Flame Tank Platoon
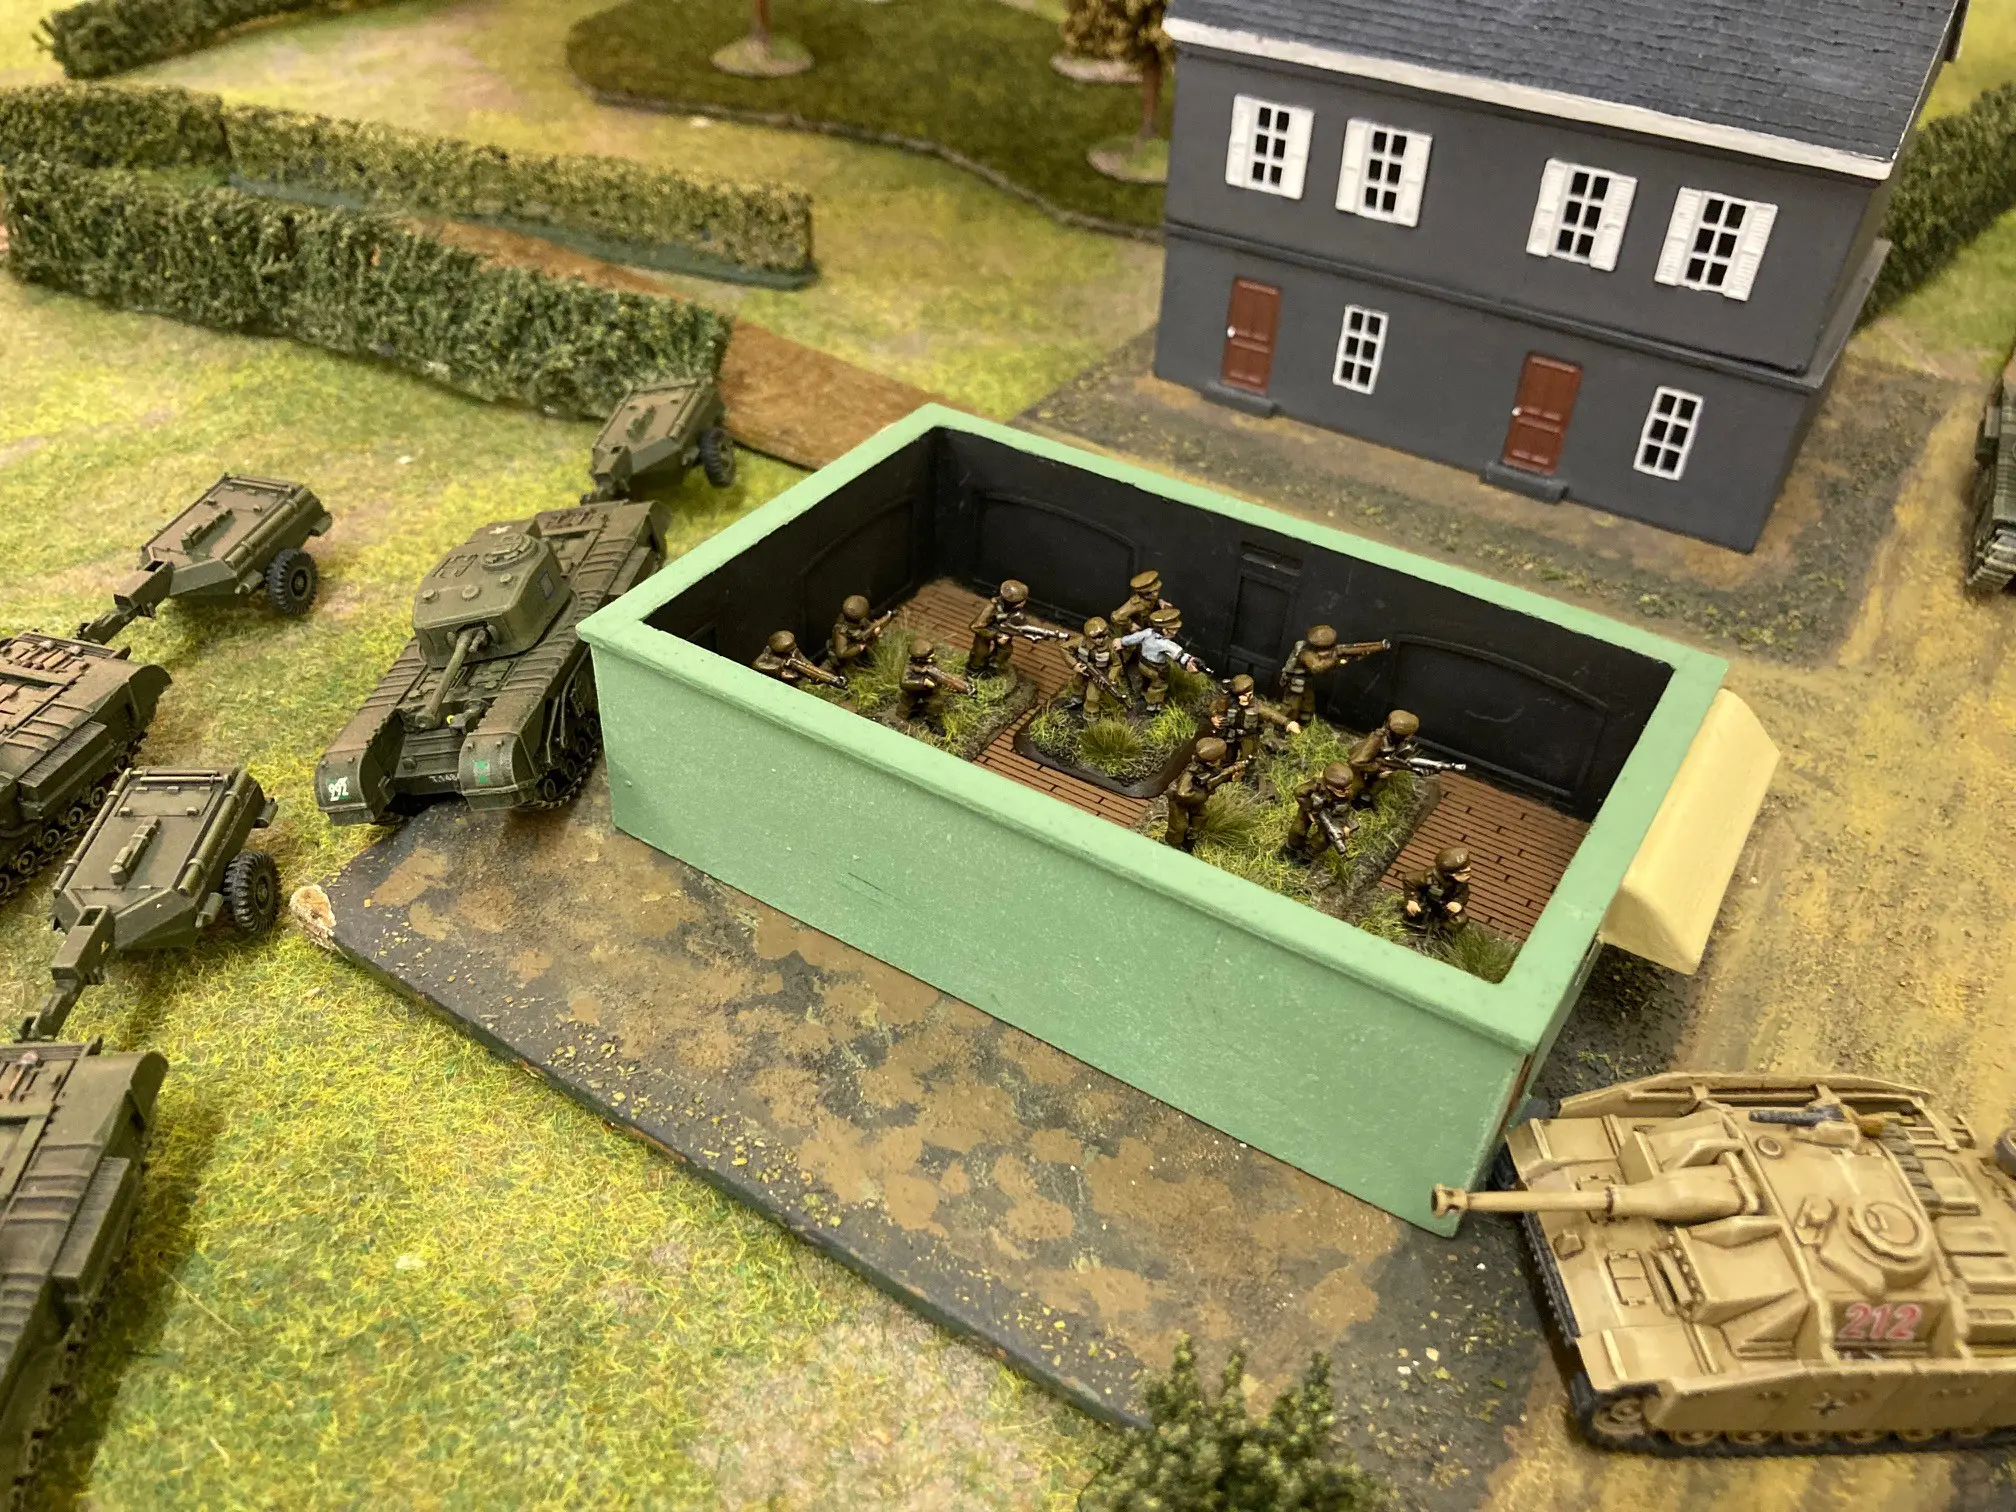
- Rifle Platoon
- Sexton Battery
- Artillery Observer in Sherman OP
As you can see my Force is based on the Breaching Group D-Day British Command Card. The basic strategy is to use the Shermans and Sextons to fire lots of smoke to conceal my advancing AVRE and Crocodile Flame tanks as much as possible. With a little luck, depending on where Duncan deployed, I could get them into combat range without suffering much in the way of threatening incoming fire.
The Sherman Flail tanks can take care of the inevitable defensive minefields the Germans are sure to have placed to hold up any advance. The bridge layer and fascine carrier can create easier crossing points over any streams or ditches in my way, while the Crocodile Flame Tanks will take care of anything trying to hide and ambush me.
Once the engineering tanks have created a gap then my Rifle platoon, supported by the Sherman DD and the HQ tanks, will storm the objective, with the infantry digging in while the Shermans hopefully repulse the inevitable German counterattack.
Ze Germans – Duncan
Formation
- Beach Defence Grenadier Company HQ with Panzerfausts
- Beach Defence Grenadier Platoon, 7 x MG teams with Panzerfausts
- Beach Defence Grenadier Platoon, 7 x MG teams with Panzerfausts
- Beach Defence sMG34 Machine-gun Platoon, 4 x MG34 HMGs
- Beach Defence 7.5cm Gun Platoon, 4 x 7.5cm infantry guns
- Beach Defence 8cm Mortar Platoon, 4 x 8cm mortars
- Beach Defence 12cm Mortar Platoon, 4 x 12cm mortars
- Beach Defence 7.5cm Tank-hunter Platoon, 3 x PaK40
Support
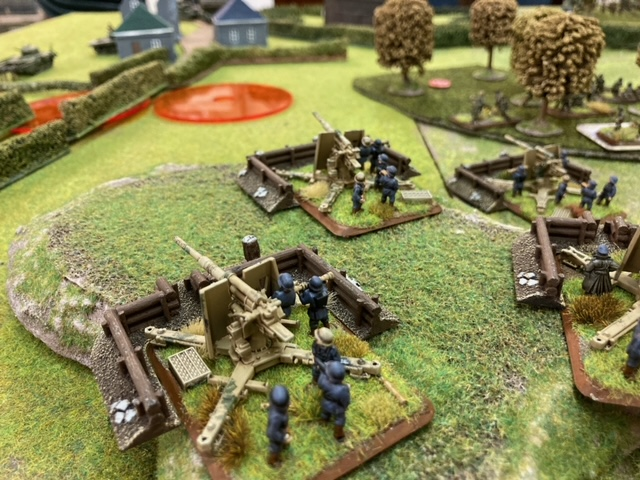
- 8.8cm Heavy AA Platoon, 4 x FlaK36
- Fallschirmjäger Platoon, 7 x MG42 & K98 rifle team, 1 x Panzerschrek and Panzerfausts
- Fallschirmjäger StuG Assault Gun Platoon, 3 x StuG
R-2 Light Tank Company (Allied Formation)
- R-2 Light Tank Company HQ, 3 x R-35
- R-35 Light Tank Platoon, 3 x R-35
- R-35 Light Tank Platoon, 3 x R-35
- R-35 Light Tank Platoon, 3 x R-35
Command Cards
- 8.8cm Assault FlaK
- 352nd Infantry Division Eastern Front
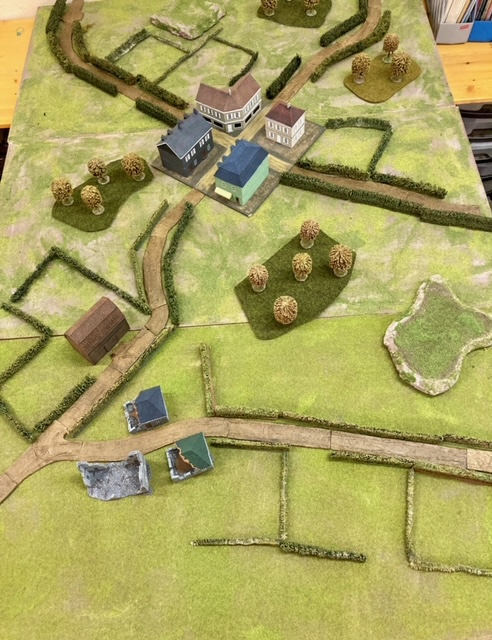
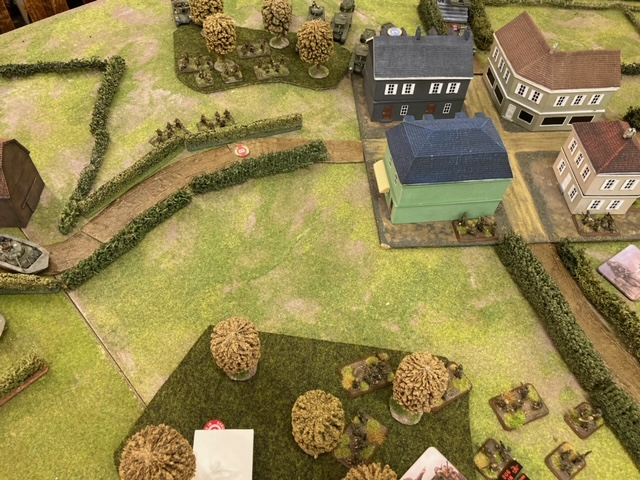
The Battlefield
The Scenario
The Deployment
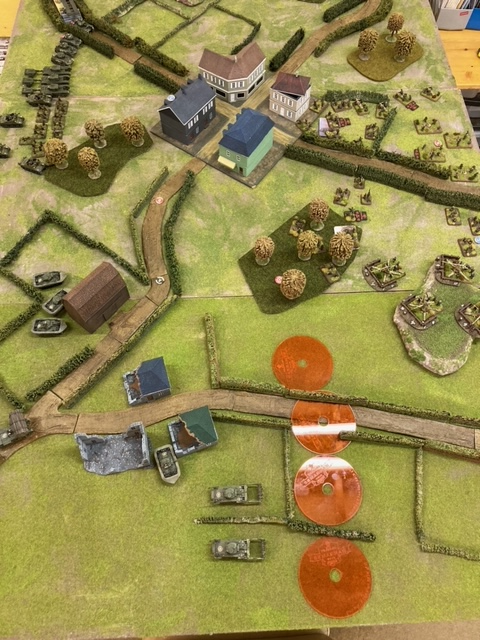
German Reserves
Turn 1
British – Martin
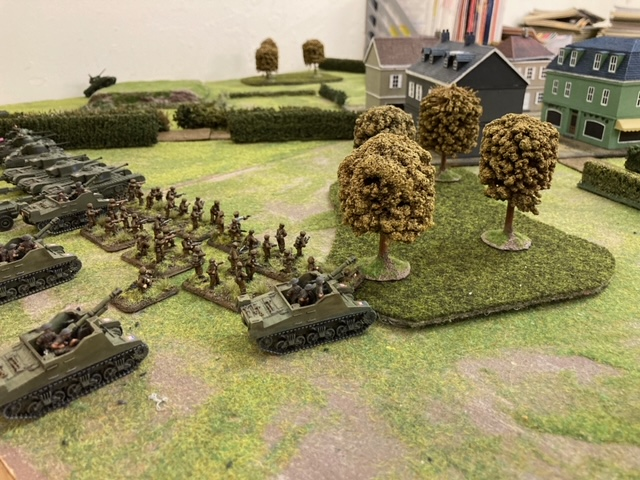
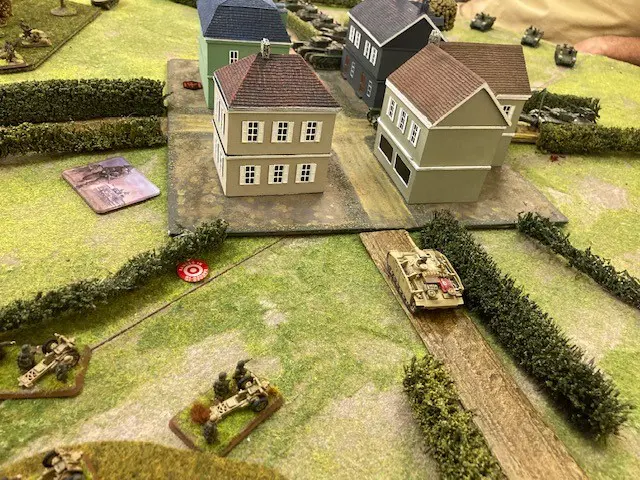
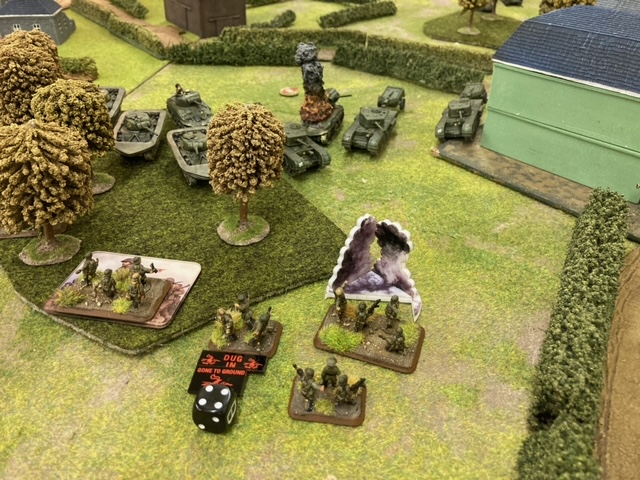
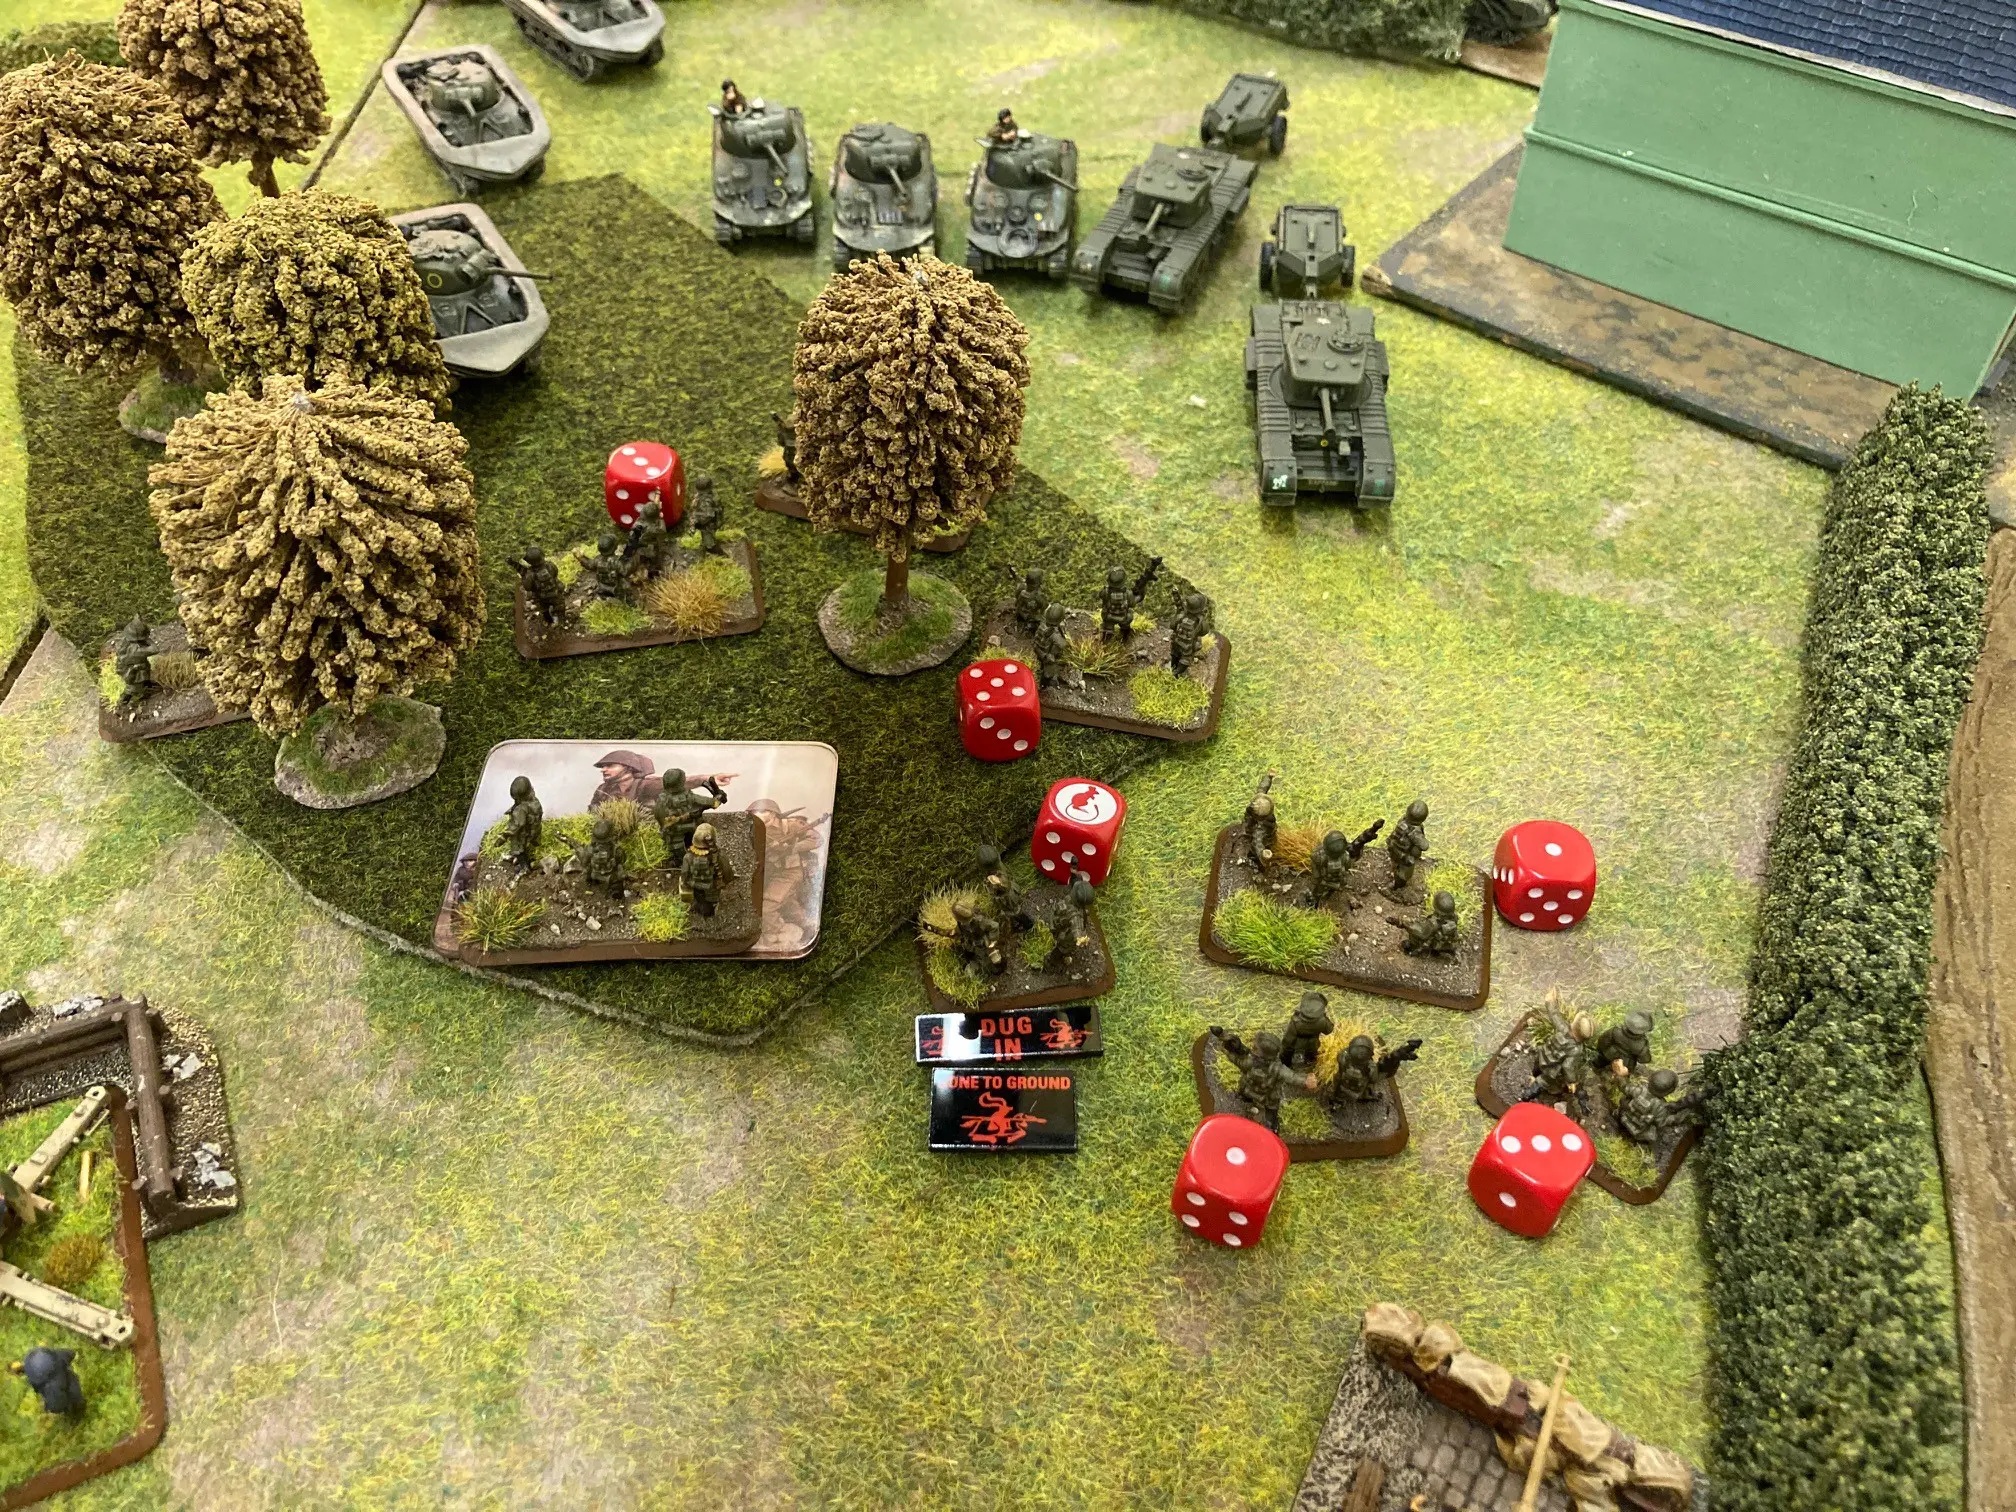
The British opened up the game with the flail tanks moving into the minefields, while the Crocodiles advanced on the village and the Sherman troops took up an overwatch position. The thick hedgerows resulted in a slow advance ,with the Shermans struggling to get across them, probably because they still had their canvas swimming screens fitted!
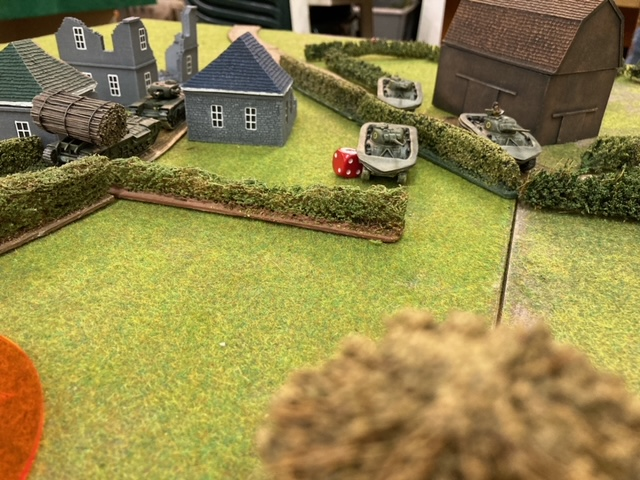
The AVRE fascine platoon advanced “rapidly” down the road toward the 88 positions. The Sextons put down a smoke screen covering the British right flank, screening the advancing AVRE’s and mine clearing operations for the German opening turn. With only one Crocodile in a shooting position, one infantry team was eliminated and the enemy platoon pinned down.
German – Duncan
It wasn’t much of a surprise when my reserves didn’t appear this turn and, with smoke engulfing the FlaK 36 on the left, it was up to my right and centre to begin to make an impression on the battle.
The rightmost Beach Defender platoon advanced into the large house on my side of the crossroad. The smaller house was already fortified with their MG34 toting HMG support platoon. I also chose to move up my 7.5cm infantry guns to give me some “elbow room” in my congested deployment ready for the ambushing PaK40 platoon – the box of a deployment area was a right pain! That’s the trouble when you have soo many troops – Martin
With the smoke obscured 88mm guns struggling to locate allied tanks off amongst the hedgerows and the 8cm mortar barrage proving little more than an irritant, the German turn was over.
Turn 2
British – Martin
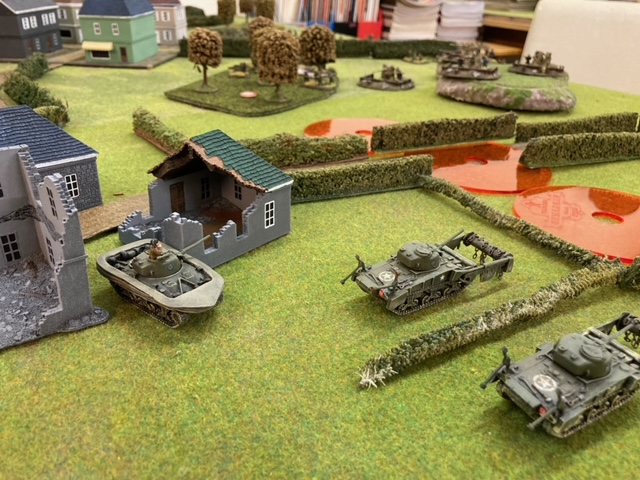
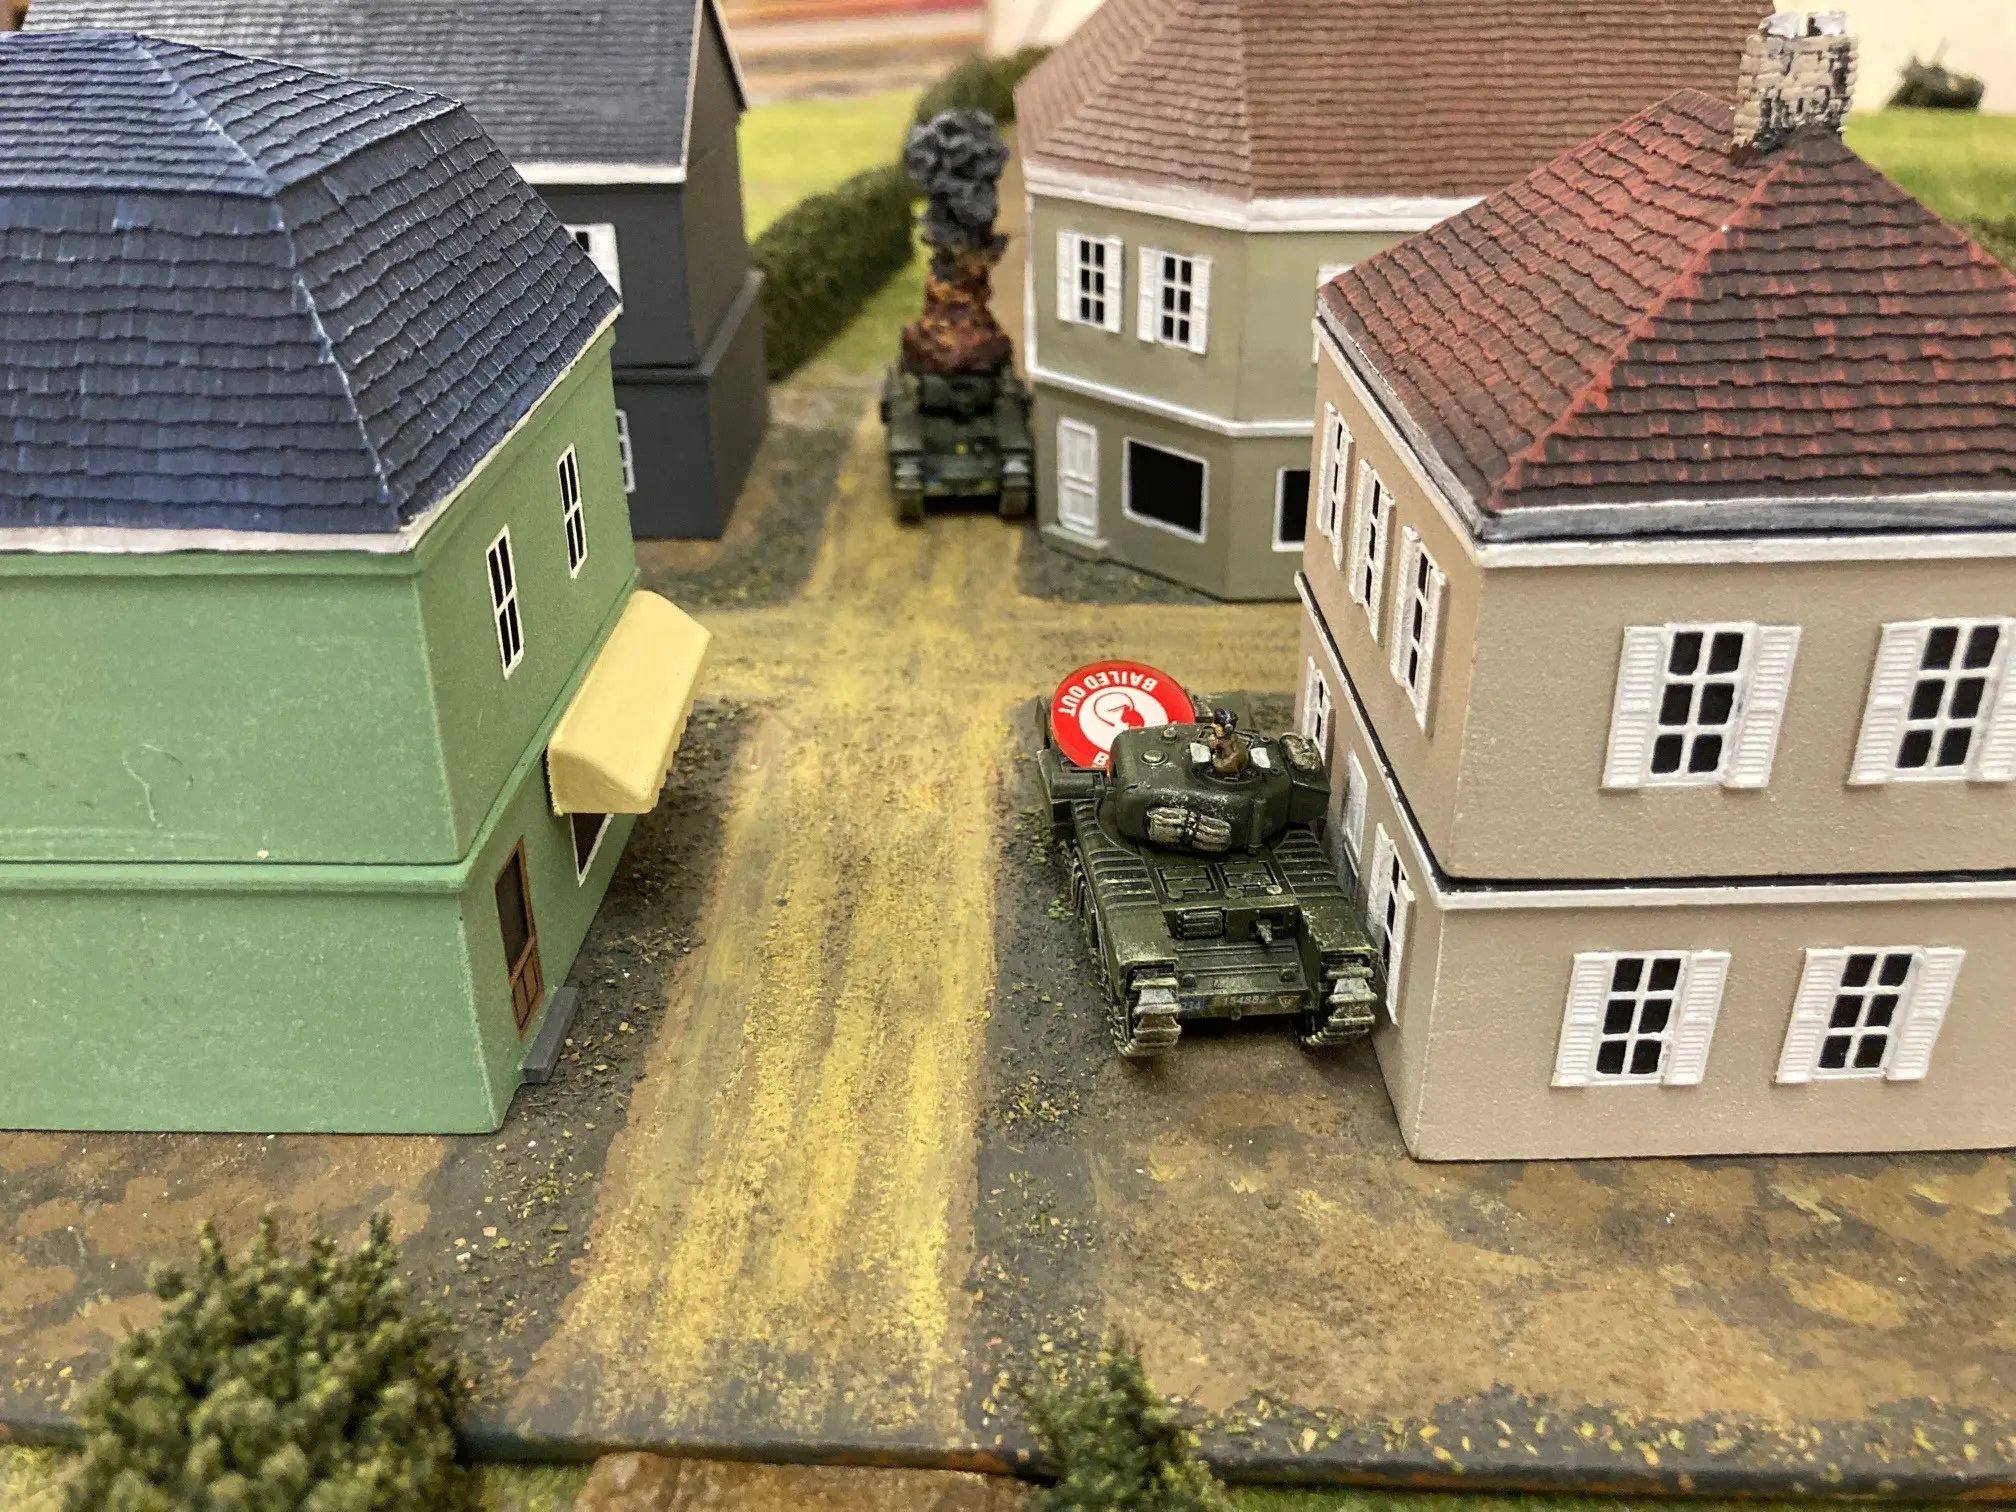
The fascine AVRE’s continue to advance and the Crocodiles took up position to flame the infantry occupying the cafe. The bridge layer AVRE group moved forward to target the HMG platoon in the small house.
The DD Shermans also moved to provide covering fire for the mine clearance and AVRE units. The infantry started to advance. Issuing a mine-clearing order, the flail tanks cleared two of the minefield markers. Shooting started with the massed Shermans smoking the 88 battery to hopefully reduce its shooting effectiveness. Duncan would need 6’s to hit now.
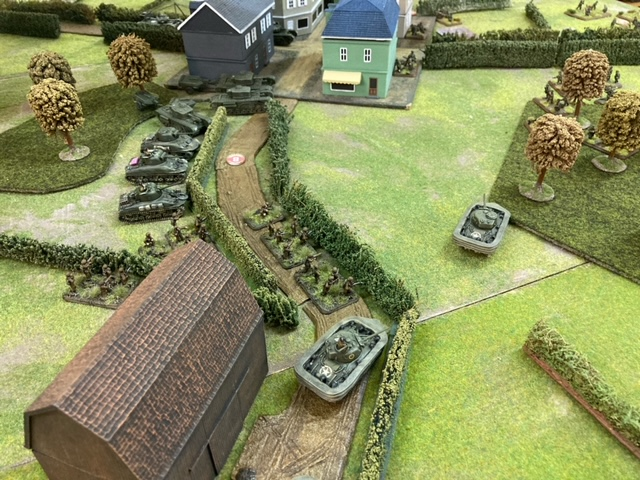
The Crocodiles opened fire and flames sweeped the cafe, killing two teams. Meanwhile, the AVRE fired its petard mortar; the devastation of the small house ensued as two HMG teams were eliminated along with an infantry team and a 7.5cm infantry gun caught in the blast and flying debris.
German – Duncan
Well… the petard mortar has provided ample reason for it to be feared. Devastating is the word that I’d use. On the plus side, rolling for reserves my StuGs make a welcome appearance; unfortunately (and this will be a reoccurring theme throughout) they appear on my right flank. Super.
On a positive note they at least have access to a road to scamp towards the crossroads in the town on. Scant consolation, but consolation never the less. The StuGs formed the bulk of the movement in turn two, but they were supported by the 7.5cm infantry guns continuing to skim the town on my right hand side.
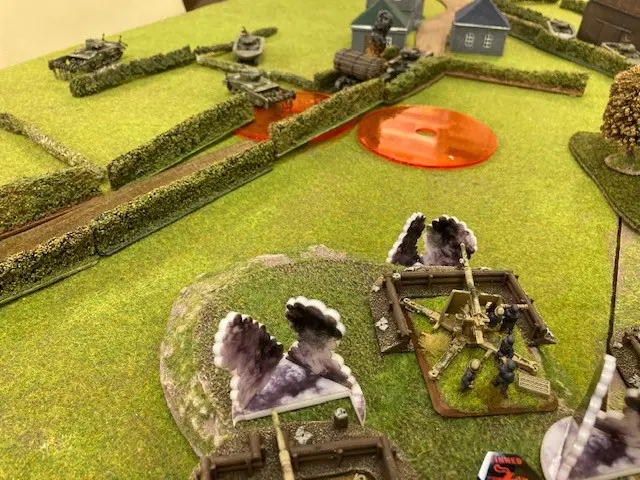
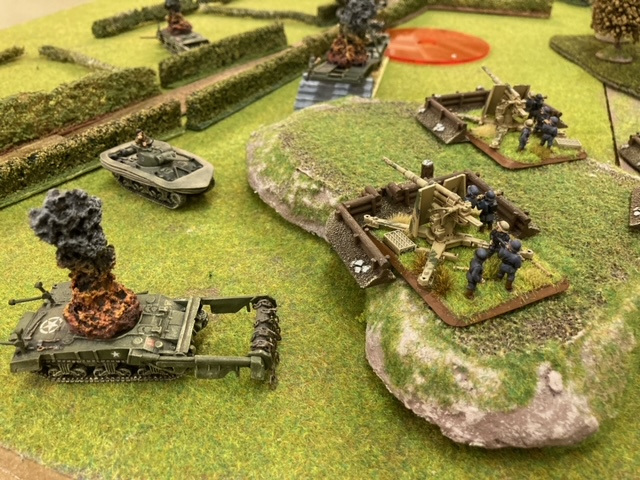
In the shooting phase the sheer weight of fire from the smoke obscured FlaK 36 guns but they still reaped a toll on the AVRE platoon on the road; knocking one of the monsters out. The infantry remained Gone to Ground whilst the mortars attempted to bring a fire mission done on the British centre, pinning down the infantry but causing no immediate causalities.
Turn 3
British – Martin
The turn started poorly with the infantry failing to rally so I elected to dig in where I was and move the troops on the road back out of inevitable repeat bombardment that the german mortars will create. The HQ Shermans again tripped over the hedge and made little progress forward. The flail tanks entered the last minefield blocking the road whilst the AVRE’s moved forward, with the lead tank now able to target the forward 88.
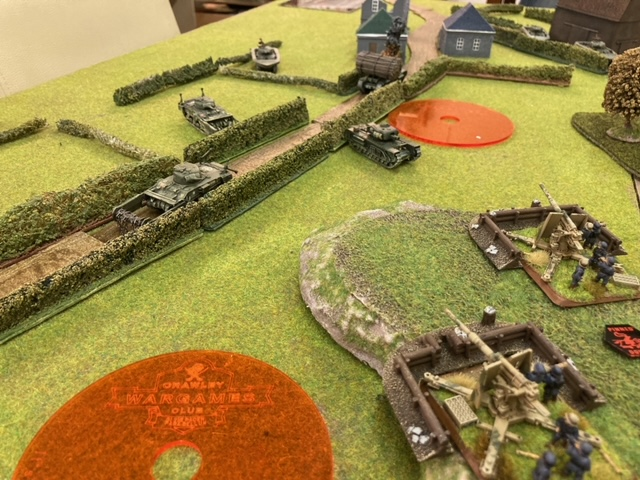
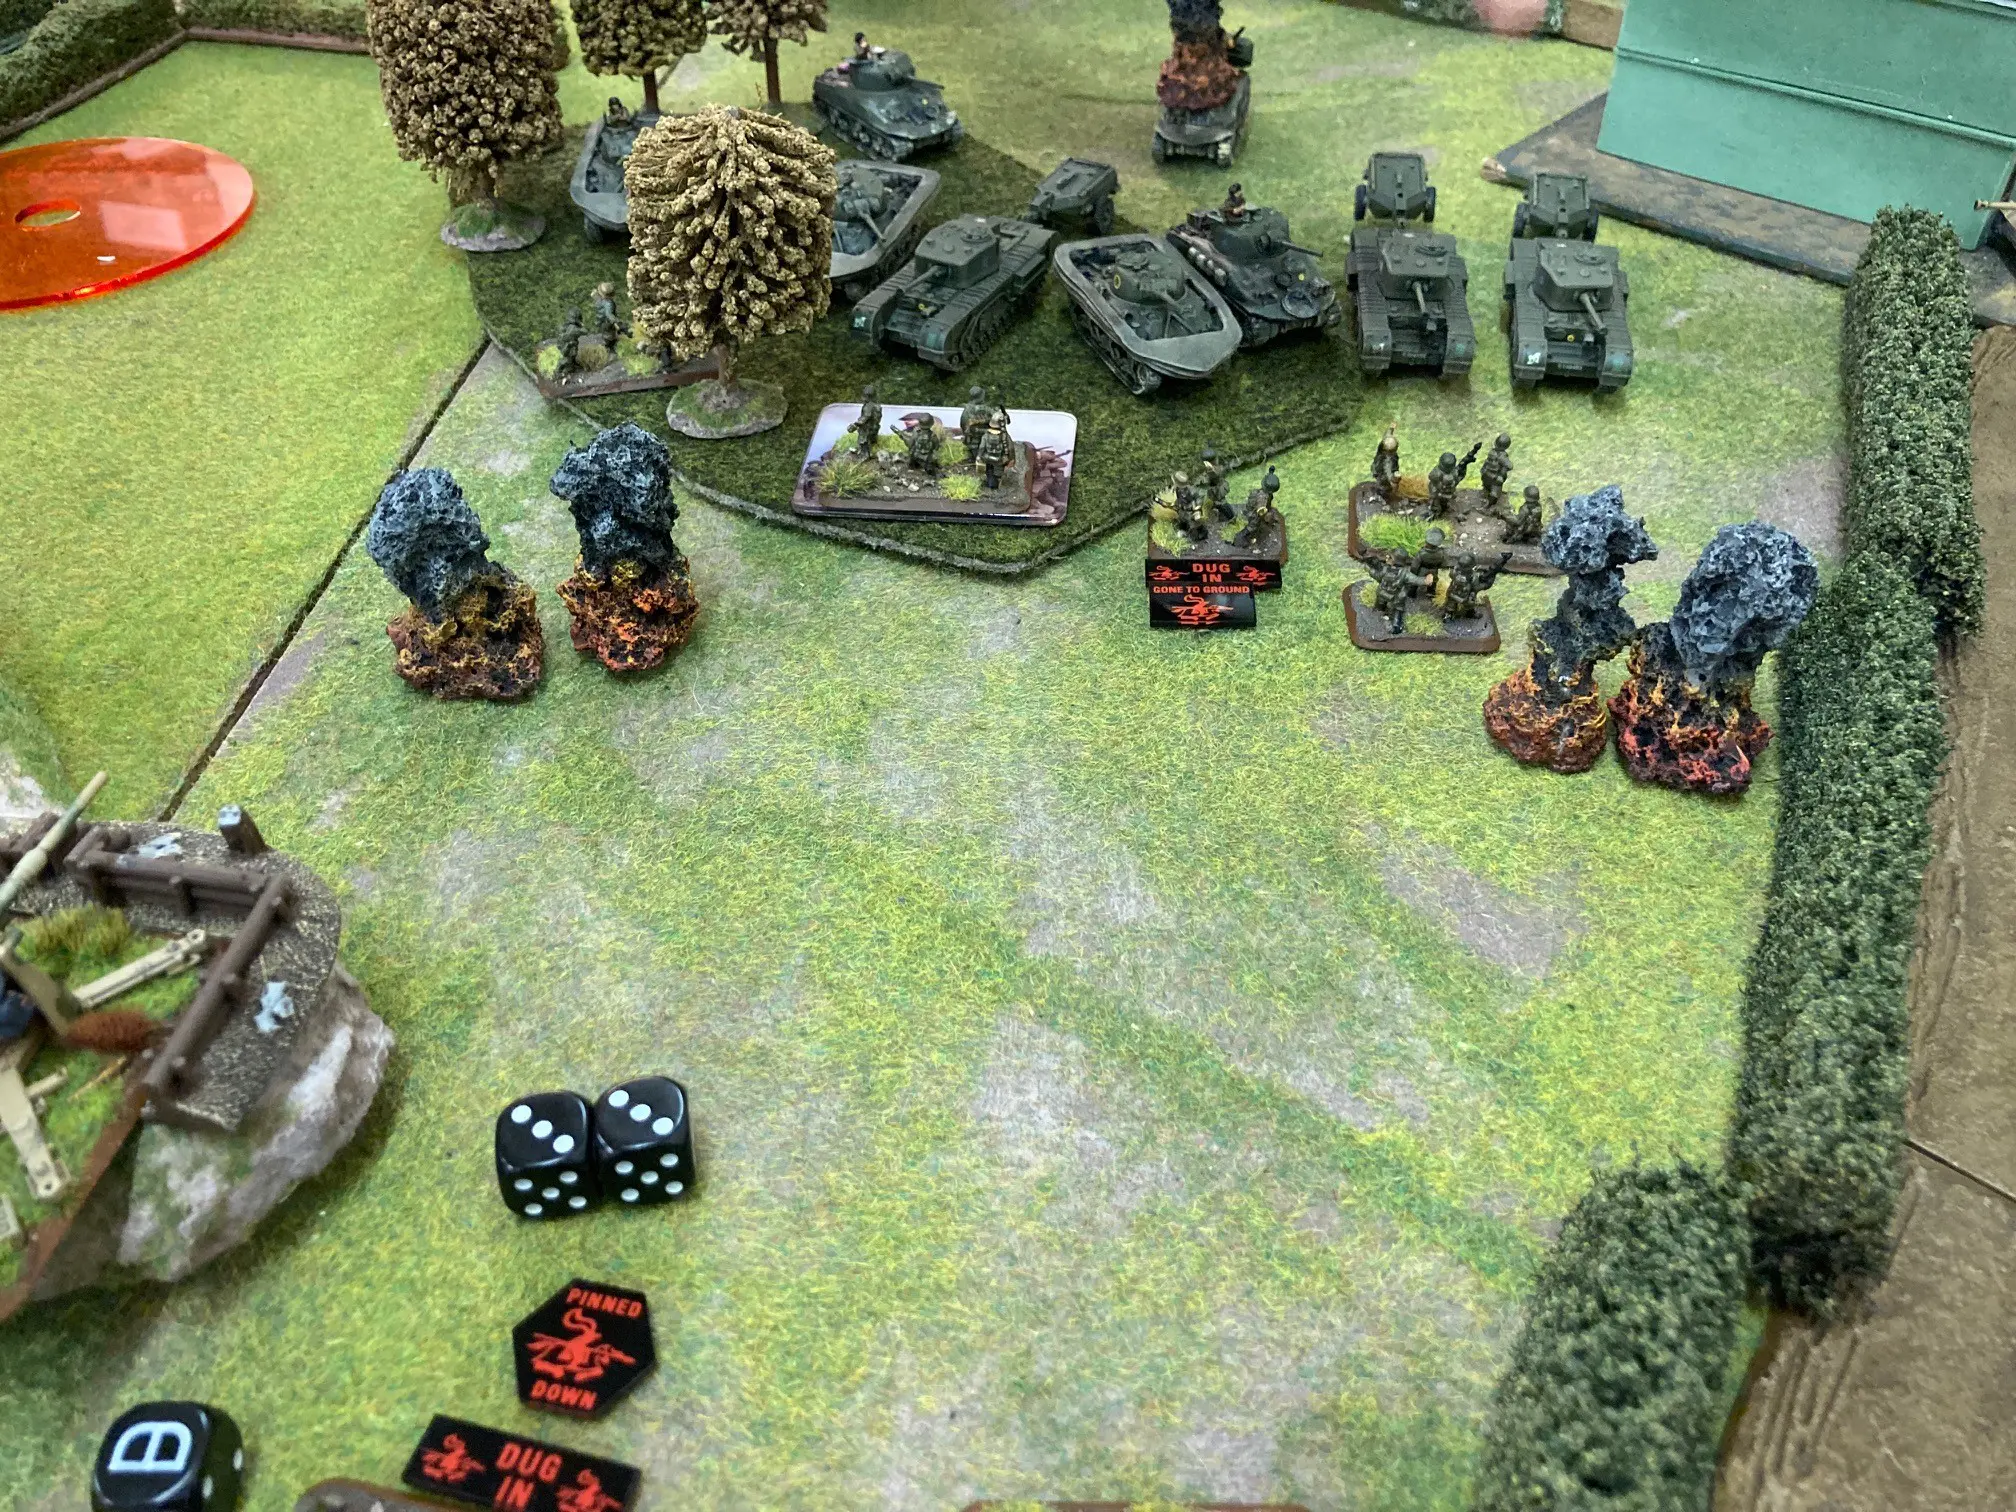
The Crocodiles reposition to face the advancing StuG platoon. Shooting started with the OP making use of the excellent line of sight to retarget my Sexton’s onto the German artillery position, pinning the mortars but missing the 88’s. Again the Sherman’s fire smoke at the 88’s but this time miss!

That might prove costly next turn. The lead AVRE fired its petard mortar, catching the 88. No damage is inflicted but the platoon is pinned. The Crocodiles bailed the lead StuG, whilst the AVRE continued its destruction in the villag; the remnants of the infantry in the café now feeling the effects of its brutal bombardment with three more teams eliminated.
German – Duncan
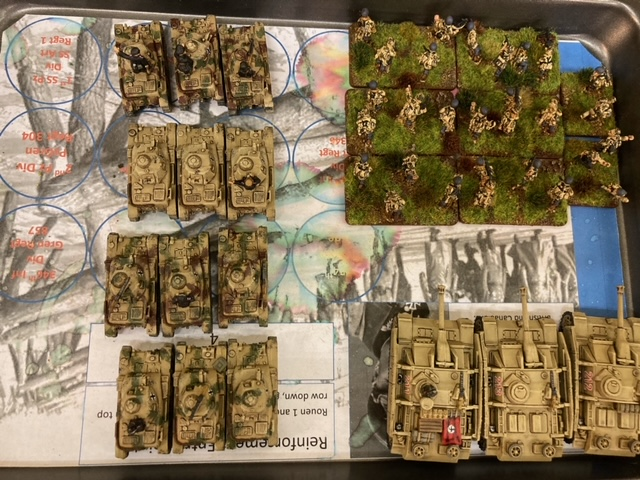
There was a lot going on this turn – firstly and importantly my PAK 40 ambush was sprung, secondly some more reserves made an appearance in the form of two platoons of R-2 (R-35 tanks).
The PAK 40s deployed behind the hedge line near my right hand objective with a couple of them in range to contest it if the need arose. Both the R-2 tank platoons arrived… in… the… far… right… corner… *sigh*; with a top Road Dash speed of 12″ it’s going to take a while to get them into the action.
My StuG, previously bailed out by the crocodiles, stubbornly refused to remount; it only needed a blasted 3+! The Beach Defenders in the village also remained pinned, which is less of a surprise to be honest.
The R-35 tanks did indeed barrel down the road at full pace, whist in front of them the StuGs repositioned to bring some fire on to the crocodiles and keep them honest for the time being.

In the shooting phase the ambushing PaK40 had some stellar success against the AVREs in the town, destroying one and bailing out the other. So far so good! The artillery continued to hammer the exposed infantry beside the barn, and out in the road, killing another couple of stands and keeping the rest’s heads down. On my left the FlaK36 battery continued to persecute the lone AVRE. Despite being shrouded by smoke, the attentions of the full battery prove to be to much firepower to withstand and the petard toting Churchill is dispatched.
Turn 4
British – Martin
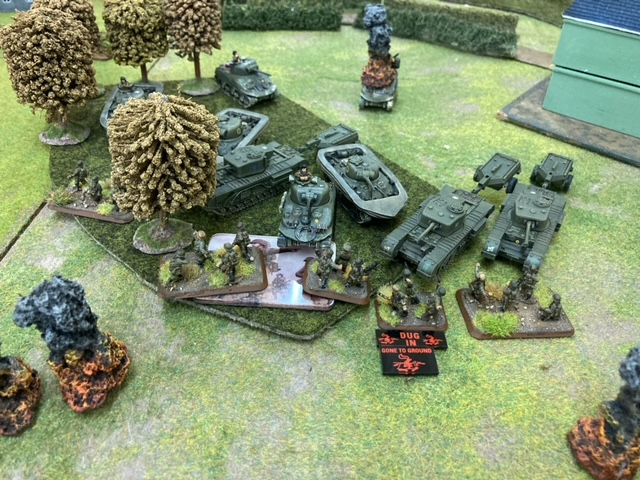
Another poor start to the turn as the remaining AVRE in the village left the field, but there was better news for my infantry as they rallied and could now move forward into the wood, though they can’t quite reach the objective. I was starting to worry now as, whilst the German reserves are slow and no real threat to my armour, they are going to be near impossible to shift due to sheer numbers if they can get near the objectives.
Having lost the AVRE platoon on my right, I decided to launch a distraction attack with my now isolated flail tank platoon. I can’t get them completely out of LOS of the 88’s, but I could use the 88’s placement to reduce the amount of defensive fire possible. The Crocodiles manoeuvred to face the StuG’s better; with the appearance of the PaK40’s I can now see how I need to angle my attack line through the wood and, thanks to their FA11, the Pak’s are no real threat, frontally, to me.
Shooting had a limited impact; lots of hits but no causalties, with my Shermans again electing to use smoke to screen my positions from return fire as much as possible. The artillery killed a couple of 81mm mortar teams but again missed the 88’s.
The Assault phase started with the Sherman flail tanks launching an assault on the 88’s; if I can get in they should be as good as dead. Sighting through the smoke, Duncan rolls his pair of dice… and gets two hits; killing one and bailing the other! The dice gods favour the Reich at this point.
German – Duncan
The turn starts with the usual start of turn stuff; the Beach Defenders on my left objective rallied and prepared for the storm to come, the mortars remained pinned as pinned can be, but reinforcements arrive again in the form of the chunky Fallschirmjager platoon. Again I roll for their arrival point and once again it is over on the right hand side of the table!
Being more manoeuvrable than the R-35, they deployed as close to the centre of my side of the table as the scenario allows (around 16″) – this is going to get embarrassing for the R-35 tanks very quickly!
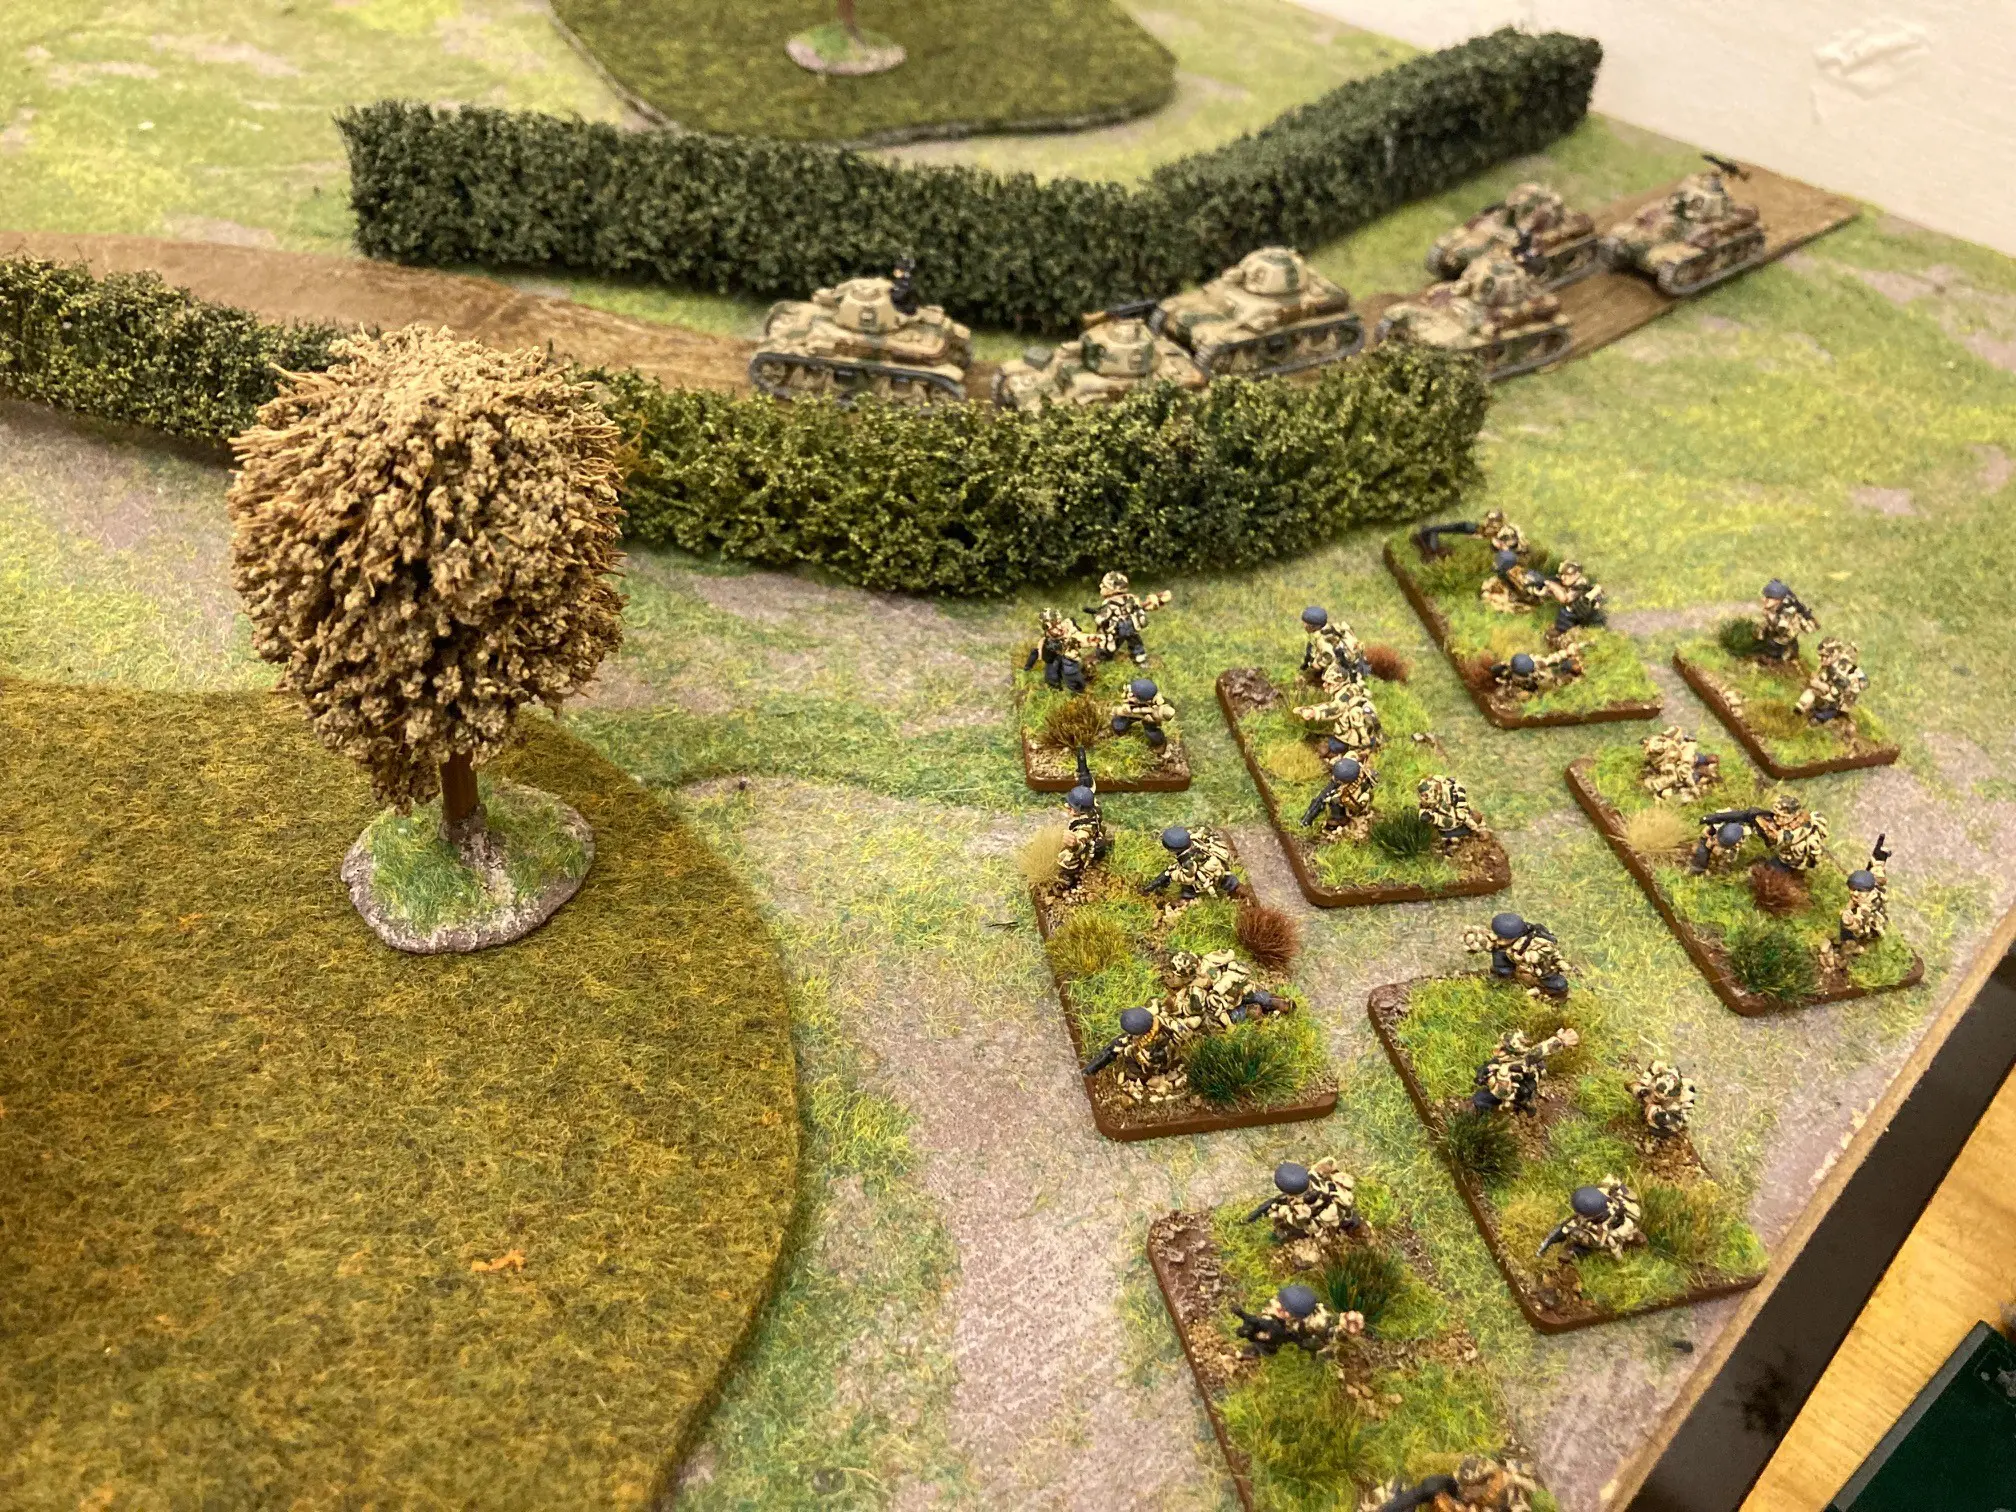
In my movement phase the R-35 used their Road Dash and yet were still overtaken by the Fallschirmjager dashing beside them; their poor little 82 horsepower engines screaming with the effort of trying to make a difference to the course of the engagement.
Meanwhile the StuGs tried to stalk the Crocodiles and get in to their flanks and rears. This isn’t really what the assault guns should be used for but they are pressed into action against these heavily armoured foe; a microcosm of the Normandy campaign on the table top.
The shooting phase led to the decimation of the DD Shermans on my left, while in the centre I stupidly fire my PaK40 guns at the Crocodiles only for Martin to not even need to worry about rolling a die; AT12 is not going to cut it at all! With the British infantry now danger close, the mortars fall silent and a rather non-event of a turn is over.
Lets hope that the Beach Defenders can continue to weather the storm until help arrives!
Turn 5
British – Martin
With the right flank eliminated and ever more German troops arriving into the battle area, I repositioned to press my attack on Turn 6, targeting the objective in the wood. I now had my lead elements within range to contest it at the start of Turn 6.
Shooting started well with the Sextons catching the advancing Fallschirmjager sprinting across the open fields, killing four teams and seriously weakening this powerful unit.
The Crocodiles now pressed into the wood, open fire and, whoosh, the Beach Grenadiers go up in smoke! Not a nice way to go.
German – Duncan
The relentlessness of the British was starting to tell. I could really use some reinforcements in the centre of my deployment area to do nothing more than contest that objective and allow me to start surrounding the British thrust and start to dice it up.
That aspiration is somewhat wanting again as the R-35 tanks turn up on my far left of my deployment area – too late and too slow to make any impact on the game. They deployed and rushed up towards the objective. If the poor grenadiers from the 352nd Infantry Division can just hold on one more turn they might get some relief.
The StuGs attempted to blitz… and failed, having to waddle into position to try and target what is left of the British formation; it is creaking but there is no way to bring enough firepower on to it this turn.
On my right the Fallschirmjager failed to rally from being smashed by accurate Sexton fire and the R-35 column finally made it into the village. The StuGs provided the only shooting this turn but the combination of the faiedl Blitz move, concealment and British canniness makes target acquisition allusive. The next turn the storm will break; can the grenadiers survive?
Turn 6
Well, it’s now or never. With Duncan having slowly moved his antique tanks forward, and more arriving in the centre, if I don’t seize the objective this turn it will be all over, and the British will be swamped and forced to withdraw.
My Crocodile remounts and the HQ Shermans prepared to assault the infantry, supported by AT guns but, still with two Panzerfausts and with my poor rolls for cross-checks so far, that could be enough.
Shooting killed more FJ and I pinned the infantry, reducing the odds of getting hit further by the ‘faust teams. The Crocodiles are well positioned and their firey flames eliminate the PaK40 by the road as well as the 88 covering the objective. The assault goes in and I failed to hit anything. But the Infantry still have to counterattack to keep on the objective! The dice roll… but even the HQ can’t inspire them to stay anywhere near the flame tanks and they break off, leaving the British in possession of the crossroads.
Conclusions
British – Martin
A highly fun and challenging game with two very different and well-matched forces. If Ducan had killed more of my tanks rather than just bailing them, or if the German reserves had arrived in the centre before Turn 5, rather than arriving on his right (five out of his seven reserve units arrived here) it could have been a very different outcome. Overall Duncan’s large army, numerically, was hampered by the small deployment area forcing him to cluster and thus making it possible for my artillery to consistently do damage across multiple platoons.
The R-35’s couldn’t threaten me but it would need many many turns to eliminate them if they had got near the objective. As it was, I worryingly lost four of my six core platoons by the end of Turn 5. The game ended with just the DD Sherman HQ and the Crocodiles still fighting fit from the Breeching Group but my infantry, after their initial set back, was largely untouched and could hold the newly captured position despite my PIAT having been one of the 2 teams killed.
The petard mortar armed AVRE and flame tanks proved their worth clearing the village, even if both AVRE platoons fled due to failed last stand tests. The lesson there was the HQ needed to support at least one of these fragile two-team units. Overall my general tactic of firing smoke rather than trying to kill dug in guns worked well for me. By constantly reducing the Germans to looking for 6’s to hit it definitely helped me get into the position from which I launched my final assault to win the game.
Germans – Duncan
Hmm… that was a tricky one. I knew that the Crocodiles were going to be a beast but my inability to deal with them, or at least to deter them from where they wanted to be was the deciding factor.
I did get a little unlucky with the arrival points for my reserves but that is by the by; you can only play with the hand you are dealt with scattered reserves, so that is a bit of a moot point. I was pleased with the way that the FlaK36 guns held my left hand flank almost singlehandedly but in retrospect they absolutely had to be in a position to defend both my objectives – PaK40 anti-tank guns were never going to be able to see off a concerted Churchill assault alone.
The more I play with the Beach Defenders the more admiration I have for them. As long as you are not asking too much of them, they are plucky in defence and can really prove a nuisance to your opponent. It was interesting to see in this, broadly, historical match up how much everything was on a knife edge because of the way that the Breaching Group is set up in smaller platoons.
I thoroughly enjoyed the game and certainly learnt some lessons playing a different version of the British – Petards and Crocodiles can certainly be devastating but they certainly didn’t feel invincible.

2 comments