Is Bravery Enough?

Today Martin brings us a MW AAR.
I have recently been playing some games with my regular gaming partner and his Romanian Rifle Brigade in both MW and LW. Today’s AAR focuses on the Soviet southern offensive against the Romanian 4th Army in the encirclement of the Stalingrad pocket. The Stavka recognised the Romanians were a less well equipped opponent than their German allies in the North and so chose to strike against the Romanians in their attempt to trap the German 6th Army.

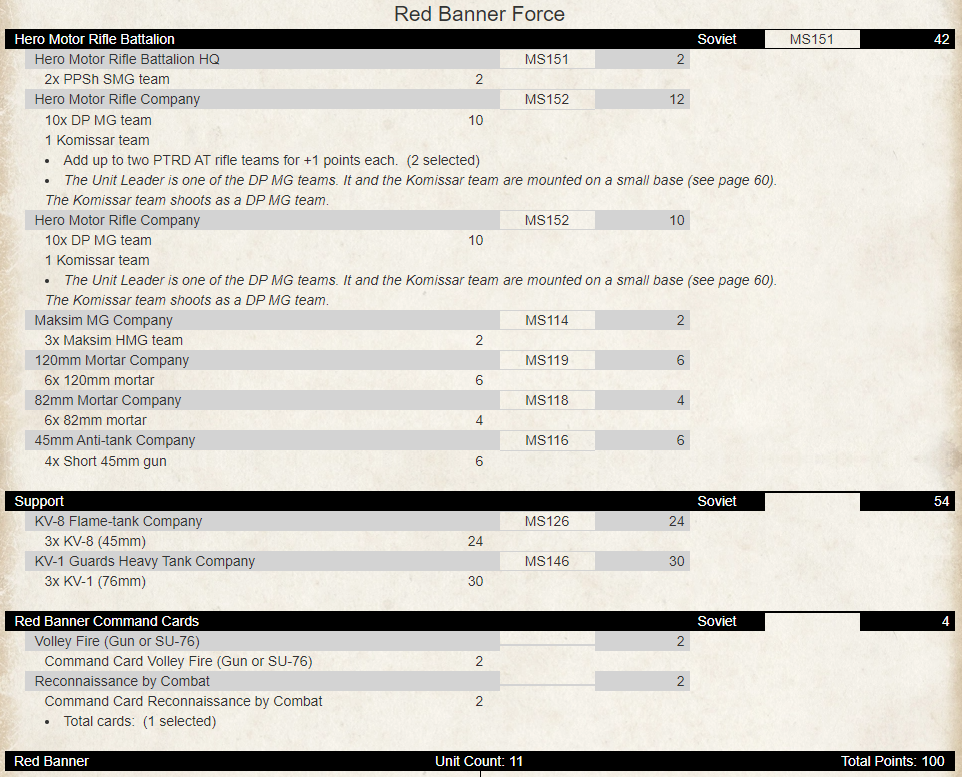
The Soviet list I selected was designed to reflect on a leading breakthrough force, led by a platoon of mighty KV-1 tanks and supported by fearsome KV-8 flame tanks to punch through the Romanian defensive front line, which would then be mopped up by a Hero Motor Rifle Battalion.
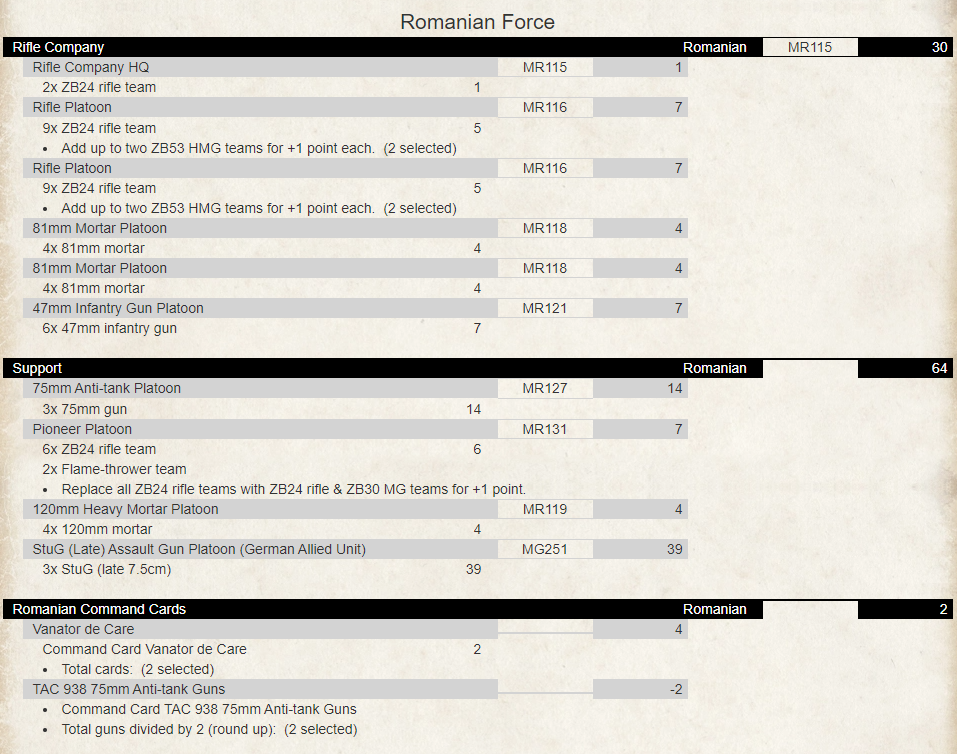
The Romanian list my playing partner brought was large on infantry and well equipped with HMG’s and Mortars, but lacked in heavier calibre anti-tank guns (just like the Romanians of the day). They are supported by a more than useful German StuG RC battery, with some nasty Borgward demolition carriers; these can make a mess of a KV tank as well as my softer infantry.
My opponent would defend and I would attack to reflect the historical event but we rolled on the more missions matrix to generate the actual scenario, which turned out to be Encirclement! This is an interesting scenario with a T-shaped Defender deployment zone with scattered reserves and half the normal number of minefields with 1 per 50 points. The Attacker has their force split across two deployment zones. My opponent chose the side with the three hills in his deployment zone affording him excellent vision across most of the battlefield.
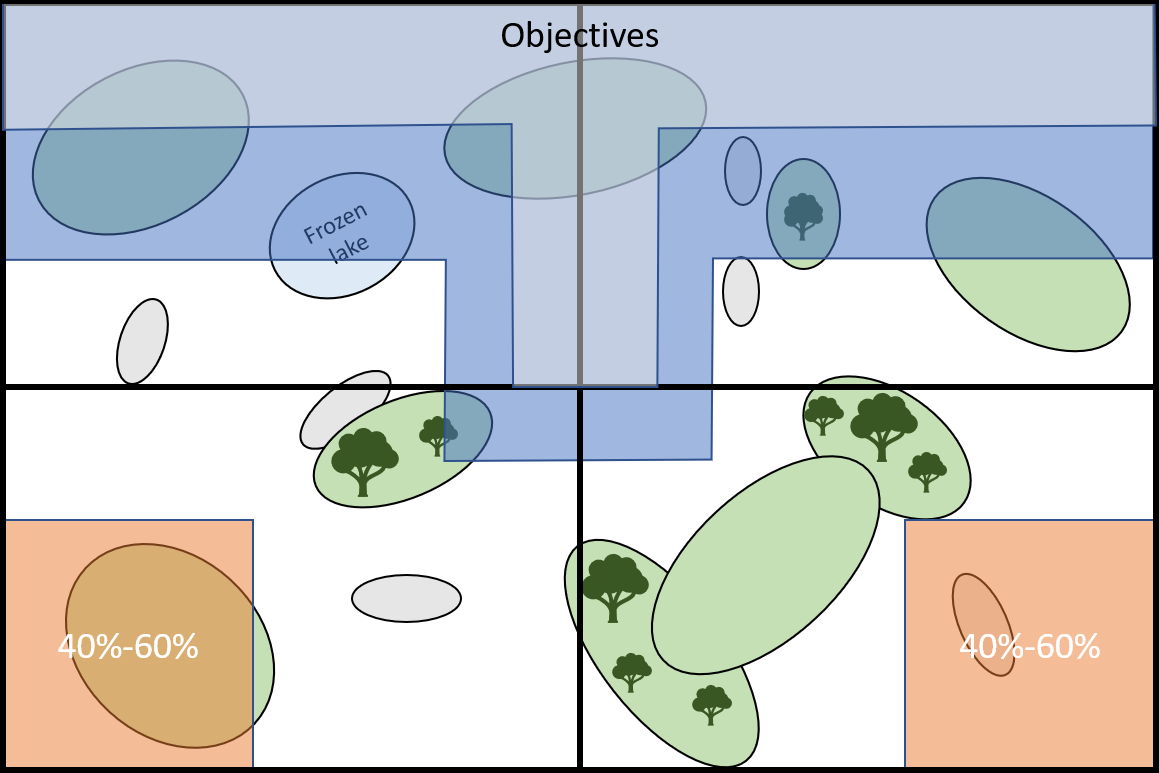
I placed one objective in the centre, as far forward as possible, and the other on the right hand side as this side offered the most cover to advance through.
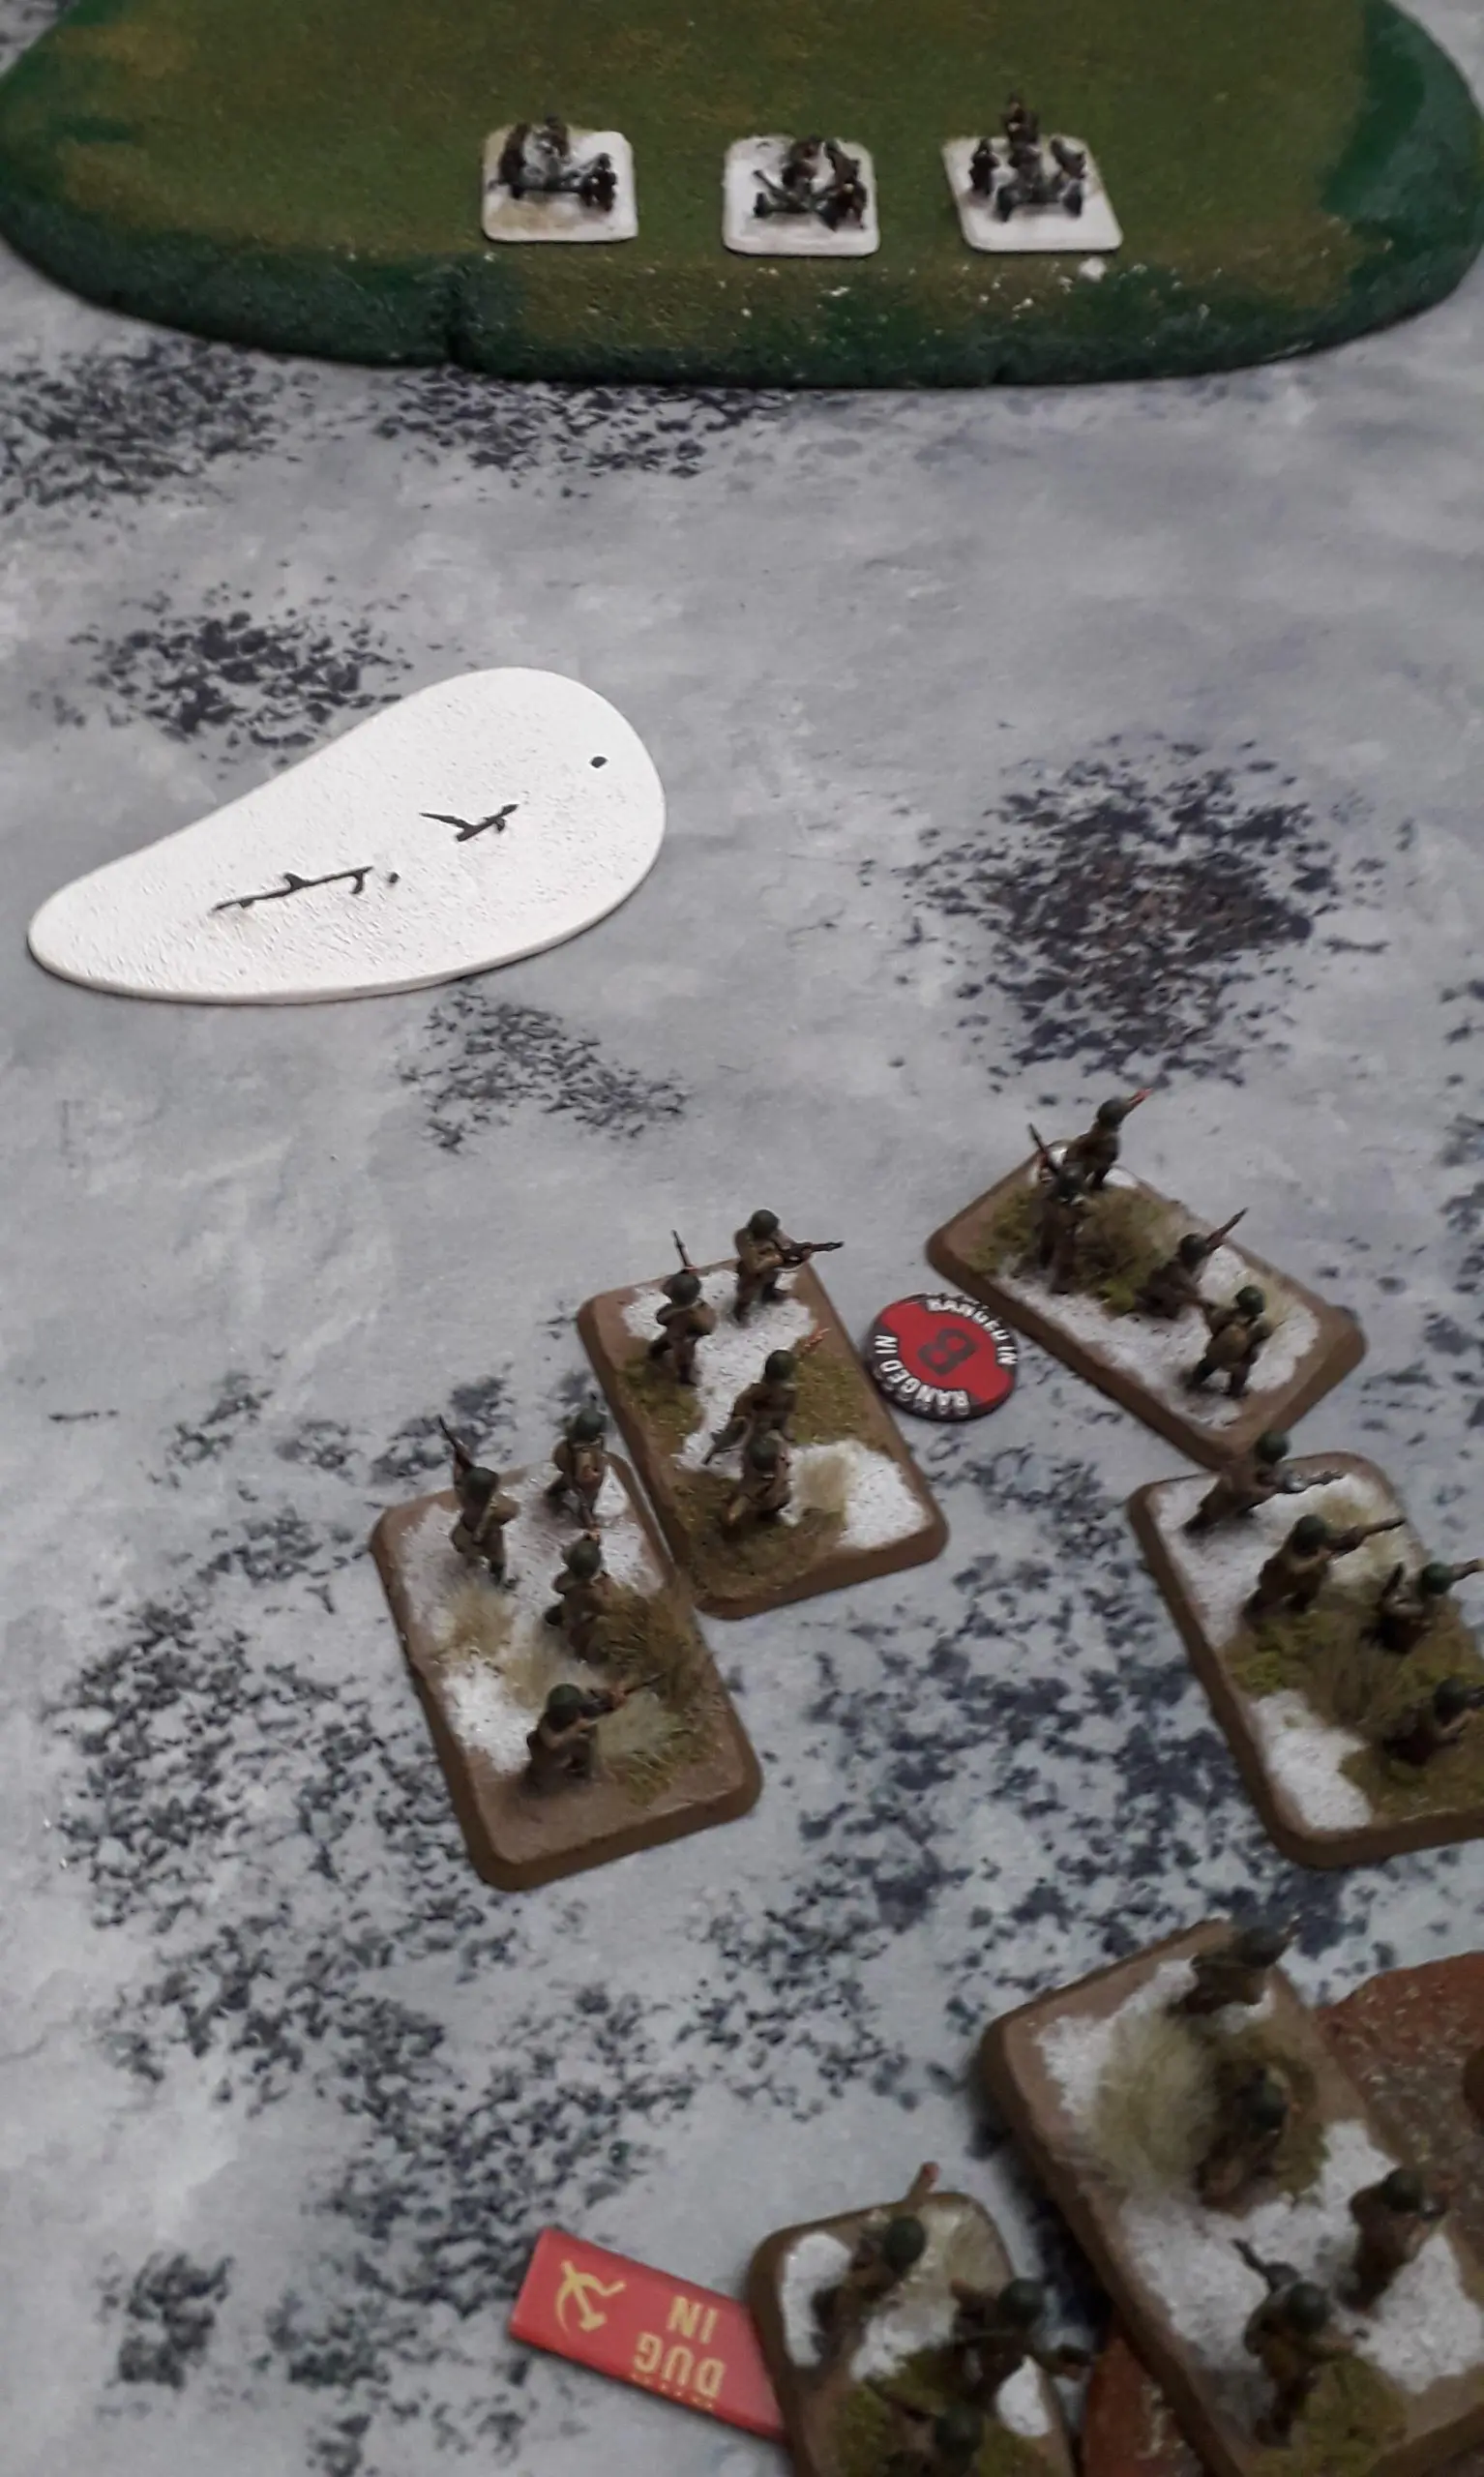
The Romanians set up first, placing their three artillery ranged in markers in likely places the soviet infantry would have to move through. The Soviet markers were both initially placed to cover objective 1. The Romanian Rifle platoons deployed to screen the two objectives, minimising the number of teams under the soviet artillery templates in the centre.
The 75mm AT guns were placed with the Pioneer unit between both rifle units able to move to support either. The mortars were at the rear and the 47mm AT guns were kept in ambush. These are no threat to the KV tanks but a unit of six can hurt an infantry platoon quite a bit if caught in the open. The StuG RC battery, with its Borgwards, formed the Scattered Reserves.
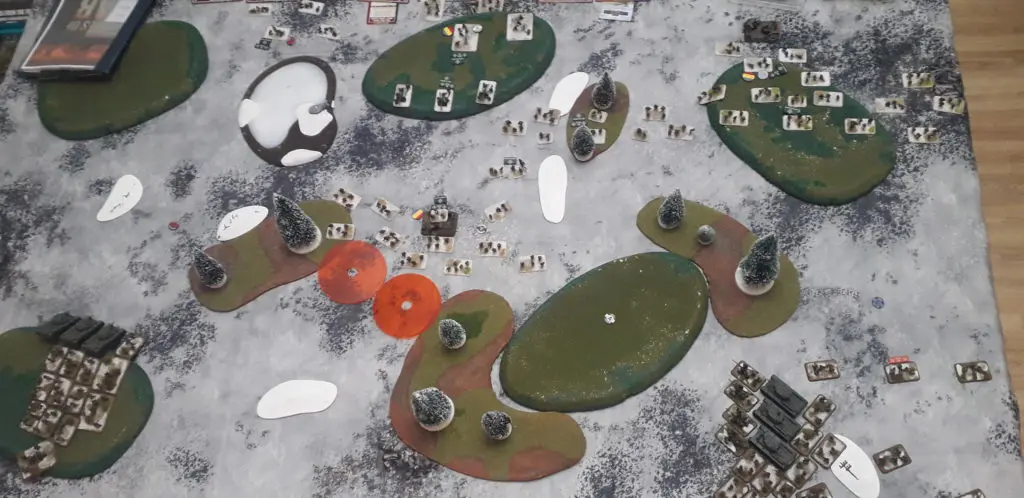
I had to split the Soviets into two wings. On the left, the KV-8 and larger Hero Motor Rifle platoon backed up by my 120mm mortars and on the right my HQ, Hero Motor Rifles, Short 45mm AT guns, 81mm Mortars and KV-1’s. Using the Reconnaissance by Combat card, I repositioned my rear ranged in marker to ensure I could hit as many of the Rifle platoon in the forward position as possible. My basic plan was to launch a rapid encircling attack against the forward objective led by my two tank platoons. After an initial bombardment in Turn 1, my mortar platoons would be used to support the HMG unit to keep the Pioneers and Rifles near objective 2 pinned in place. This would prevent the Romanians reinforcing the defence against my thrust against the centre. A lot would depend on the timing of when and where the StuG platoon arrived for this to work, but a swift victory was possible.
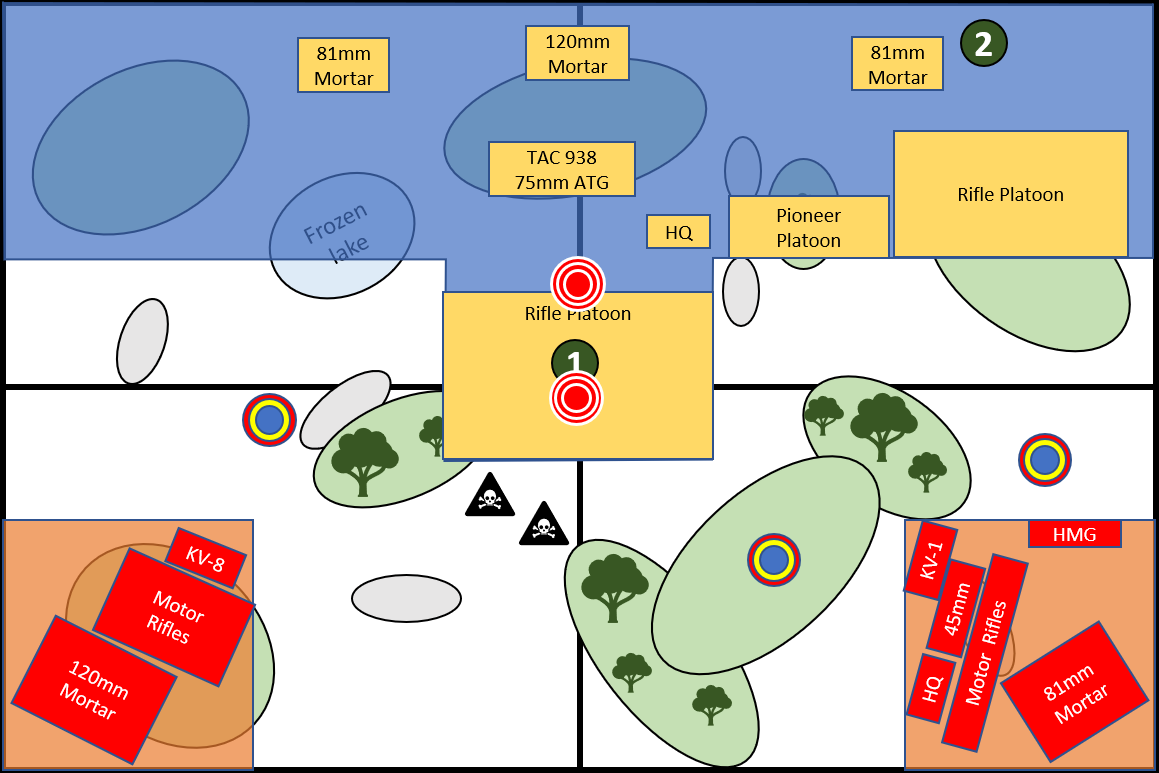

Looking from the Soviet Right flank Looking from the Romanian Right flank
Turn 1
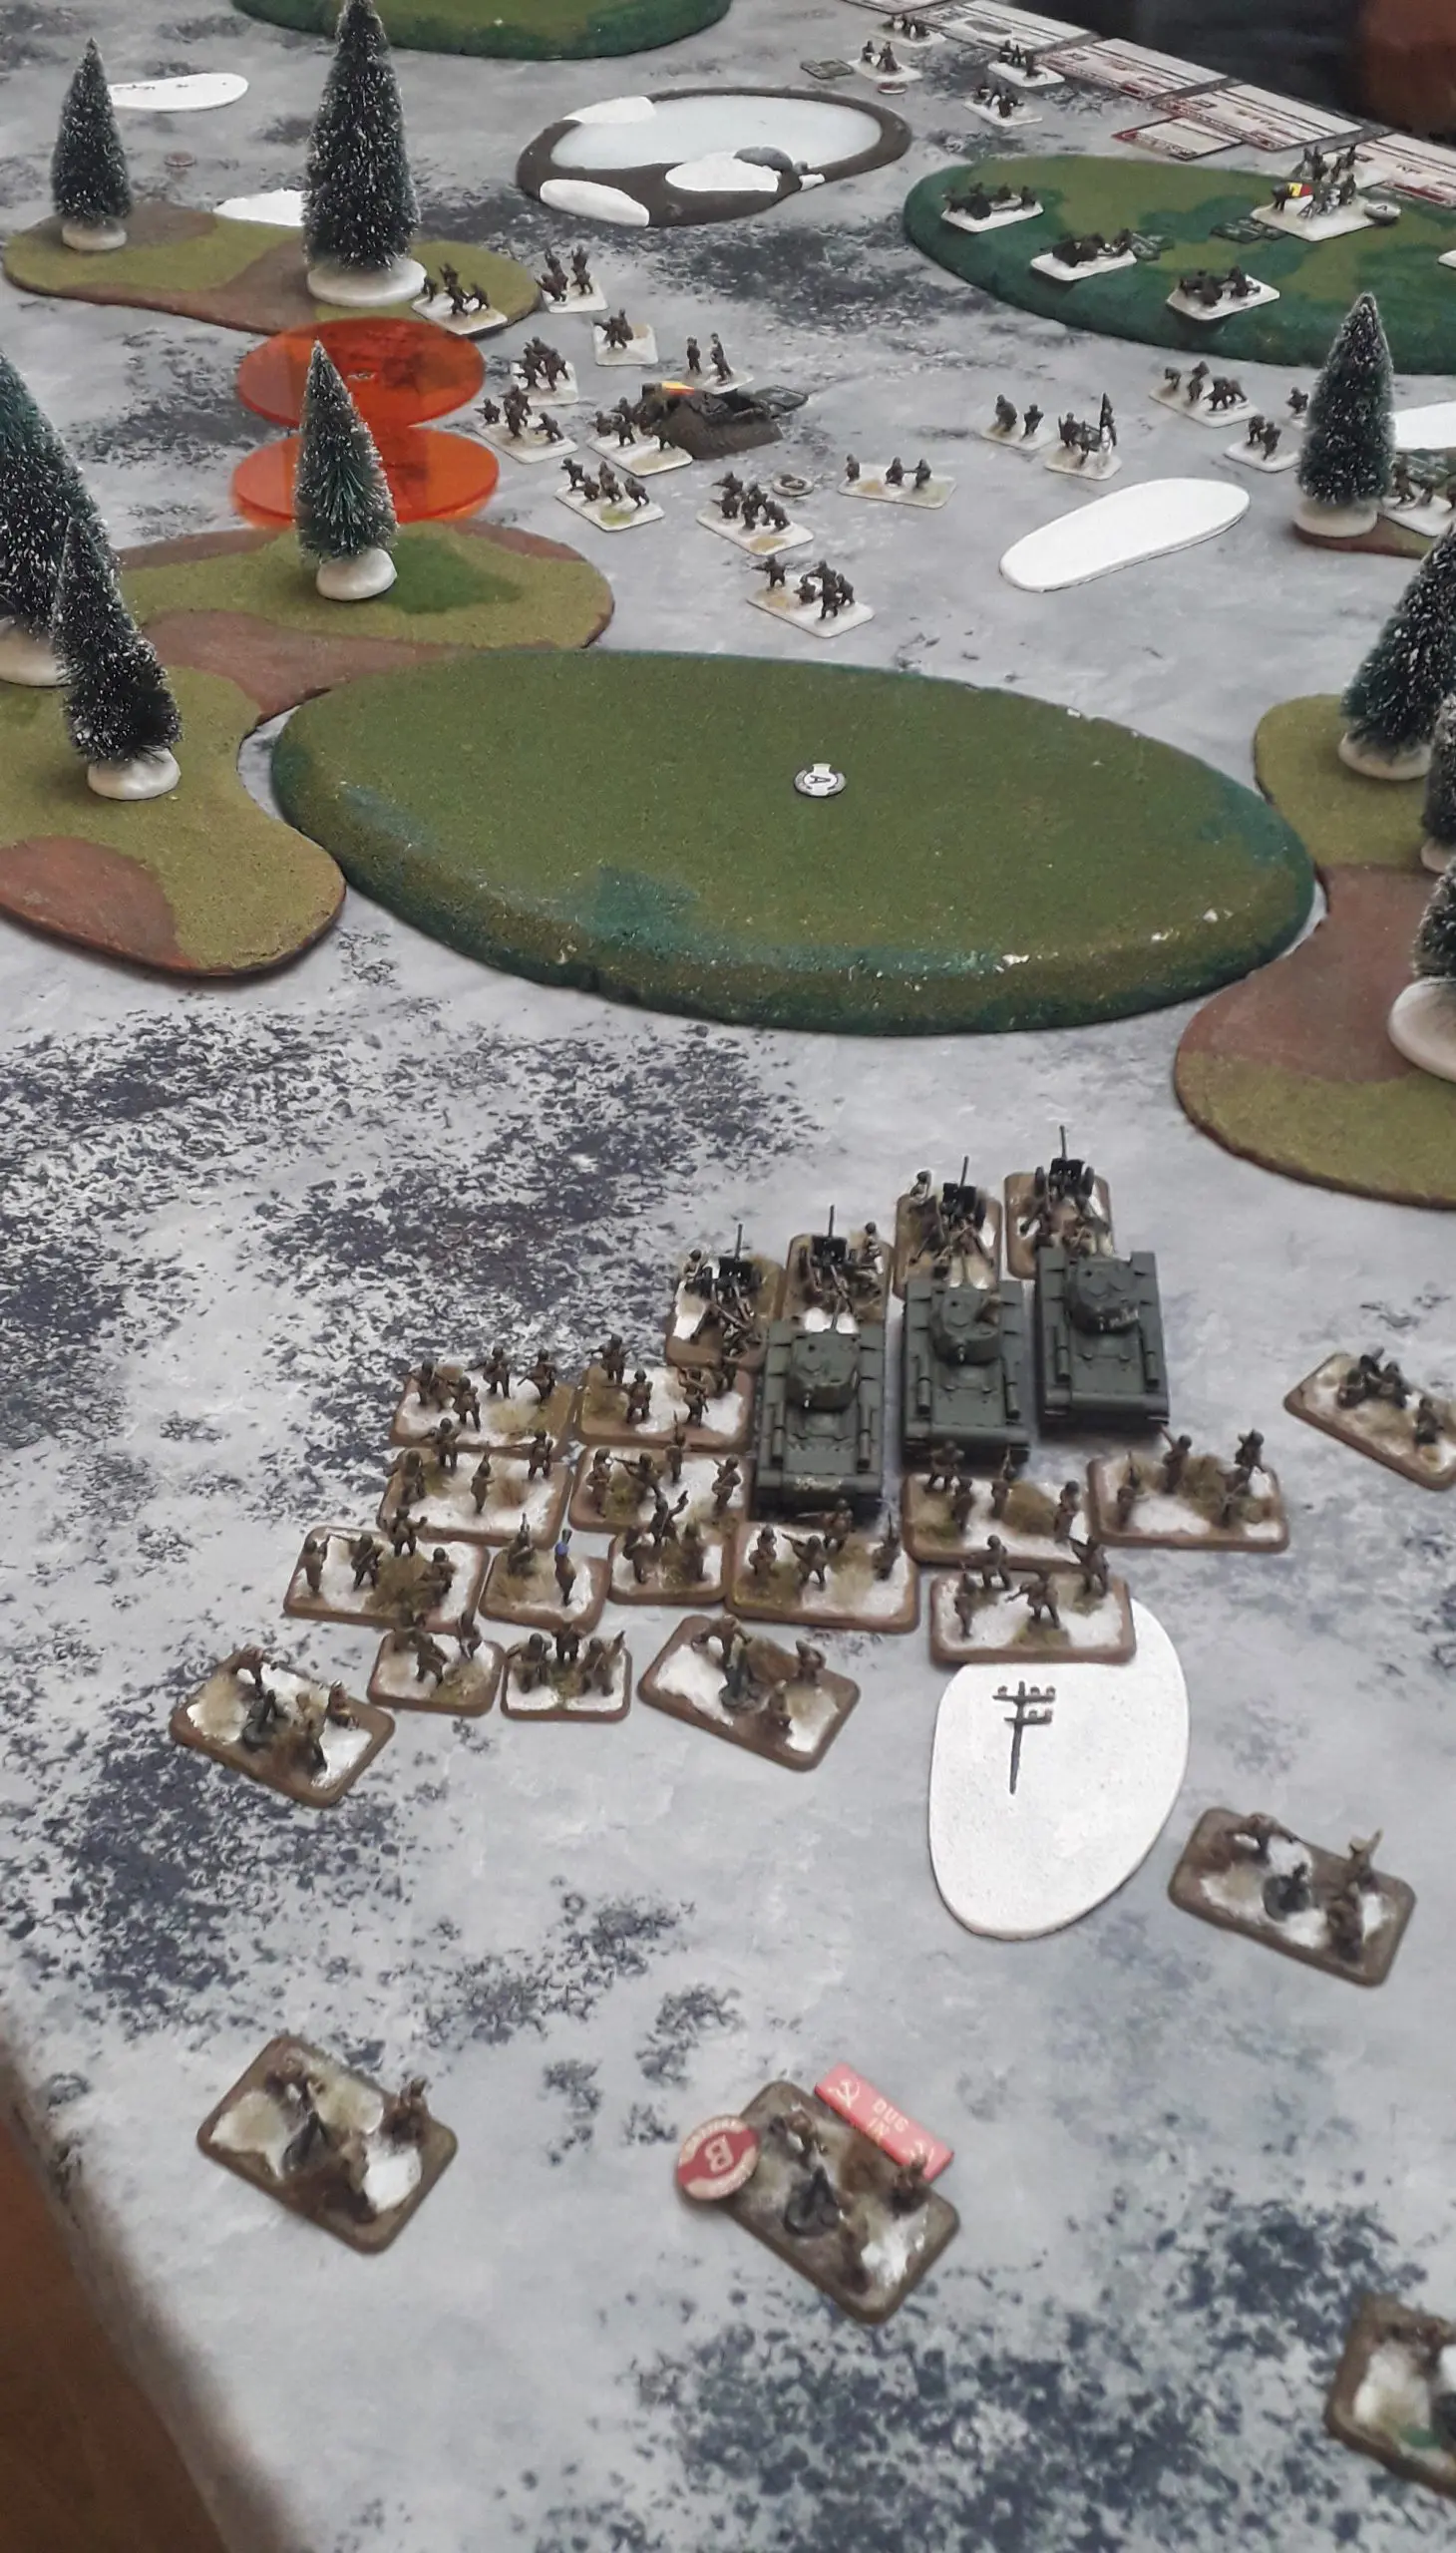
The Soviets advanced on mass as the KV-8’s and Motor Rifles dash forward on the left. On the right, the KV-1’s and 45mm guns advance up to the hill whilst the Hero Motor Rifles move forward toward the central wooded area, avoiding the ranged in marker. The Soviet mortars opened fire, killing four of the Romanian Rifle teams protecting objective 1.
For the Romanains, there were no reserves arriving this turn and they made no movement. The 81mm mortars on the right ranged in on the Hero Motor Rifles, killing two and pinning them down, leaving them out in the open! In the centre the 120mm pinned the soviet 45mm guns and killed a Hero Motor rifle team and on the Romanian left, the third battery ranged in on the third attempt on the Soviet mortars but, unsurprisingly, caused no casualties.
Turn 2
The Hero Motor Rifles on the left failed to unpin despite the presence of the Kommissar and elected to dig in. Stalin will not be happy!
The KV-8’s continued to advance, getting into a position to assault both the short 75mm AT guns and the Romanian Rifle platoon.
On the right the Motor Rifles unpinned and continue to move forward through the wood while the 45mm guns unpinned and moved across the hill. They were supported by the KV-1’s, which were too far away to make an assault this turn due to the losses in the Romanaian Rifles from the opening bombardment. Shooting saw the Soviet 120mm Mortars range in on their Romanian counterparts but doing no damage, whilst the 81mm failed to range in at all (Green Skill and no spotter is a pain). The KV-1’s and 45mm guns picked off two more of the Romanian Rifle teams whilst the KV-8’s failed to hit anything.
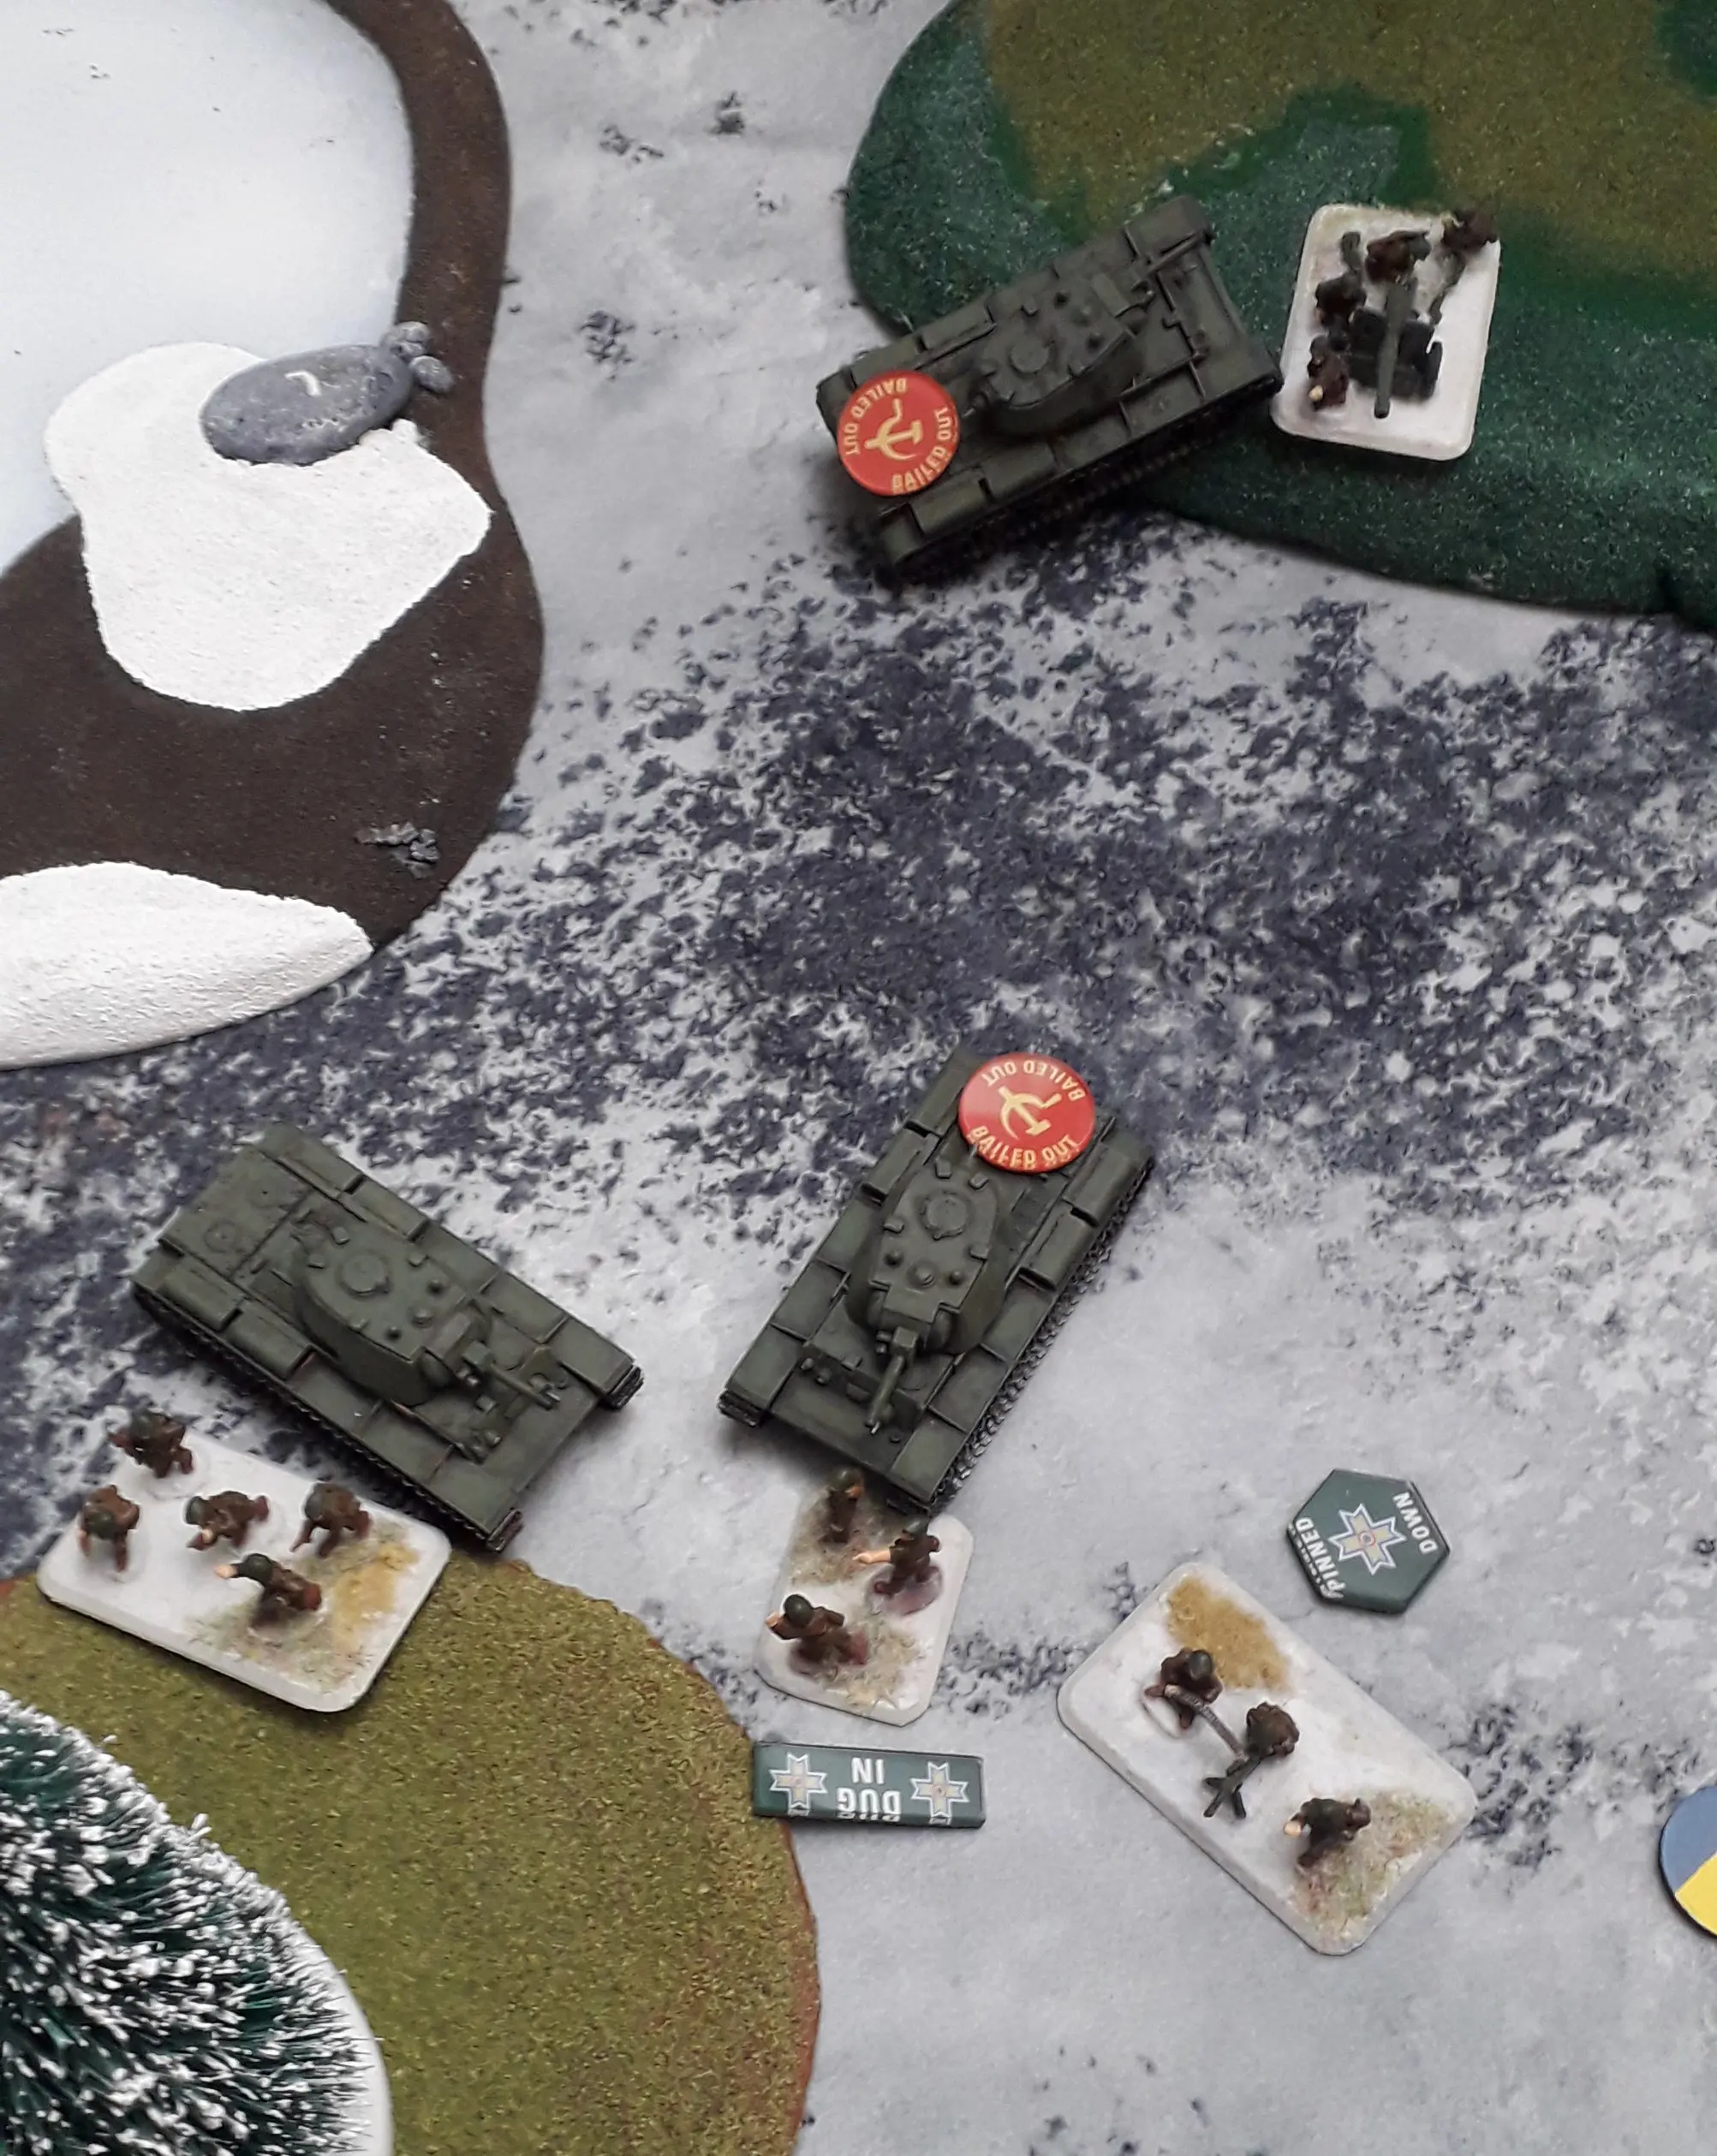
I launched my assault with the KV-8’s, killing a rifle team and failing to hit the gun team. The Romanians counter-atatcked and, using their Vanator de Care (AT3 in assault), manage to score two hits. I happily roll a 1, bailing out one tank. The gun team then hits and use their gun stats against the KV-8’s side armour. Again I roll a 1 and another KV-8 is bailed out.
At this point I was somewhat worried to say the least! KV-8’s are Reluctant! Thankfully I rolled my motivation, passing but the one operating tank did no damage. The Romanians sensing a chance of victory and to get rid of this powerful unit continued to counterattack but failed to score any hits this turn. Again, feeling Stalins gaze fall upon him, the KV-8 platoon commander counterattacked and destroyed another rifle team.
This time the Romanian defenders, sensing the flame tanks were there to stay, broke off to keep their rifle unit in the gam; there were only three teams left at this point. The lone KV-8 consolidated away from the objective to ensure they were in Good Spirits next turn, as long as either of the bailed tanks remounted.
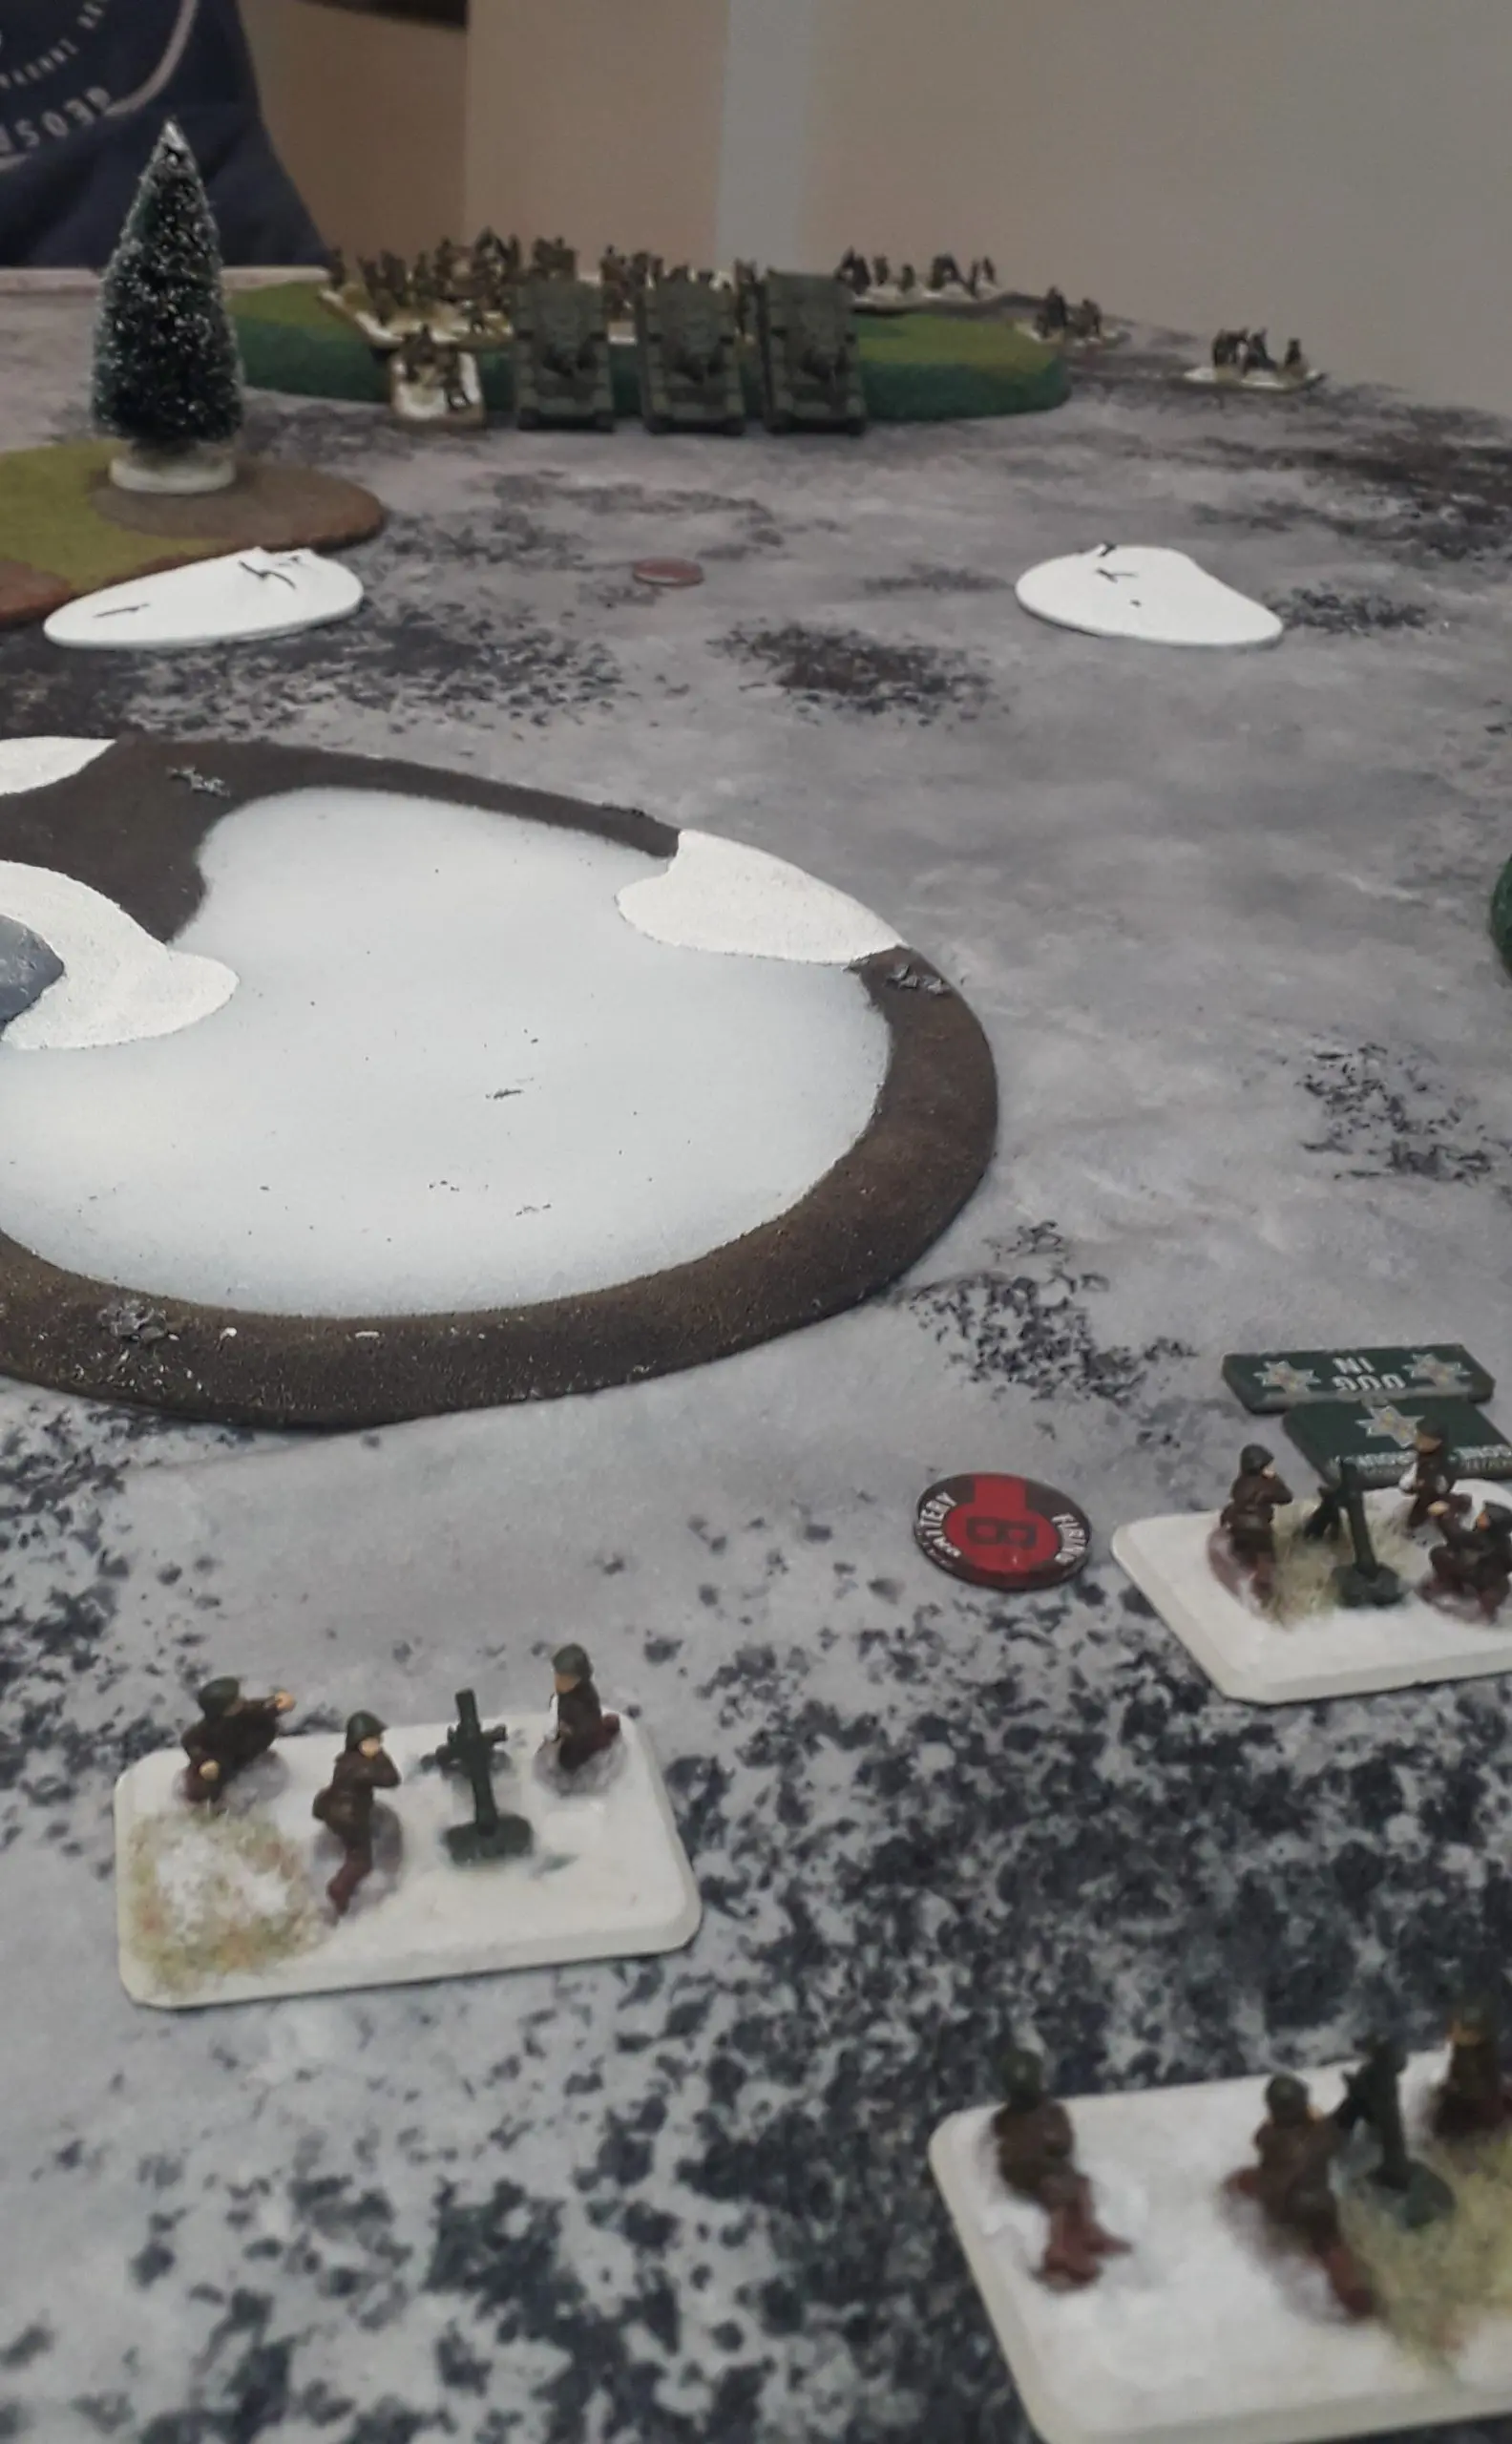
The Romanian turn started with the shattered Rifle platoon failing to rally and so it dugs back in. The 120mm mortars also wouldn’t unpin, despite the proximity of the Romanian HQ. The Romanians rolled for reserves but no luck! The German high command is obviously still having breakfast and won’t order the StuG’s forward. The 47mm guns appeared from ambush, targeting the exposed Hero Rifle platoon on the Soviet left. Nothing else moves.
Shooting starts with the Romanian 81mm mortars dropping a smoke bombardment to screen their battered forces in the centre. The 47mm guns fired down on the rifles and were joined by the repeating 81mm mortars but, through a gross display of below average dice rolls to hit and some above average saving throw rolls, the Hero Motor Rifles emerged unscathed.
Turn 3
It’s make or break time for the Soviets, the StuG’s will appear this turn so it is now, or possibly never, to break through. Everyone rallied and one KV-8 remounted, keeping them in Good Spirits. The turn starting step also showed the KV-1 unit within 4″ (10cm) of the objective. Movement is limited; the KV-8’s and KV-1’s position to assault the remaining Rifles and the Romanaian HQ contesting the objective. The Hero Motor Rifles continue to move through the wooded area and into range to hold the objective at the end of the turn.
Shooting started with the Hero Rifles killing three of the ambushing 47mm guns, the 120mm mortar unit destroying two Romanian mortar teams and the 81mm ranging back in and pinning the Pioneer unit.
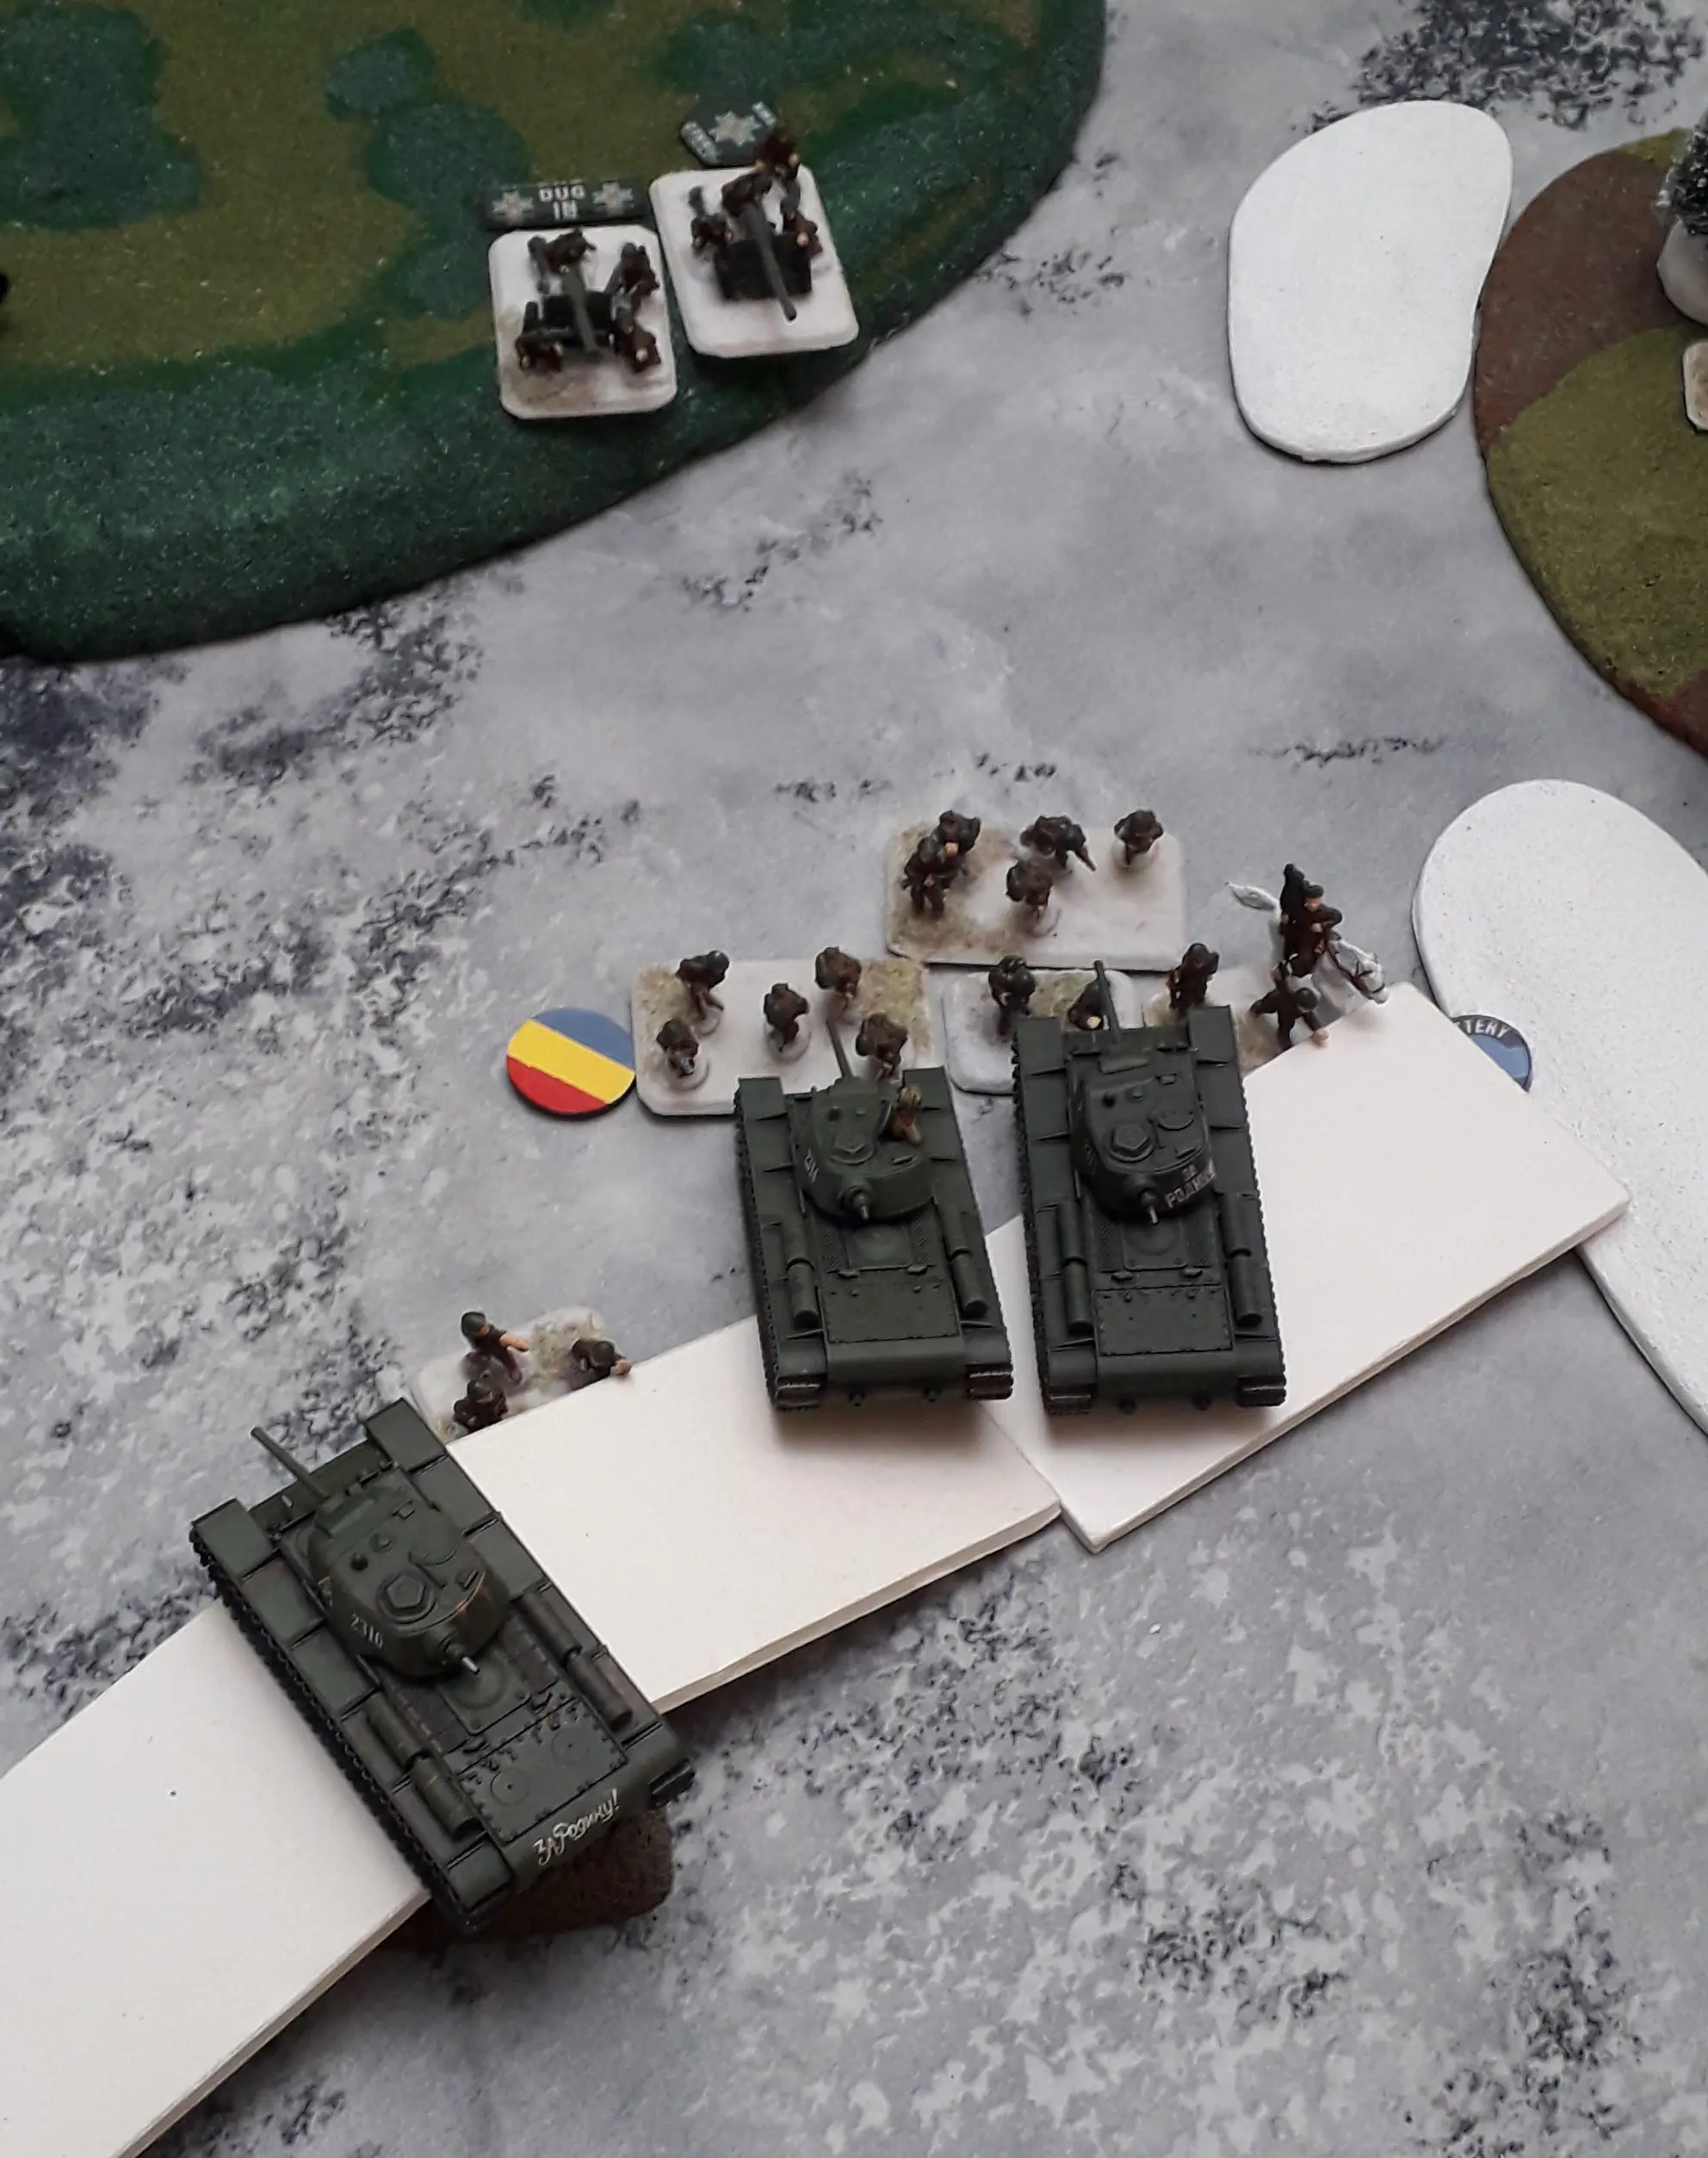
The KV-1 and KV-8’s concentrated their fire on the 75mm AT guns, finally killing 1 and pinning them down. This left the KV-8 unit with no one in assault range (due to the fact the one near the rifles didn’t bail back in) so it wass down to the KV-1’s who moved to contact both the defending platoons. The 75mm guns provided defensive fire but proved ineffective this time against the KV-1’s thick armour, I easily save their hits.
The assault is brutal with three teams being crushed under the massive tanks on the initial round of tank to hand fighting. The Romanians have no weaponry capable of piecing their thick hides so now it is a matter of will power for them to stay in the fight. They motivate, continuing the struggle; they can’t break-off as this will leave them too far from the objective to prevent a soviet victory.
So now the KV-1’s and the two remaining Romanian teams were locked in a struggle to death or glory! It is all down to the motivation roll of the KV-1’s and again I succeed and, with all three tanks hitting, crush the Romanian HQ.
After some careful checking, there are no teams still left within 4″ and the Soviets have secured the break through. Von Paulus and the 6th Army once more are doomed.
Lessons learnt
This was a tough scenario for the Romanians with only a single unit capable of hurting the KV tanks at range and they didn’t show up!
The list can be improved to make it stronger versus Soviet heavy armour but the real failure was not moving the Pioneers in turn 2 to bring more units onto the combat area around the objective, which could have made the Soviet assault a much more uncertain event.
I would also have ambushed in Turn 1 with the 47mm guns when there were more options on where to place them; being on a flank prevented them from making any really meaningful contribution, even if that was simply to be in the way of the Soviet armour.
From the Soviet perspective my game plan played out as I had hoped. I was fortunate with my motivation rolls for the KV-8’s but even had I lost them it wouldn’t have changed the overall outcome by that point in the game.
For me, the Romanian smoke screen was an interesting tactical decision to deploy. At first glance it appeared to help me rather than hinder, it screened my infantry movement and my assault unit. However, what it did do was stop my 45mm guns firing in support of the attack. This ensured that I would have to motivate at least once if the Romanians held their nerve as there were 5 defending teams vs 3 attacking teams.
I hope you’ve enjoyed the read, happy gaming Martin.