REMFS – S&S Models Radio Truck and M31 TRV Conversion Kit review
Those who have followed the blog for a while now will no doubt recall the S&S Models do a range of white metal conversion kits that take a stock plastic model; generally Battlefront or PSC, and convert them into such things as bridge layers or recovery vehicles. They were kind enough to send three new kits, so let’s have a look.
M3/M5 Half-track Radio kit
First up is the simplest; a conversion kit for a Battlefront M3/M5 Half-track that converts it into a radio truck. So converted, the humble half-track found new use in a variety of roles from artillery co-ordination to forward air control to higher command, and served with all three of the major allied powers. Whilst there were dedicated command variants such as the M14, others seem to be more ad-hoc.

The conversion kit consists of a single bench with radio sets built in that can be fitted to run down one side of the passenger compartment. This makes fitting it quite simple!

One end has an angled edge to it to provide clearance for getting into the door, plus an alignment tab on the end, suggesting it should be fitted to the right side (same side as the gun pulpit). Larger scale conversion kits seem to put the bench on the left and damn the door clearance, and this bench works equally well on the left with that regard. I haven’t found a photo of an actual period installation, so it’s likely best left to the converter to see what they prefer.

The piece itself is well detailed with the radio sets having a suitable array of knobs, dials and speakers. There is also some raised detail on the desktop itself to serve as notepads and sheets of paper. The cast is clean with no prep required to fit it in. Its design even lets it be fitted into an already assembled and painted half-track model, which could be useful for some.
In Flames of War, v4 deleted the battery command vehicles of old, which does kill its most obvious use. Whilst I suspect a converted half-track is more of a battalion level asset, it would be a neat way to mark out a company command vehicle. Otherwise, it’s a great centrepiece for an objective if you have a spare half-track to hand and relatively cheap at £3.
Steyr Heavy Car Radio Conversion Kit
This kit is for the Plastic Soldier Company Steyr Heavy Car. Much like the allies, the Germans made use of dedicated command and radio vehicles but also converted the likes of the Steyr 1500 Heavy Car into Funkkraftwagen radio cars.
I have to make a confession here; I don’t have any of the PSC Steyr trucks. I have lots of v1/v2 era Battlefront dropcasts to carry my panzergrenadiers around in, so it wasn’t on my “To buy” list, nor does anyone else in my immediate circle of wargamers. Given Martin was breathing down my neck for content (ah, so that’s what it feels like) and I didn’t especially want to buy a box of five for a single sprue for review, I’ll have to comment on the kit then defer to the manufacturer photos for how it looks installed.
This is a more involved kit than the Halftrack one, consisting as it does of two benches with radios and two seats. The moulding had a few flash lines here. The ones on the bench were on the underside whilst the seat ones were on the top of back so definitely need cleaning up. Easily done, and otherwise the mould was fairly crisp.

The detail is also well captured. Again the radio sets look suitably knobbly, though the narrower desks don’t allow any room for the sculptor to add the little details the Allied one had with paper and notepads present.
Compared to photos of the real thing, plus some larger scale model equivalents, the conversion kit seems to capture the radio truck version well.

In terms of in-game use, this lends itself well to a formation HQ soft-skin transport for those who use them, as well as the obvious scenic objective potential. Whilst a little pricier than the allied version, the part count is greater and £5 is still cheap enough to make it viable for something with no in game effect.
M31 Tank Recovery Vehicle (TRV)
S&S have releasing a steady stream of recover vehicles for Flames of War and Team Yankee. I’ve reviewed some of their WW3 models previously with the Samson, BREM-2 and LAV Recovery vehicles, but is the first WW2 one I have received.
The M31 was based on the M3 Lee tank, often being converted in theatre depots from surplus M3s. It replaced the turret armament with a heavy duty crane, added large stowage bins to the engine deck and other surfaces and added reinforced tow points on the lower hull. The hull gun was also replaced by a door and dummy gun whilst a dummy gun was added to the rear of the turret. Appearing from 1943 onwards, the M31 proved a great success and was used by the US, British Empire and the USSR, plus free-European forces such as the French. A Sherman based M32 was introduced as the war went along but never entirely replaced the M31 as there were plenty of M3 hulls around to convert. It was even used as the basis of bridge layer and prime mover derivatives.

The kit is a multi-part assembly that consists of:
- Turret Hatch
- Glacis Plate Stowage Box
- Hull Roof Stowage Box
- Sponson Roof Bin
- Left and Right engine deck bins
- Engine Deck Winch mounts
- Front Tow Point
- Rear Tow Point
- Crane
- Crane legs left and right
- Crane detail parts left and right
(I need to apologise here. I got a little excited and built the model before realising that I hadn’t taken a photo of the unassembled parts…)
There are also some jerry cans and spare road wheels.
In general, the parts were cleanly cast, though there was some infill in the gaps of the crane jib that needed cleaning but which the shape didn’t make especially easy. There was also a pronounced mould line on the engine deck winch mounts, but that was easy enough to file down.

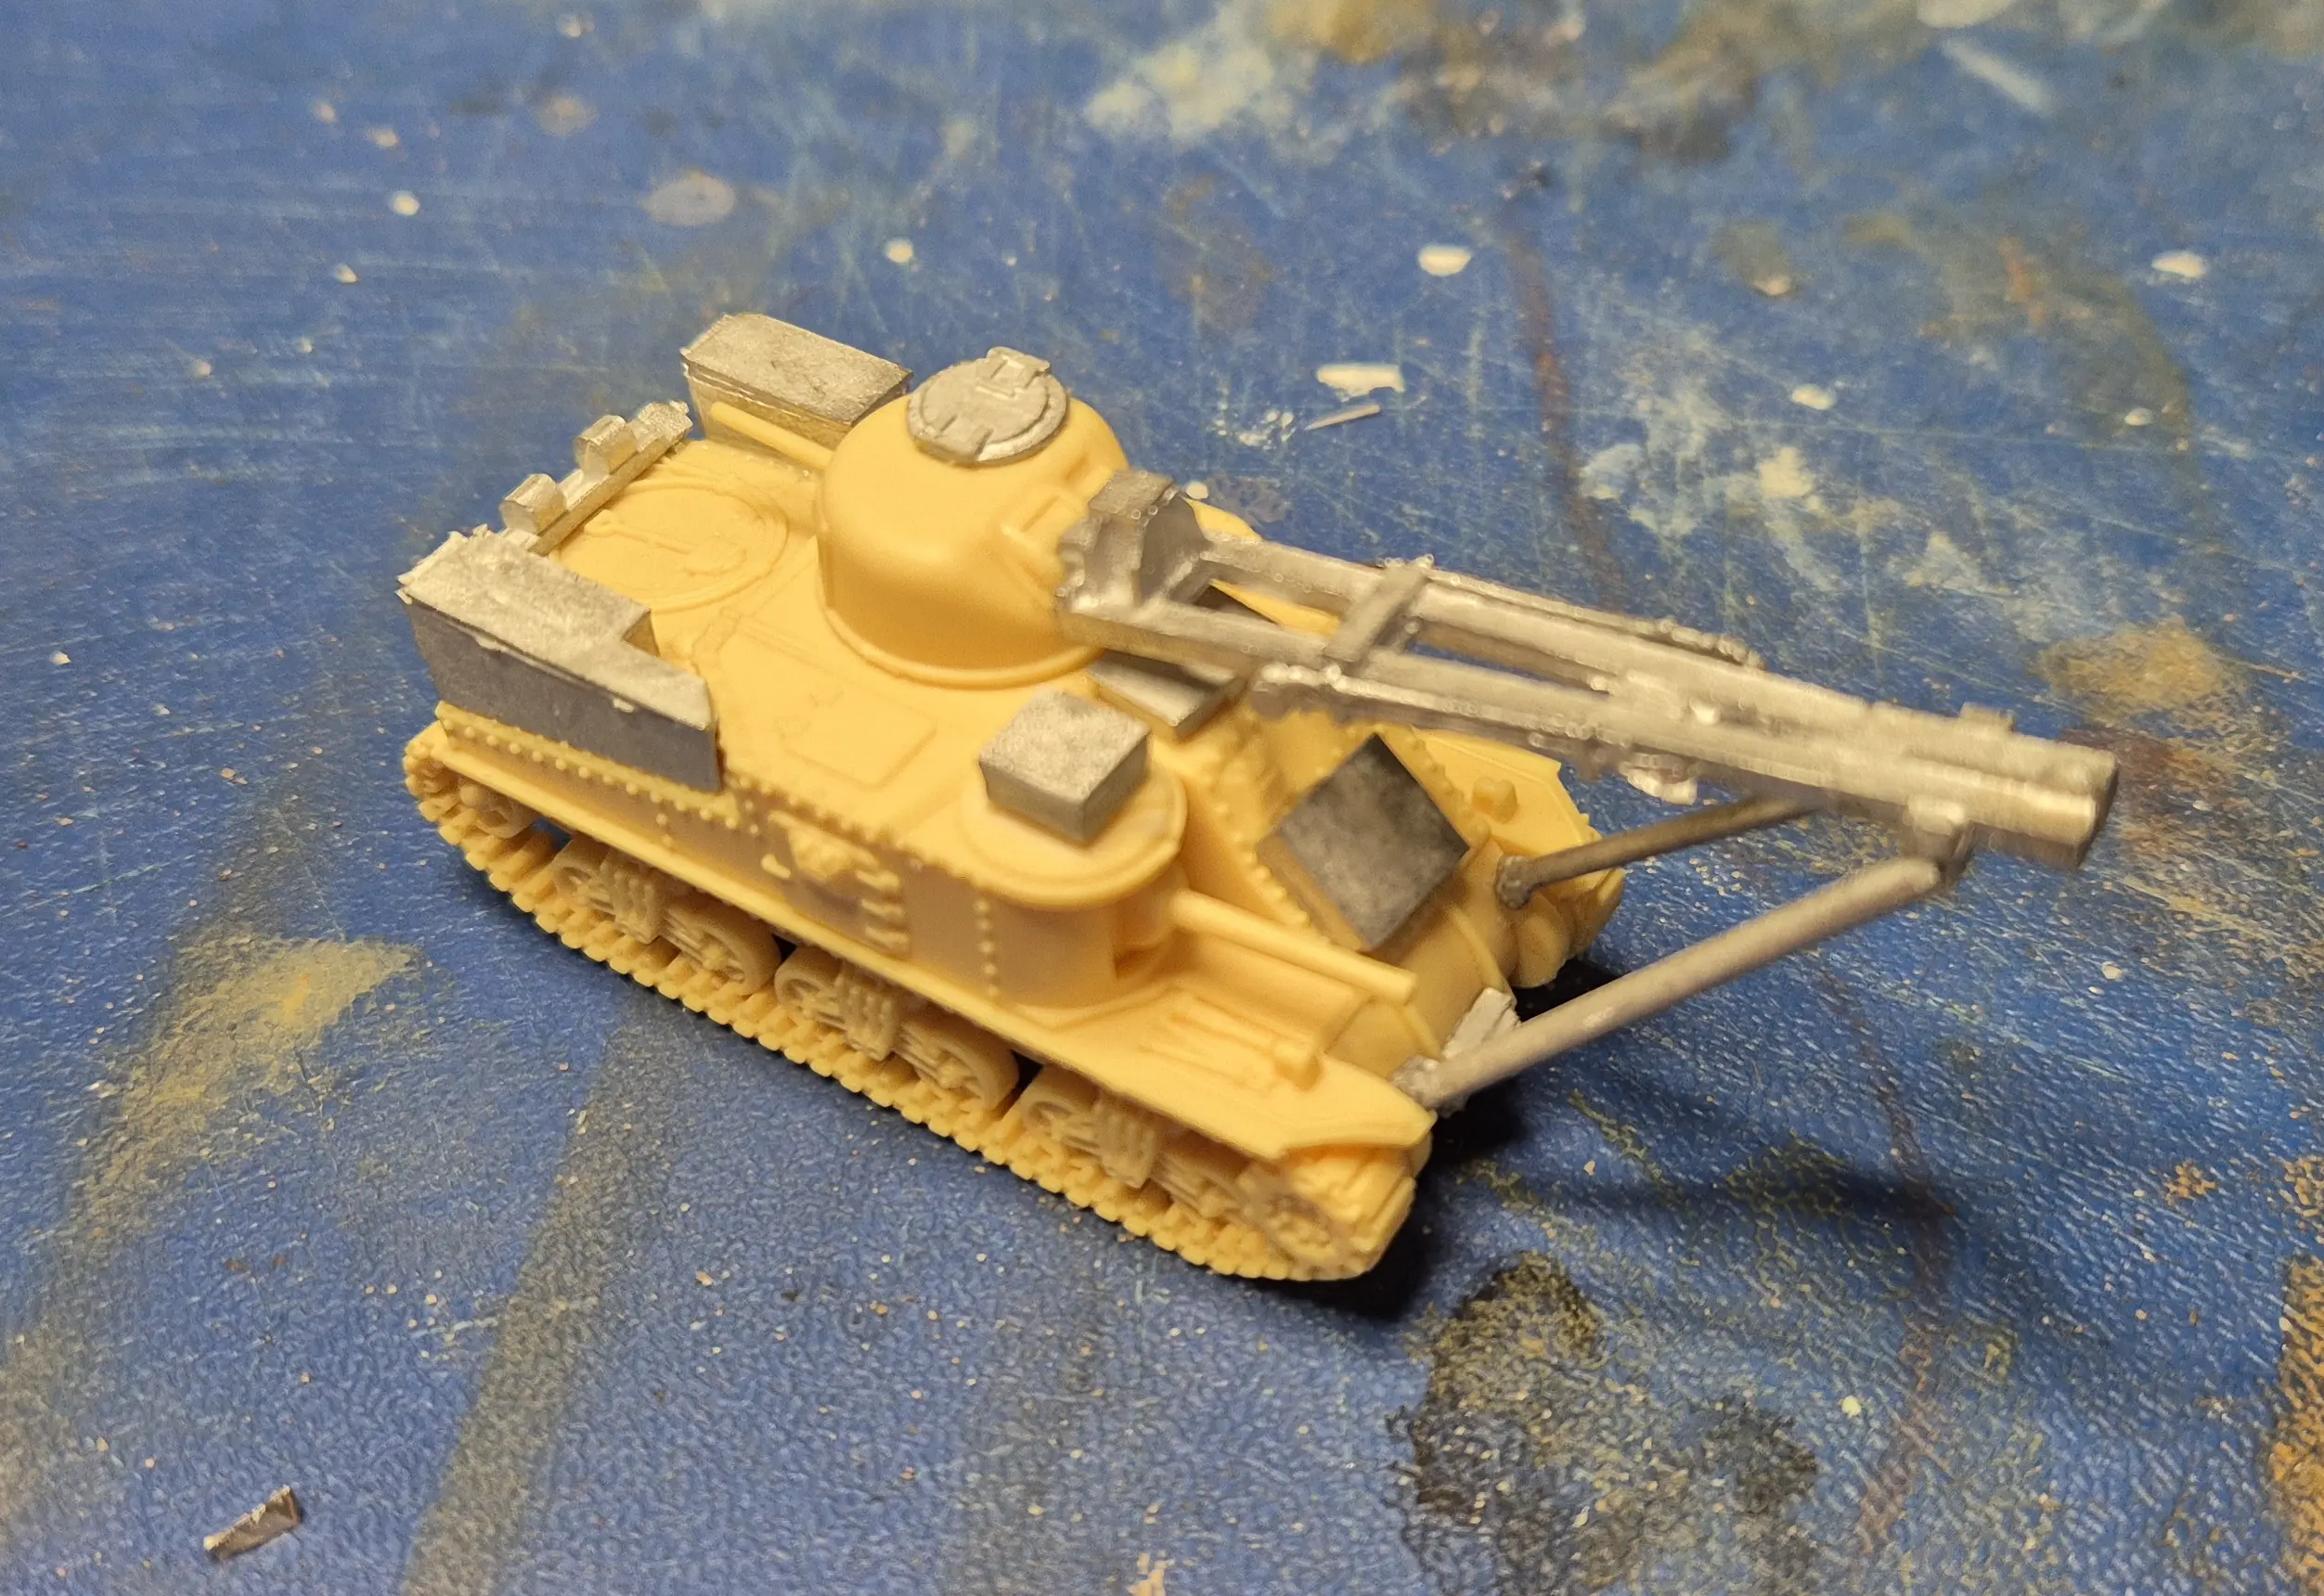
Assembly is pretty straightforward. Build the Lee turret, but leave off the MG cupola and 37mm. Instead, add the crane jib in the 37mm mount and add the metal hatch to the top of the Lee turret. The dummy gun can be modelled by simply cutting the 37mm where the barrel meets the mount, then gluing the now liberated barrel to the back of the turret.
The hull is built as normal, albeit leaving the plastic engine deck stowage bins off.
Once we have the hull built, the white metal stowage bins are glued in place to the glacis plate (largest bin), hull top (rectangular bin) and sponson top (small square with textured top). The sponson top bin needs the sight block cutting off to sit flat (it’s unsurprisingly absent from the real work examples – no gun, no sight!). Turning to the engine deck, we add the two large stowage bins to the sides of the engine deck and the winch block to the back.
Next we add the front tow point to the transmission block and the rear tow point to the lower rear hull; a notch aligns it on the existing detail.

That’s all simple enough work with a decent superglue. The last bit requires some patience. We place the turret on the hull and then add the crane arms to the jib, gluing them angled bit to the corresponding jig mount and the lower part of the arm to the lower hull. The arms are shaped with the intent of mounting the crane to the front. I tacked the turret in place with a small bit of poly cement so I could break it off if the alignment was off but orienting it straight ahead more or less worked. This was the fiddliest stage! Once the crane was in place, I added the two detail parts to the side of the crane. There’s no alignment peg or notch with these bits; just eye ball it so it matches the photos (I think they are used to lift the arms up in real life?).
The end result is a characterful model, though one with no real use in v4. The detail is well captured, especially the bins which have some pleasing depth and a noticeable lip to the hatch tops to make them more than featureless rectangles. The road wheels are also very undersized. Better to find some of the spare plastic ones from the M4 kit.

One omission from the kit is the dummy 75mm and the door it was fitted to. The kit just fits the normal gun, which is a little bit disappointing, especially as the hull door/dummy gun looks like it would have been straightforward to model. If you have some plasticard then I’d suggest leaving the 75mm off, making a V shaped plasticard door and gluing the 75mm barrel (cut from its mount) to the new door.

I should also note that you need to add a line and a lift point (looks like there was no hook on the real ones, just an eye and shackle) but that isn’t unreasonable – just get some thread!
At £7.50 a model, about the same as the “per sprue” cost of the plastic these days, this is still within the bounds of being “In-expensive” though, perhaps, those with less inclination to fancy objectives may feel spending that money on the extra tank is more useful! Personally I love these specialist models and, in the absence of BF doing the like they used to, S&S Models are addressing a, admittedly niche, demand. Long may they continue with that!

2 comments